Canvas
Sometimes you want to create your own way, without a fixed sequence.
Canvas lets you place text, images, video, and audio as nodes and connect them into your own generation pipeline.
Start with a single image without a script, or keep building on your results until your creation is complete.
Before you begin
| Supported environment | Desktop Chrome only (mobile and tablet users will see a supported-viewport notice) |
|---|
New to Canvas? Try the tutorial using the graduation-cap button in the bottom toolbar. Learn the essentials in eight steps without spending credits.
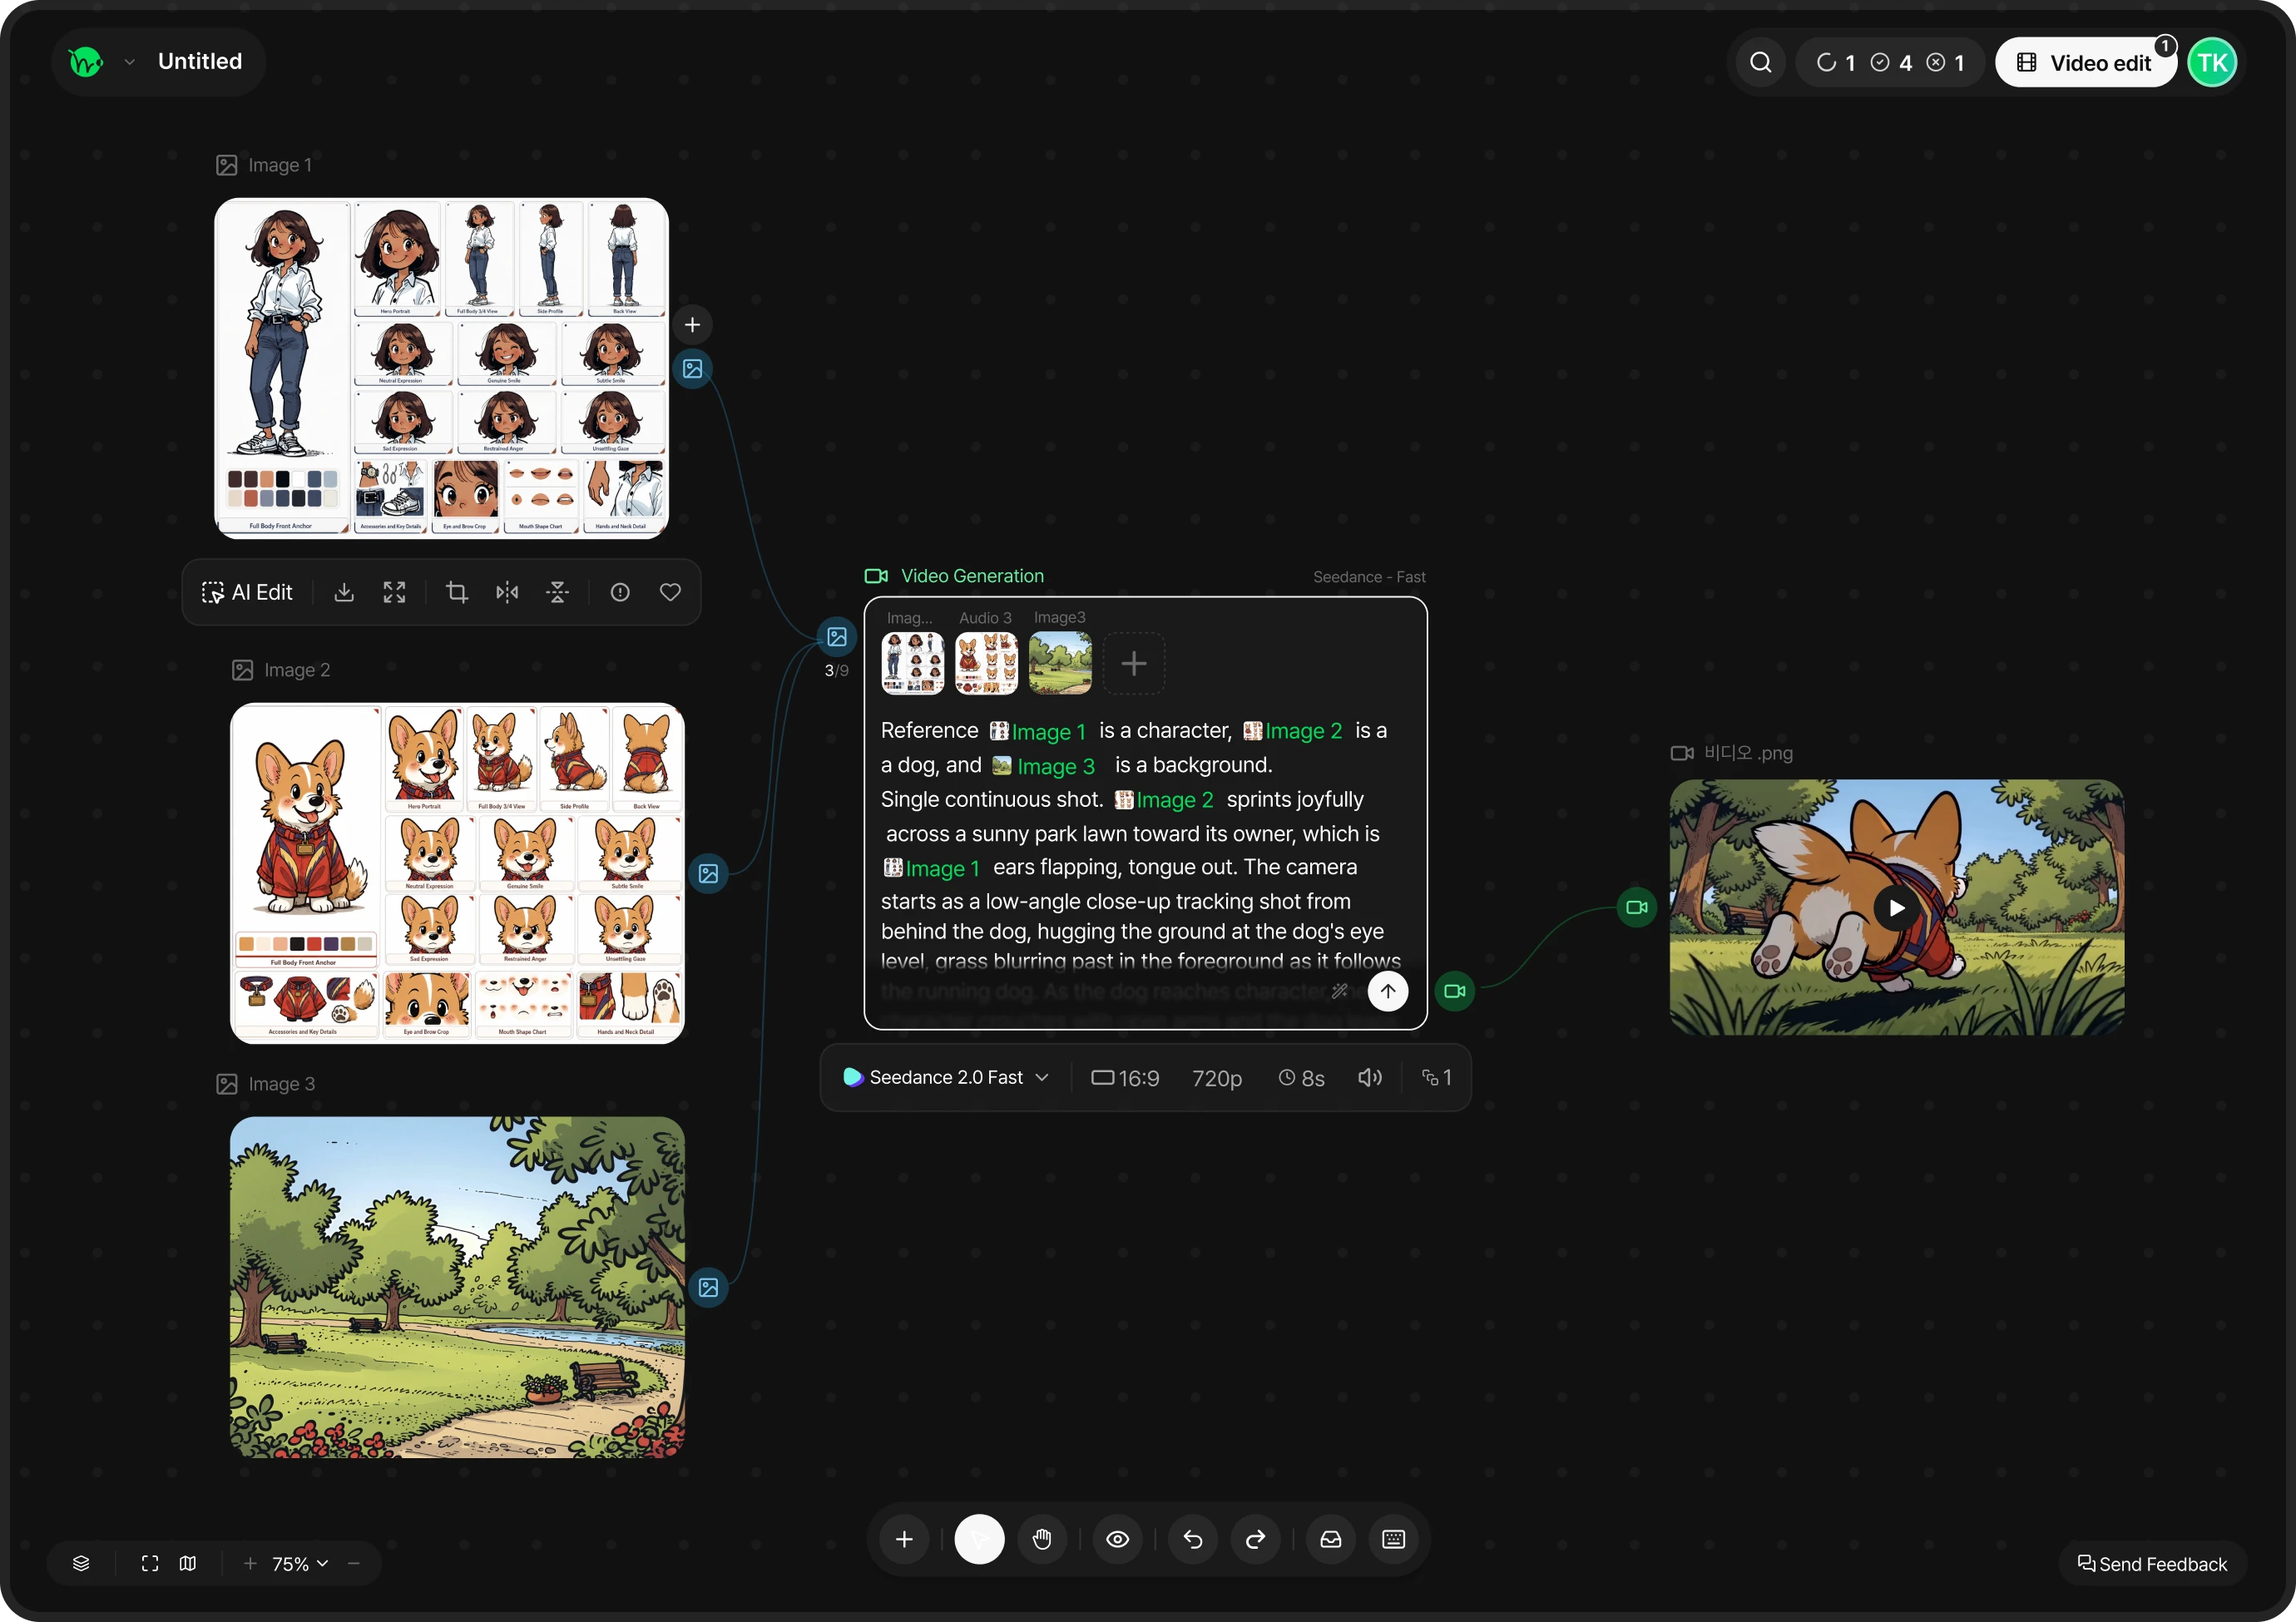
The basics: data nodes and generator nodes
Data Node
A media file node that serves as a starting point
or holds a generated result.
Generator Node
An AI processing node that transforms inputs
or creates new media.
The basic generation pipeline
[Data node (input)] ➔ [Generator node (AI processing)] ➔ [New data node (output)]. Keep connecting results to extend your workflow.
Step-by-step guide
Create a project and place your first node
Choose Canvas in the sidebar and create a new project to open an empty canvas. Add nodes in whichever way suits you.
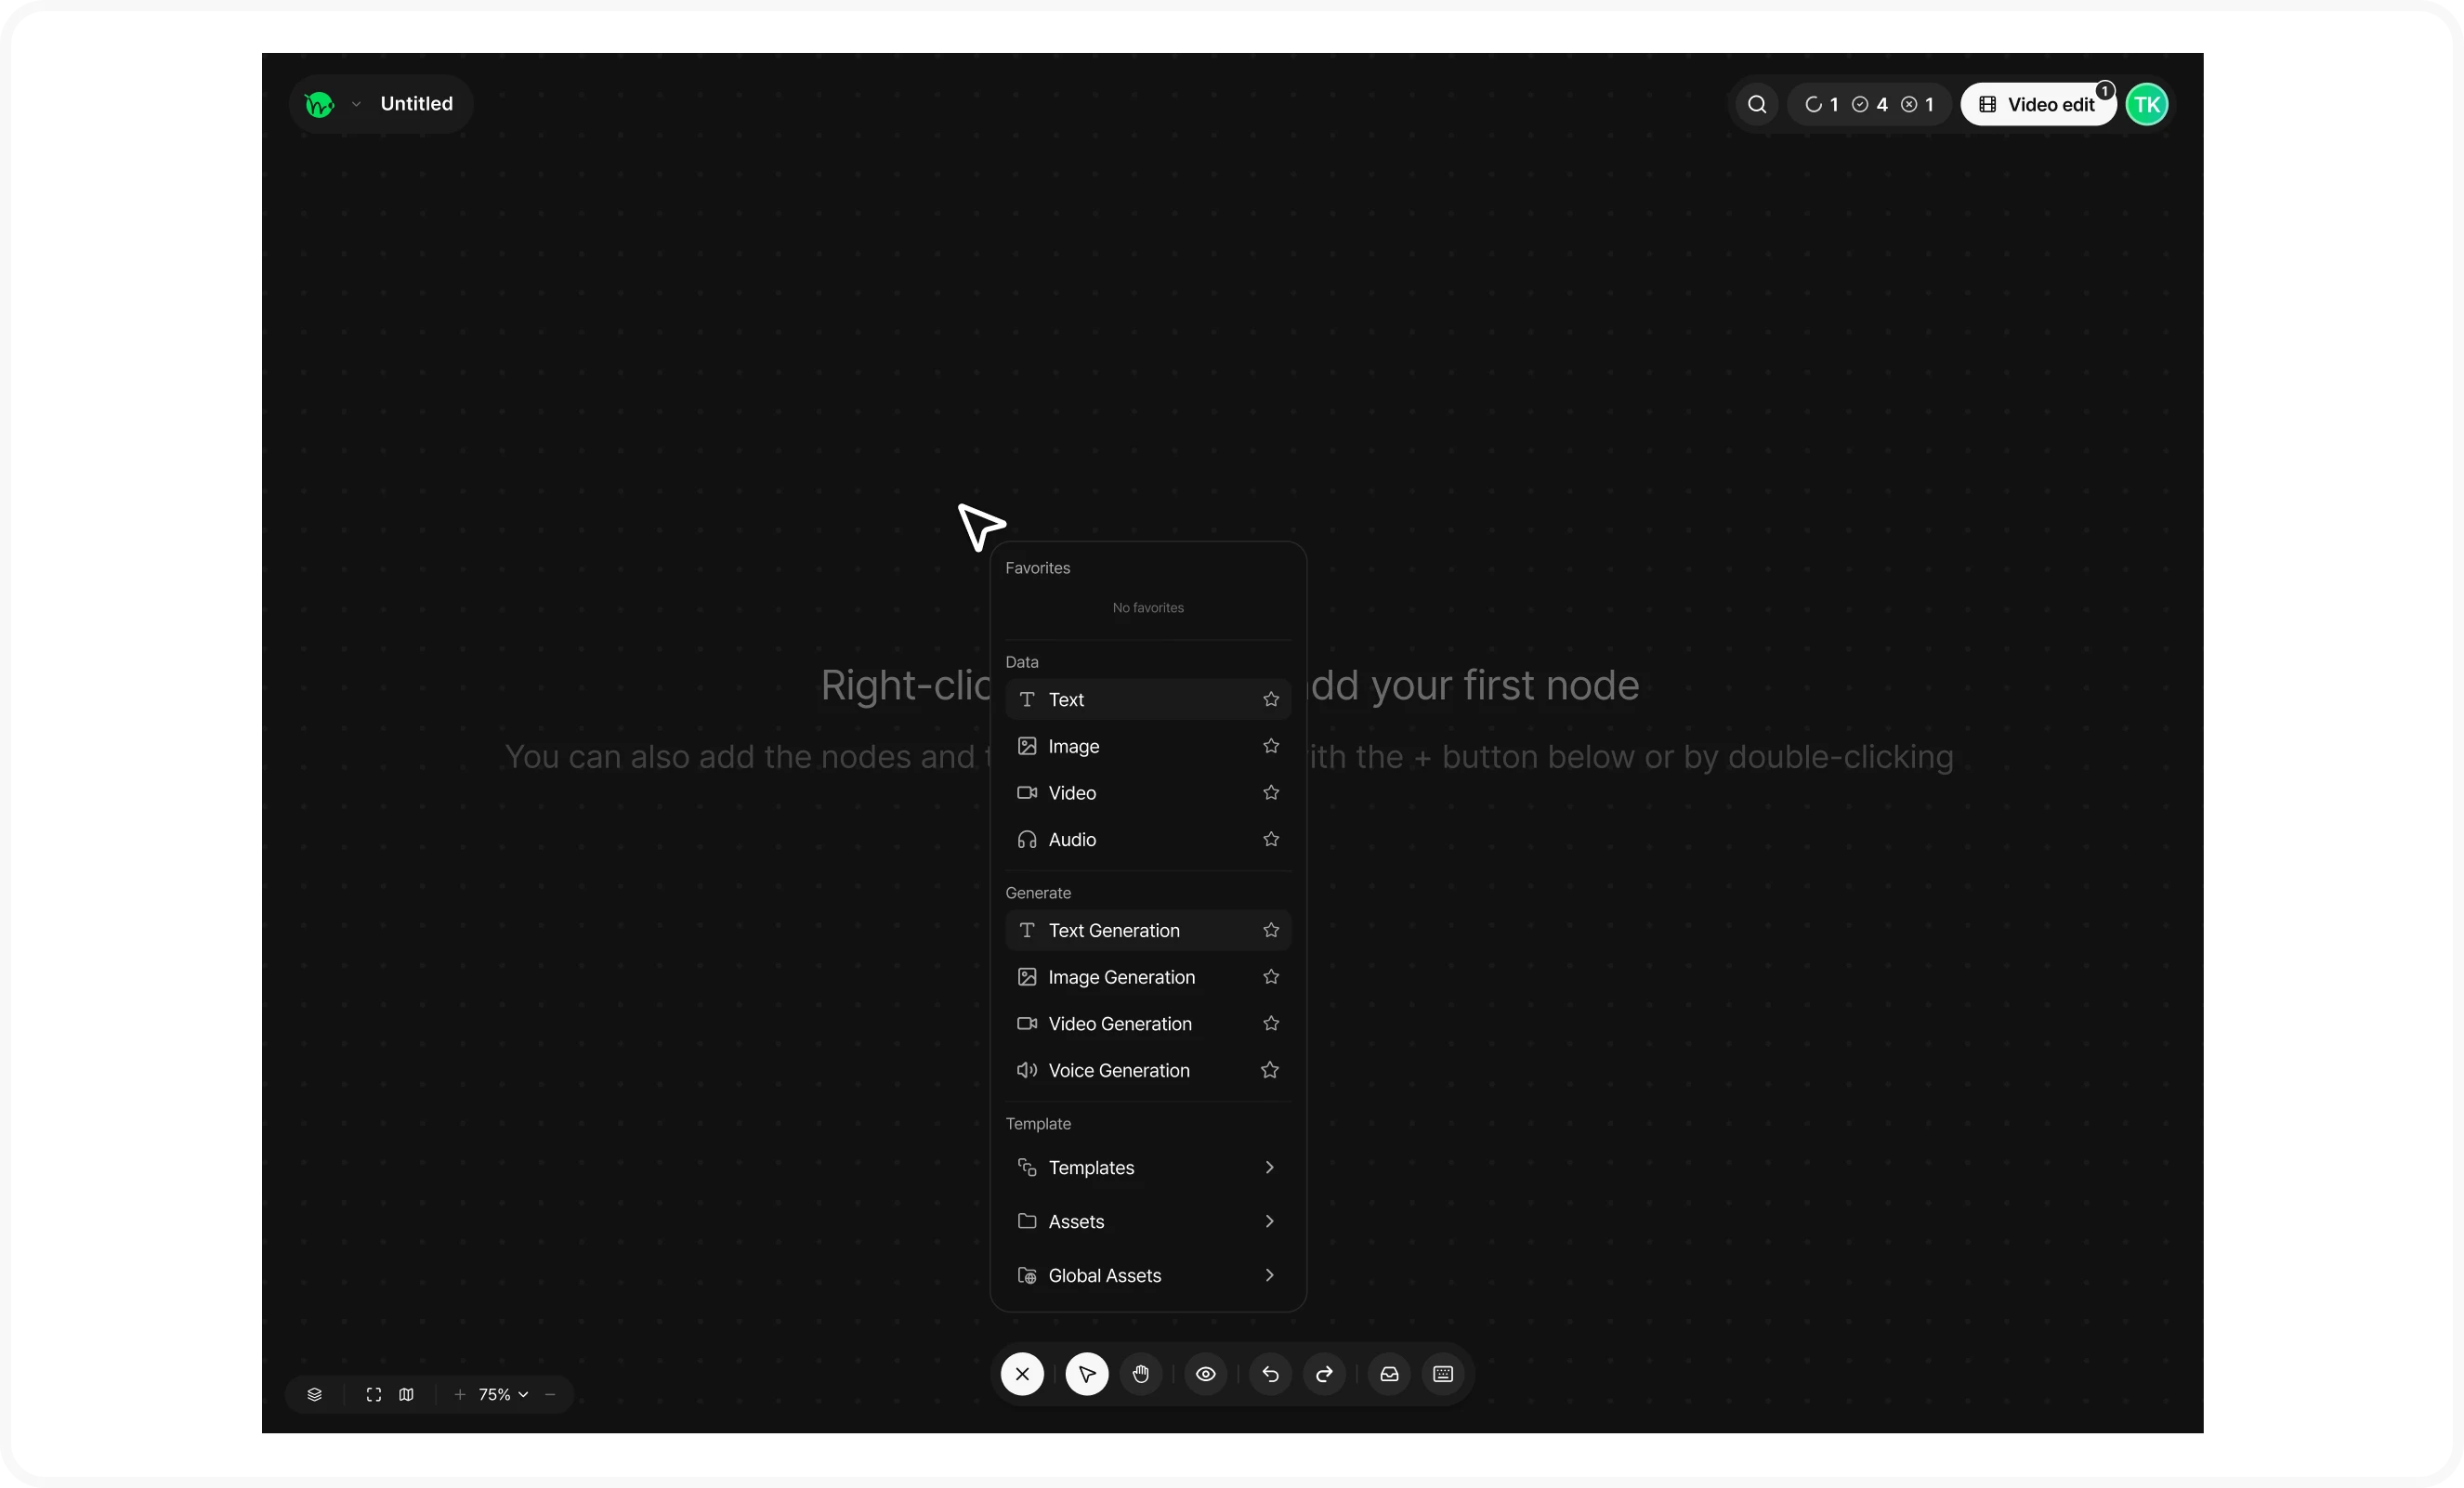
- Use the + button in the bottom toolbar, right-click an empty area, or double-click.
- Use Q (text), W (image), E (video), or R (audio).
- Drag and drop or paste files onto the canvas (up to 10 at once).
- Load saved material from Global Assets.
Connect nodes and generate
Drag a dot on a data node to a generator input. Connections follow a few simple rules.
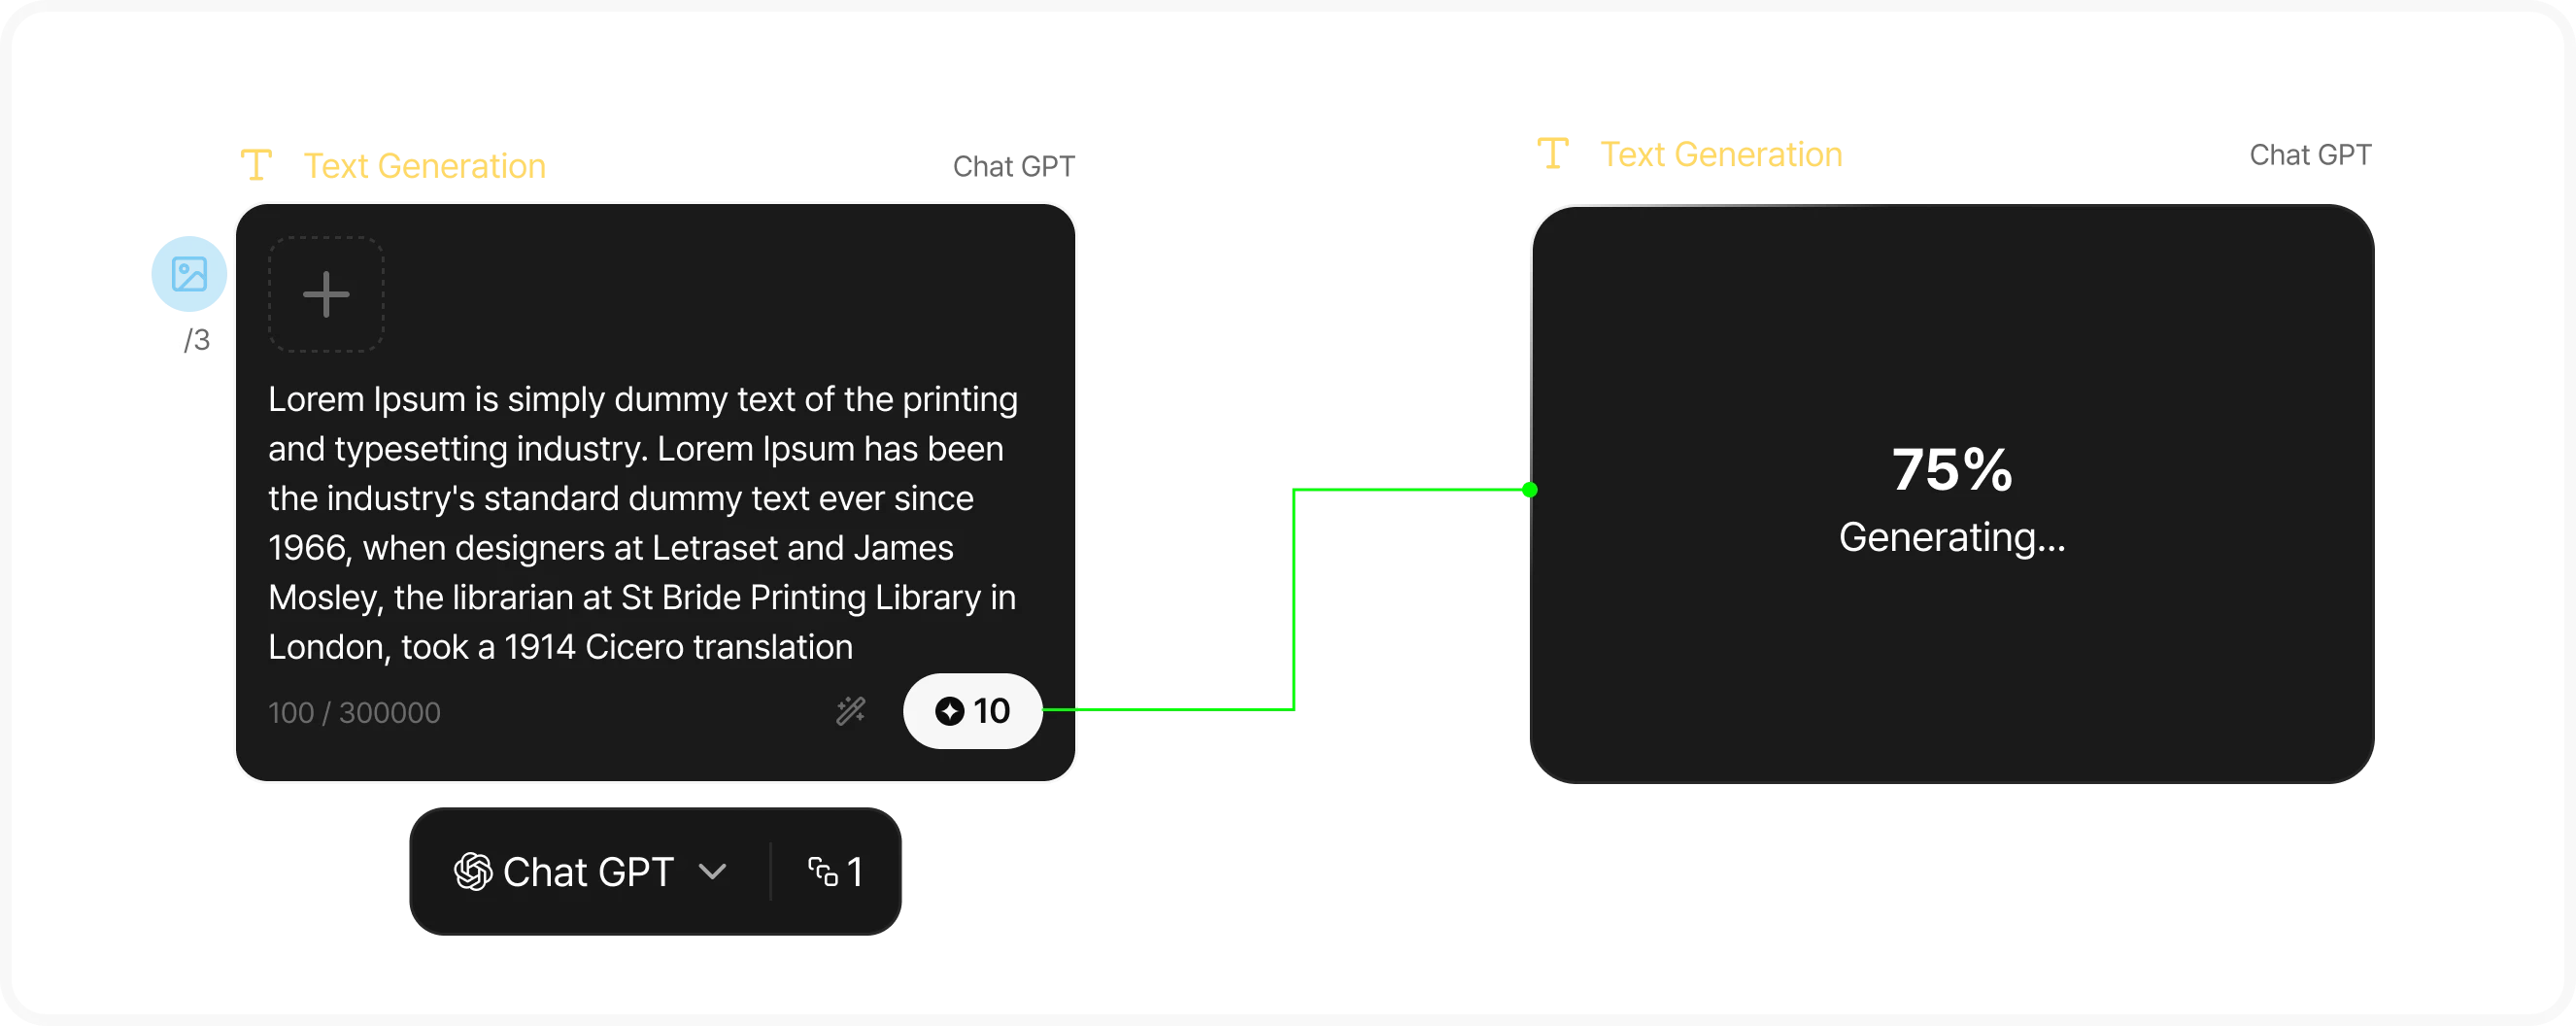
- Connect matching types: text to a prompt input, images to an image reference input.
- Connections run from data nodes to generator nodes. Results are attached as new nodes automatically.
- If a connection fails, a notification explains why, such as incompatible types or too many connections.
Select a model, aspect ratio, resolution, and output count (1–4) to see the estimated credit cost on the generator.
Press Generate to see progress. Results appear as new nodes on the right and are also added to generation history.
Use the four generator types
Choose a generator for the kind of media you want to create.
| Generator type | Description |
|---|---|
| Text generation | Draft scripts or prompts. Attach up to nine reference images. |
| Image generation | Supports GPT models and ToonXL. With ToonXL, choose a default, shared, or personal style. Use prompt enhancement to refine your prompt. |
| Video generation | Create videos up to 30 seconds with Seedance models. Connect images, videos, and audio as references (up to 50 with Seedance 2.5). For example: “[00-03]: Minsu walks down the street, meets Suji, and looks surprised.” Use time-based instructions to control the flow of a scene. |
| Voice generation | Connect a text node and choose a voice. Emotion tags such as [nervous] or [gulp] let you shape the performance (up to 5,000 characters). |
Use advanced tools
| Advanced tool | Description |
|---|---|
| 3D reference | Arrange poses, props, and camera angles in 3D. Export the scene as an image or video node to use as a generation reference—especially useful for precise composition. No credits required. Upload .fbx/.gltf/.glb models up to 200 MB. |
| AI edit | On an image node, select the whole image or paint an area with the brush, then describe the changes you want. |
| Script generation template | Build a script through conversation and place it as a text node. |
| Character sheet / Turn 3 generation | These templates are also available under Utilities in the + menu. |
| Keyboard shortcuts | Press ? to open the shortcut list at any time. |
Let Canvas handle saving
Canvas saves automatically. There is no Save button. Use undo and redo to reverse changes.
To reuse a node setup, select the nodes, right-click, and choose [Save as asset]. Load it later from Assets in the + menu.
Save generated results to Global Assets to reuse them in Storyboard and Playground.
Collaborate on the same canvas
Invite collaborators to edit the same canvas together.
Only the project owner can open the video editor.
Share your work in progress
Use Share to web to create a read-only link to your canvas while you work.
You can hide prompts if needed.
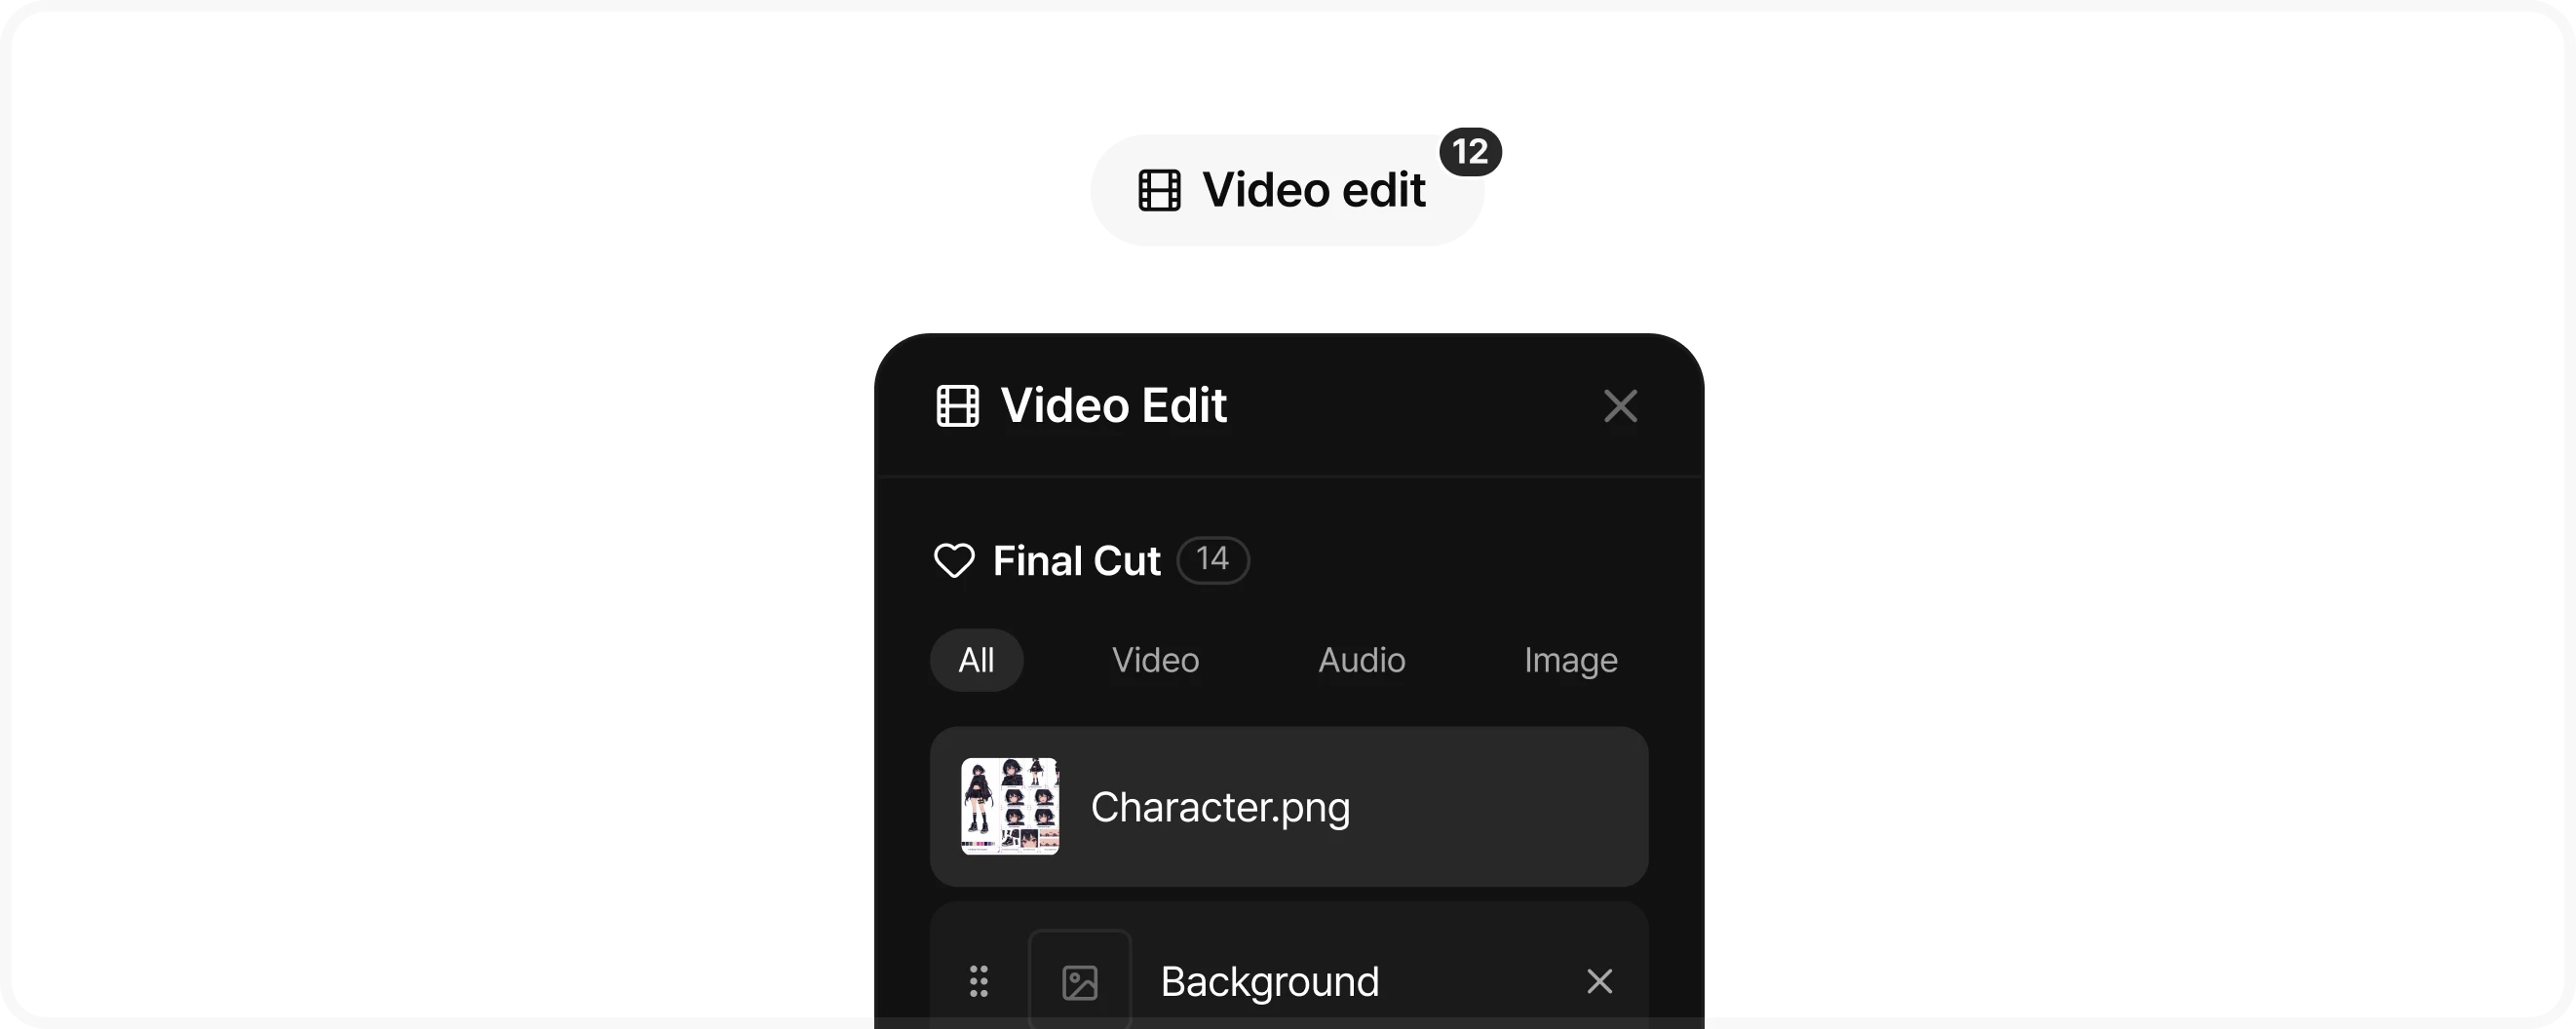
Finish your video with Final Cut
Press ♥ on a result node to add it to Final Cut,
then send it to Video Edit to add captions and sound and render your finished video.
Publish your finished video using Share to Lounge.