
Storyboard - Create from my images
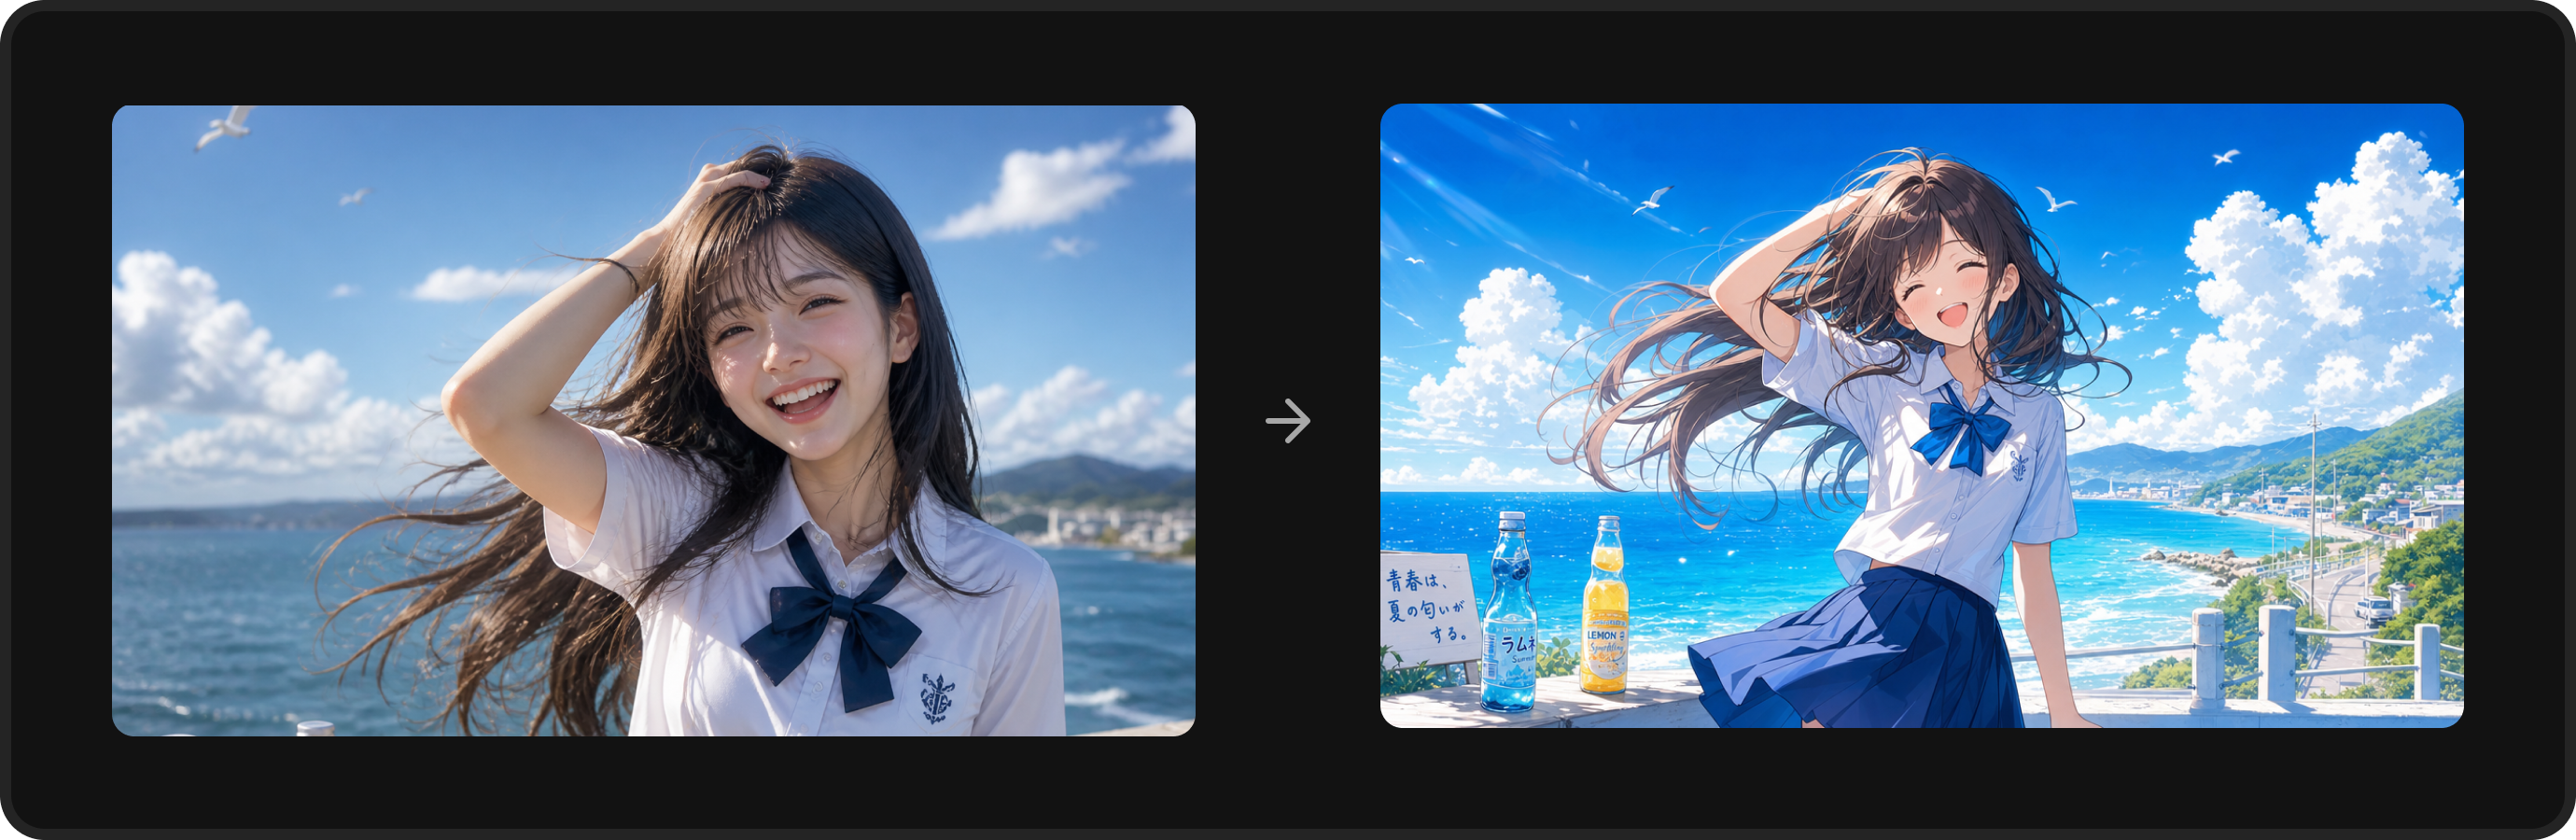
Your photos and drawings can become an animation.
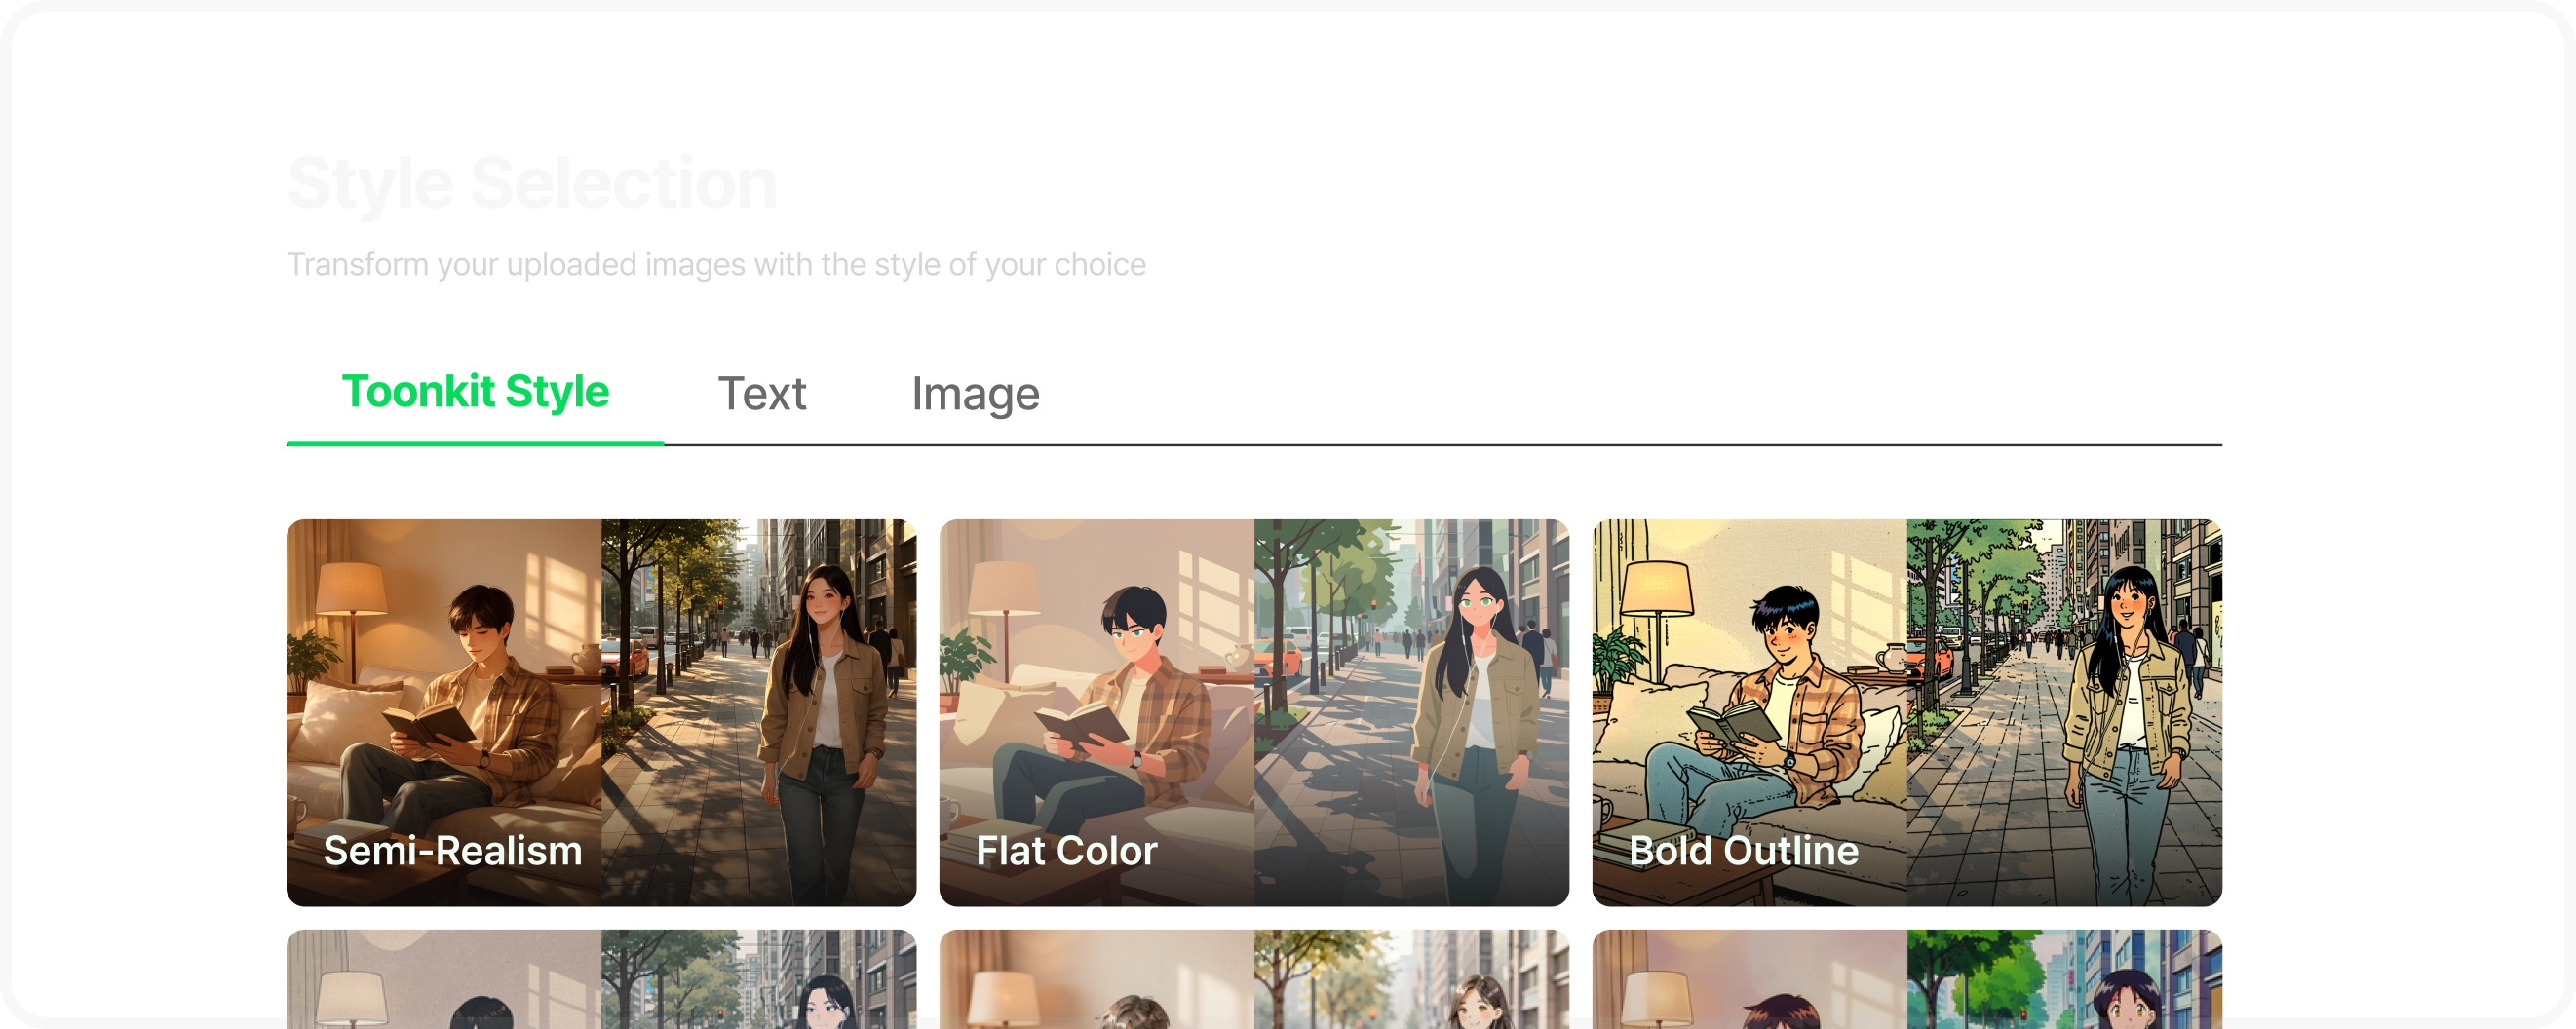
Upload an image for each scene. Toonkit transforms them into your chosen animation style, and each image becomes a shot.
You can upload image files only. Video uploads are not supported.
How is this different from creating from an idea?
Compare the starting materials and workflows of the two features.
| How is this different from creating from an idea? | Create from an idea | Create from my images |
|---|---|---|
| Starting material | A text idea | Your images (photos, sketches, etc.) |
| Scenario | Develop a storyline by chatting with AI | None — the images tell the story |
| Character and background assets | Create them directly in the storyboard | None — uploaded images become shot assets |
| Shot structure | Automatically split from the scenario | One image becomes one storyboard shot |
Before you start
Check the requirements and prepare your files before you begin.
| What you need | A Toonkit account and your original images (up to 10 per upload) |
|---|---|
| Image requirements | At least 300px on each side; up to 4K (4096×4096) recommended; 30MB or less per file (JPG, PNG) |
Step-by-step guide
Follow these steps to bring your creative project to life.
Choose a template and aspect ratio
Select the “Create from my images” template on the storyboard creation dashboard.
Choose the project’s aspect ratio to suit your goal: 9:16 for a vertical short or 16:9 for a widescreen video.
Upload your images
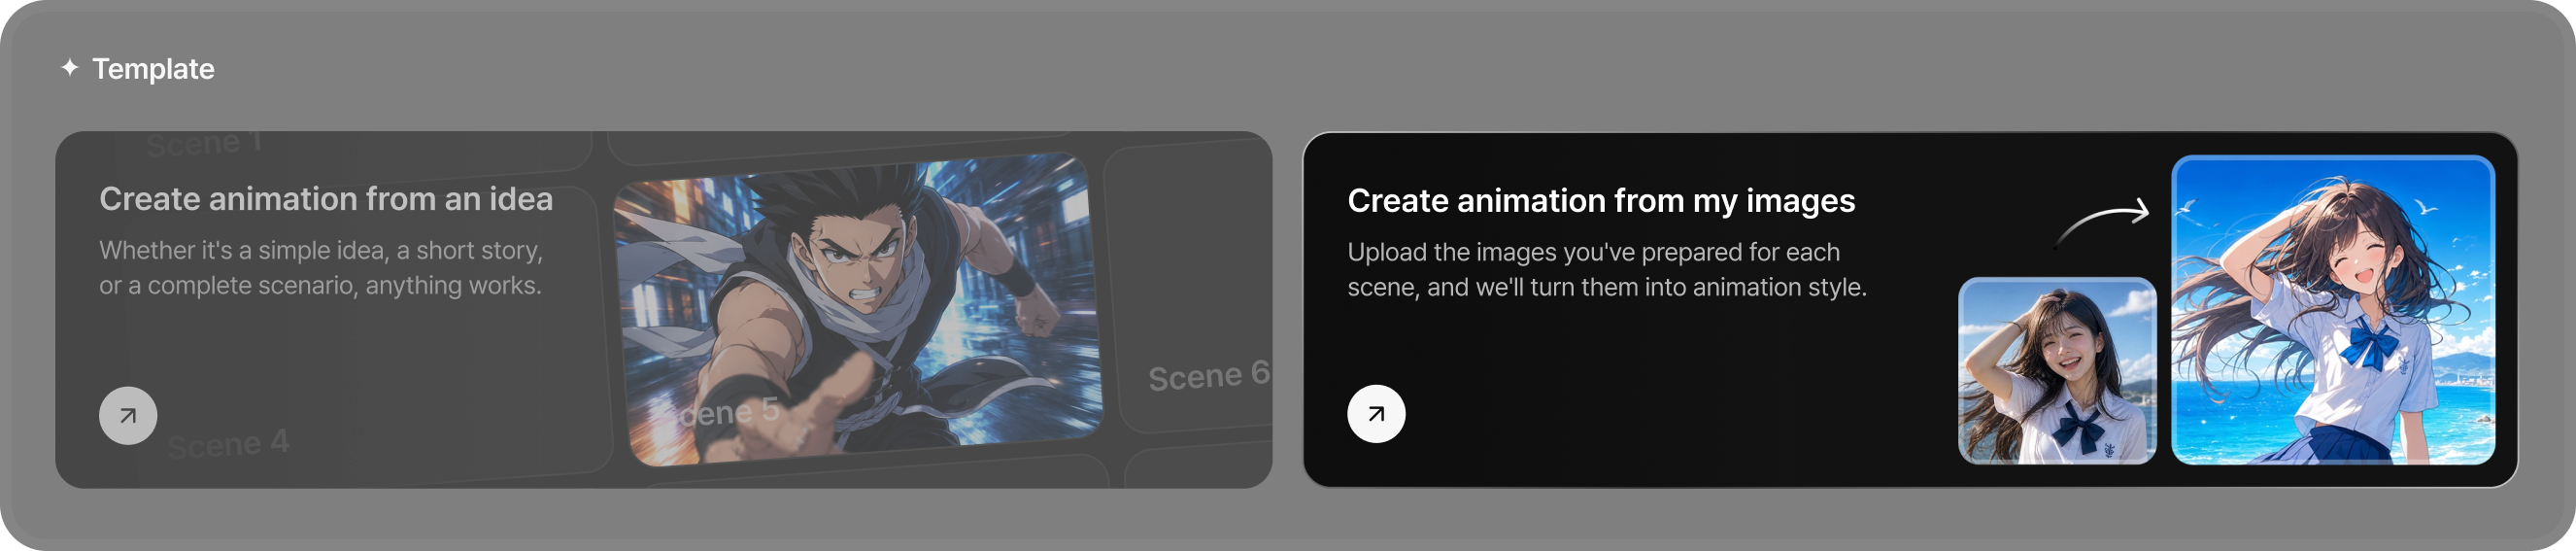
Drag images into the upload area on the left, or click “Click or drop image” to select them.
Upload up to 10 images at a time. “Uploaded images n/10” shows your progress.
Use Retry to upload any images that failed.
* If an image’s proportions differ from the selected aspect ratio, empty areas may appear. AI Auto-fill fills these areas naturally.
Choose a style
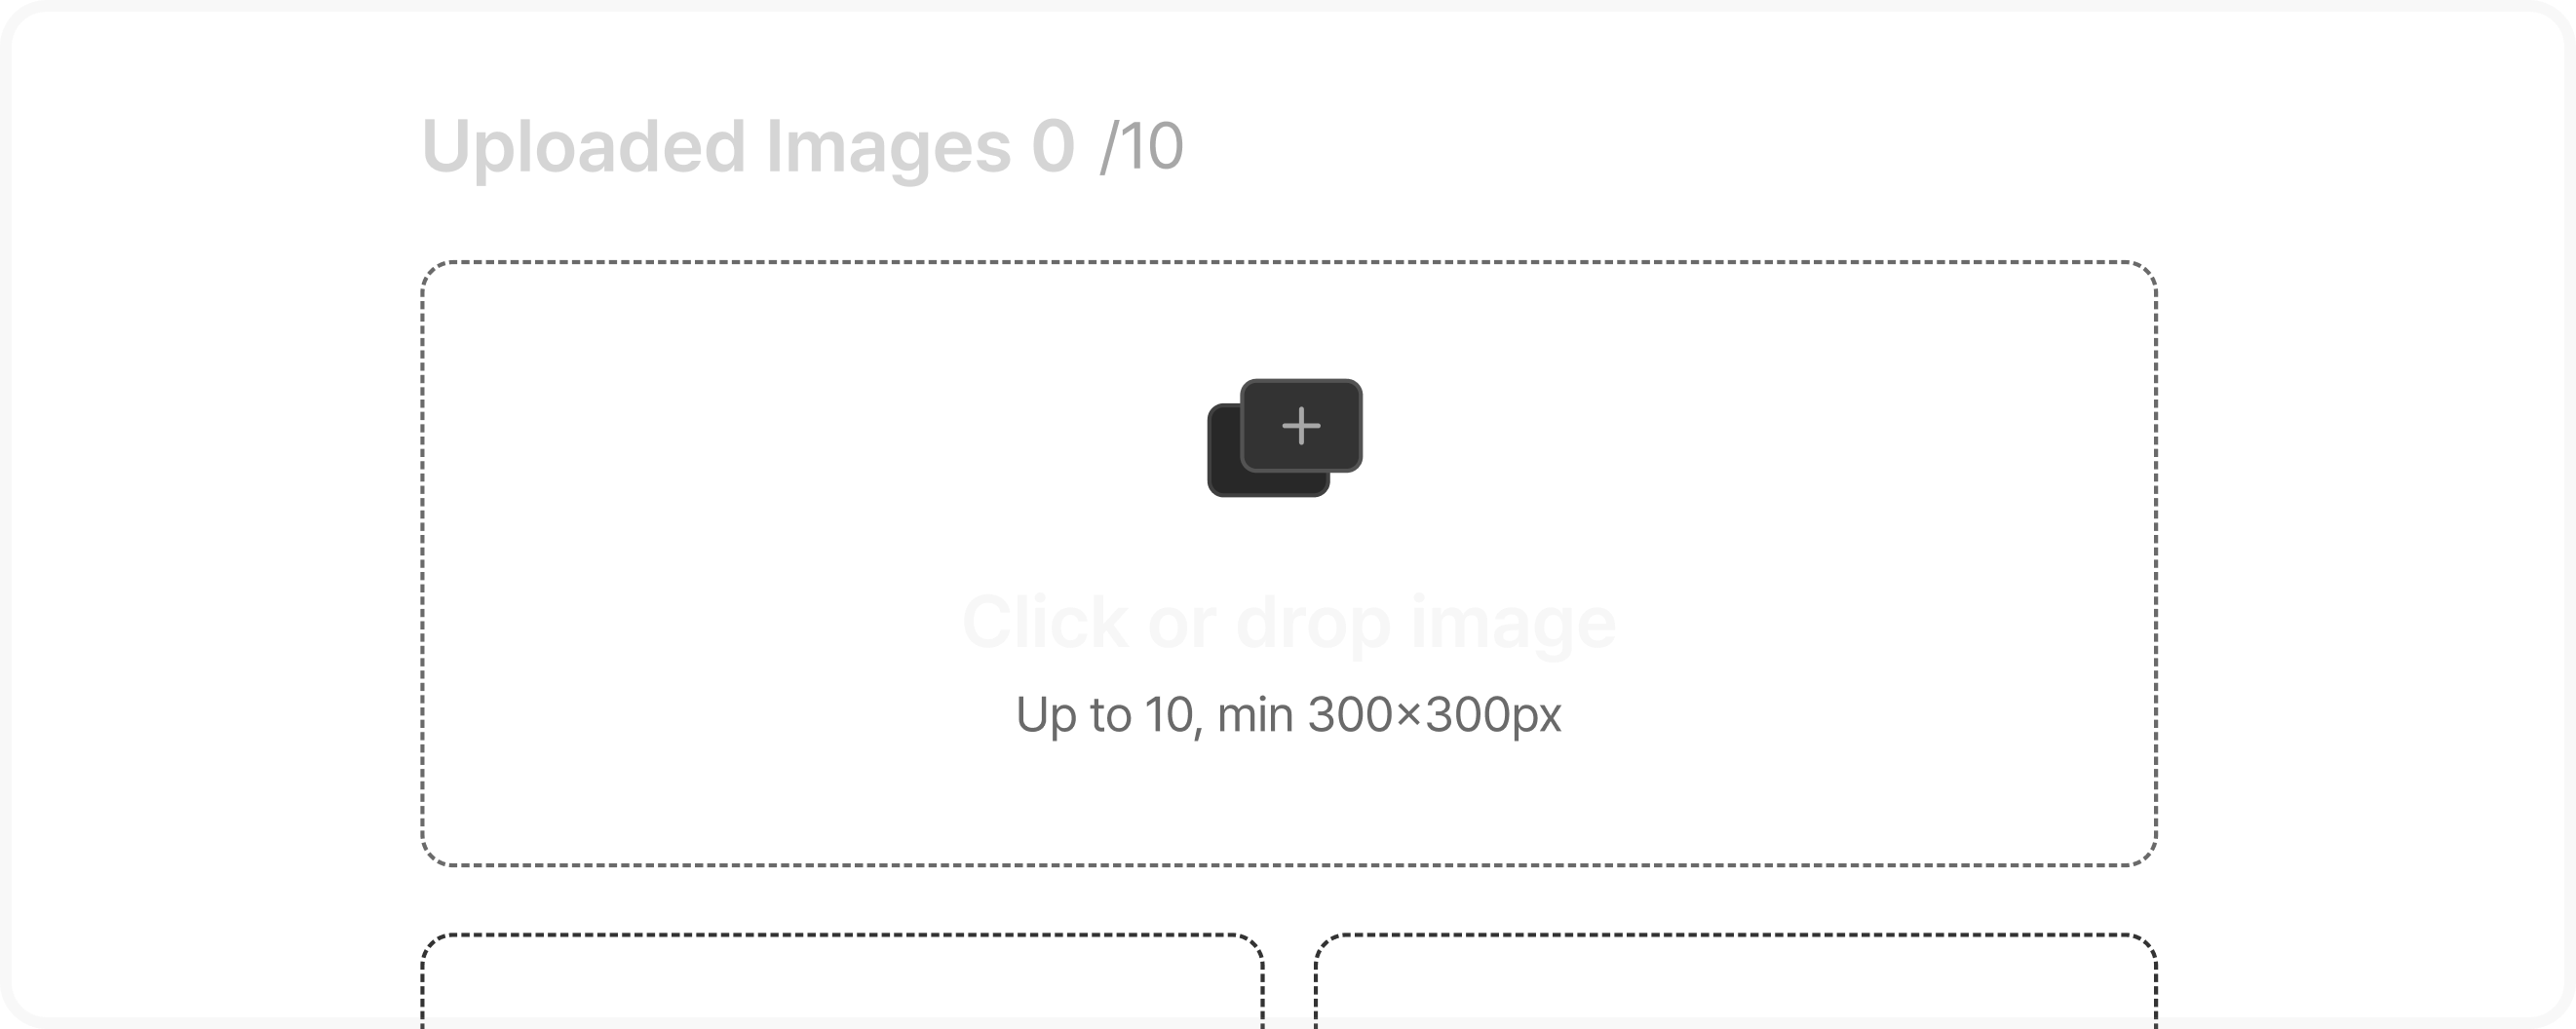
Choose one of three ways to transform your uploaded images into the visual style you want.
Toonkit Style (ToonXL)
PopularChoose an official preset in one click, from 90s cel animation and web-novel illustration to simple line art.
Text instructions
FlexibleDescribe the style you want, such as “paint in watercolor” or “apply a soft, warm sunset palette.”
Reference image
Style matchChoose a reference image with the style you want from your inventory, or upload one yourself.
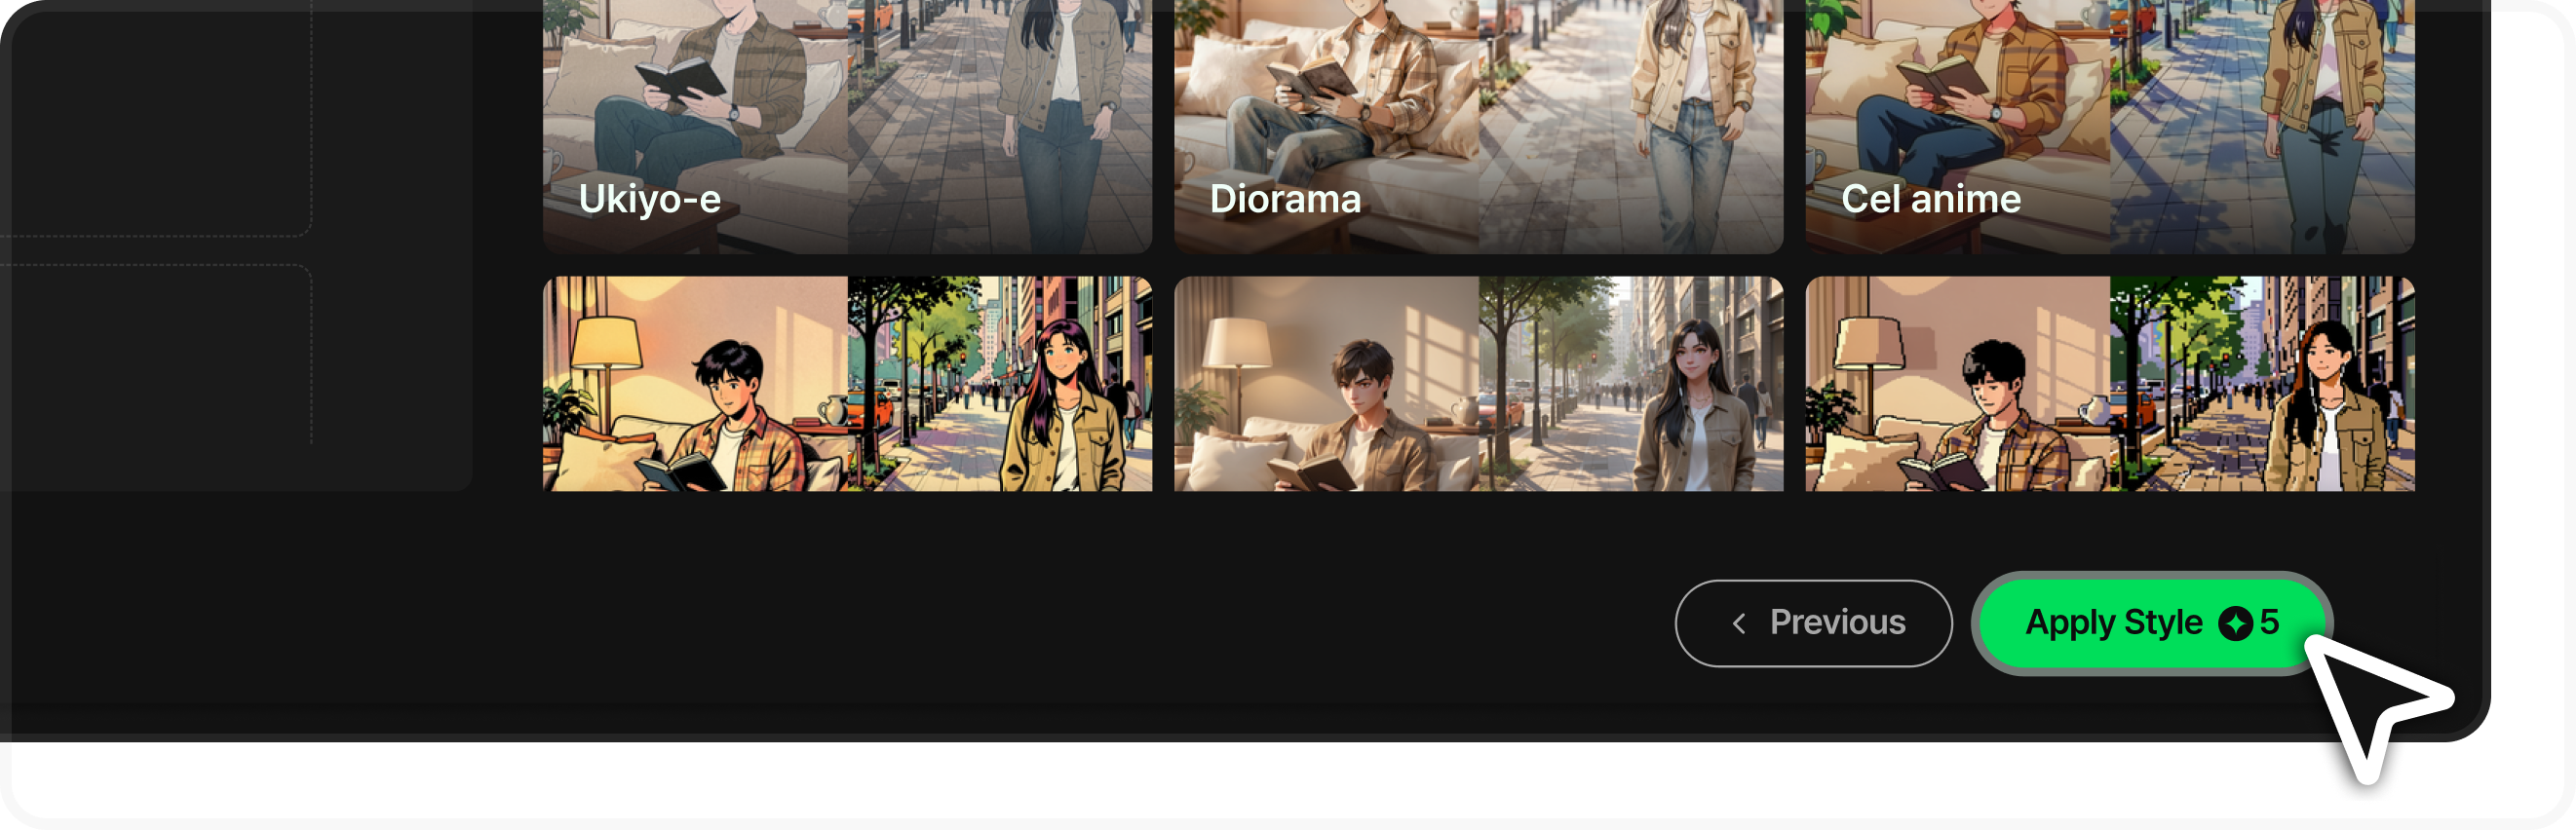
Apply the style
The Apply Style button shows the credit cost in real time: model cost × number of uploaded images.
Click to start the transformation. In the storyboard, your images become shots in order as they are transformed.
The style is fixed for the project. Images added later automatically use the style you originally selected.
Add shots and create videos
Continue working after your storyboard is ready.
Upload additional shots
Add more shots at any time with Image Upload in the scene panel. Additional images must be at least 500px.
Generate video
Choose a model, resolution and duration in the Video Generation tab to turn a shot into a video. Enable audio generation to include sound.
Change a single shot’s style
To give one shot a different look, open it and use Change Style on the Shot Creation screen.
Creation tips
Keep colors and lighting consistent
Images with similar subject contrast and lighting help AI style transfer produce a cohesive sequence, as if drawn by one artist.
Use high-resolution originals
Provide sharp, noise-free images at least 500px wide. Clear facial features help the model create more precise transformations.
Consistency through detailed descriptions
The base transformation uses a small basic credit amount per shot. Additional duration-based credits apply when you add video motion with a 4- or 8-second render.