
Storyboard — Create from an idea
One line of inspiration is all you need.
Develop your scenario in a conversation with AI, then let Toonkit help you build the cuts, characters, and backgrounds.
If you are new to Toonkit, this is our recommended place to start.
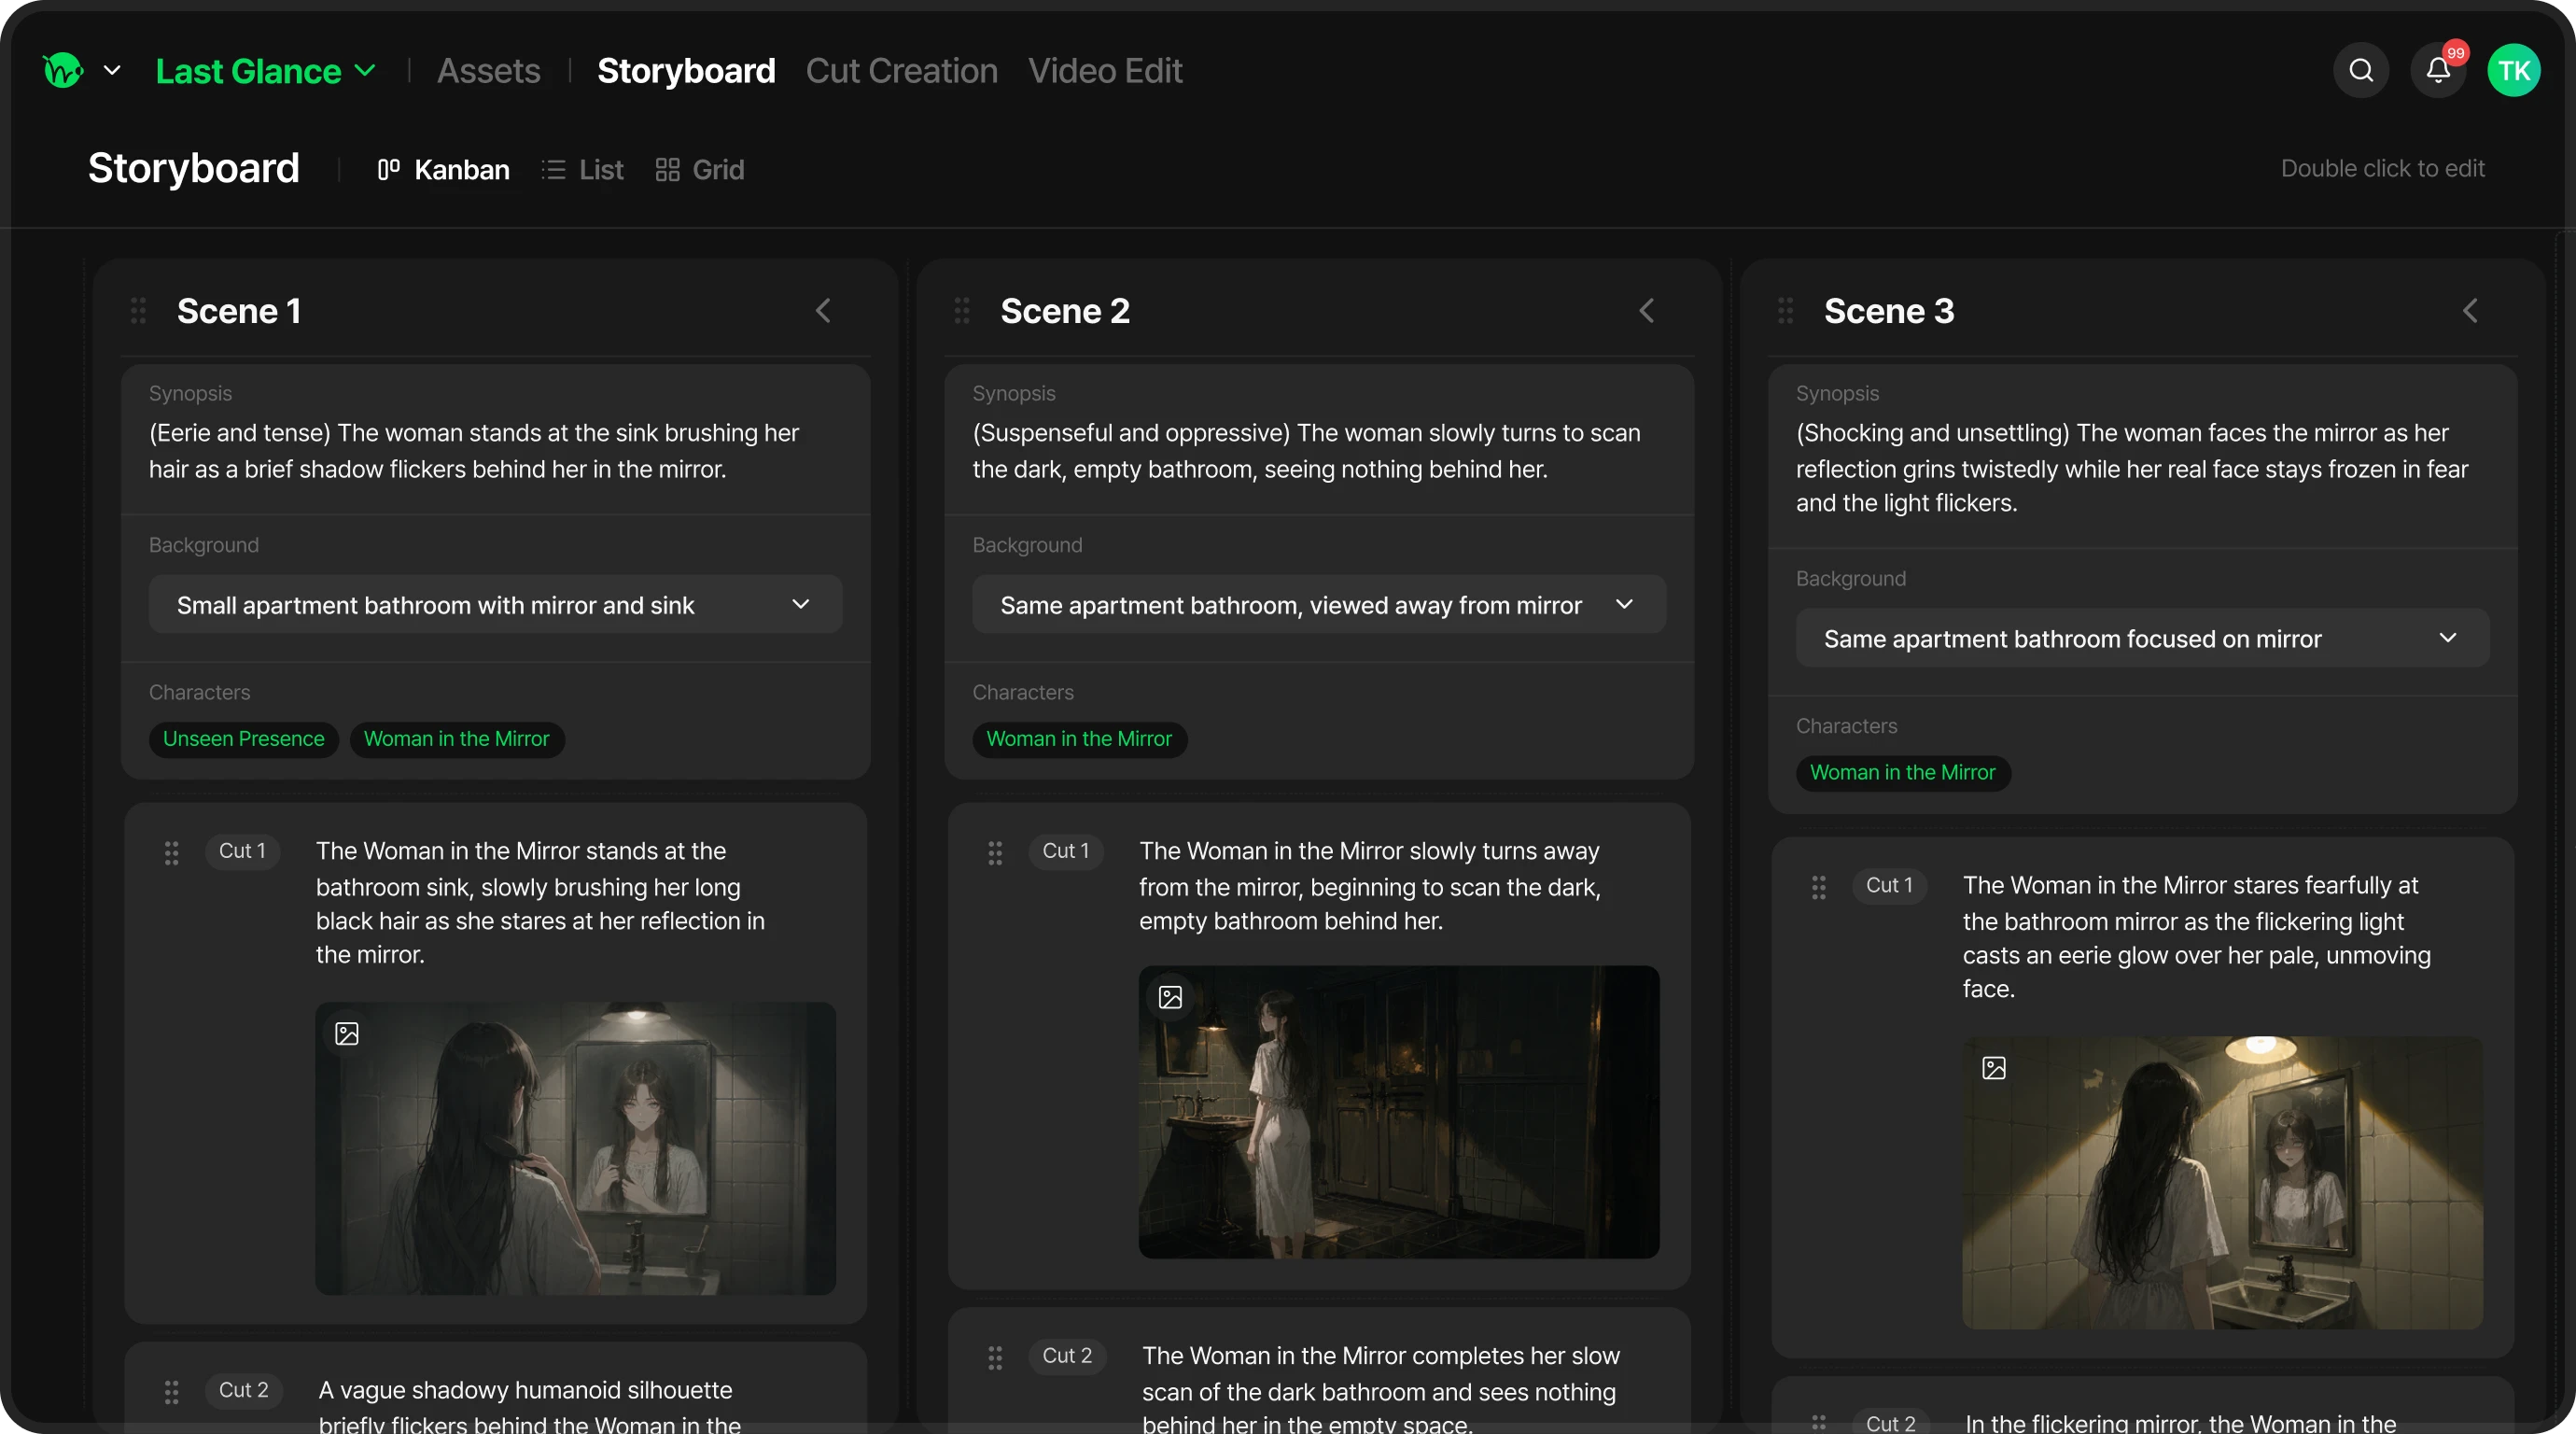
Step-by-step guide
Follow these steps to turn your idea into a finished animation.
Choose a template and aspect ratio
Open Storyboard in the Toonkit Studio sidebar and select “Create animation from an idea”. You can also start from the Storyboard card in Animation Studio on the home page.

Enter your idea
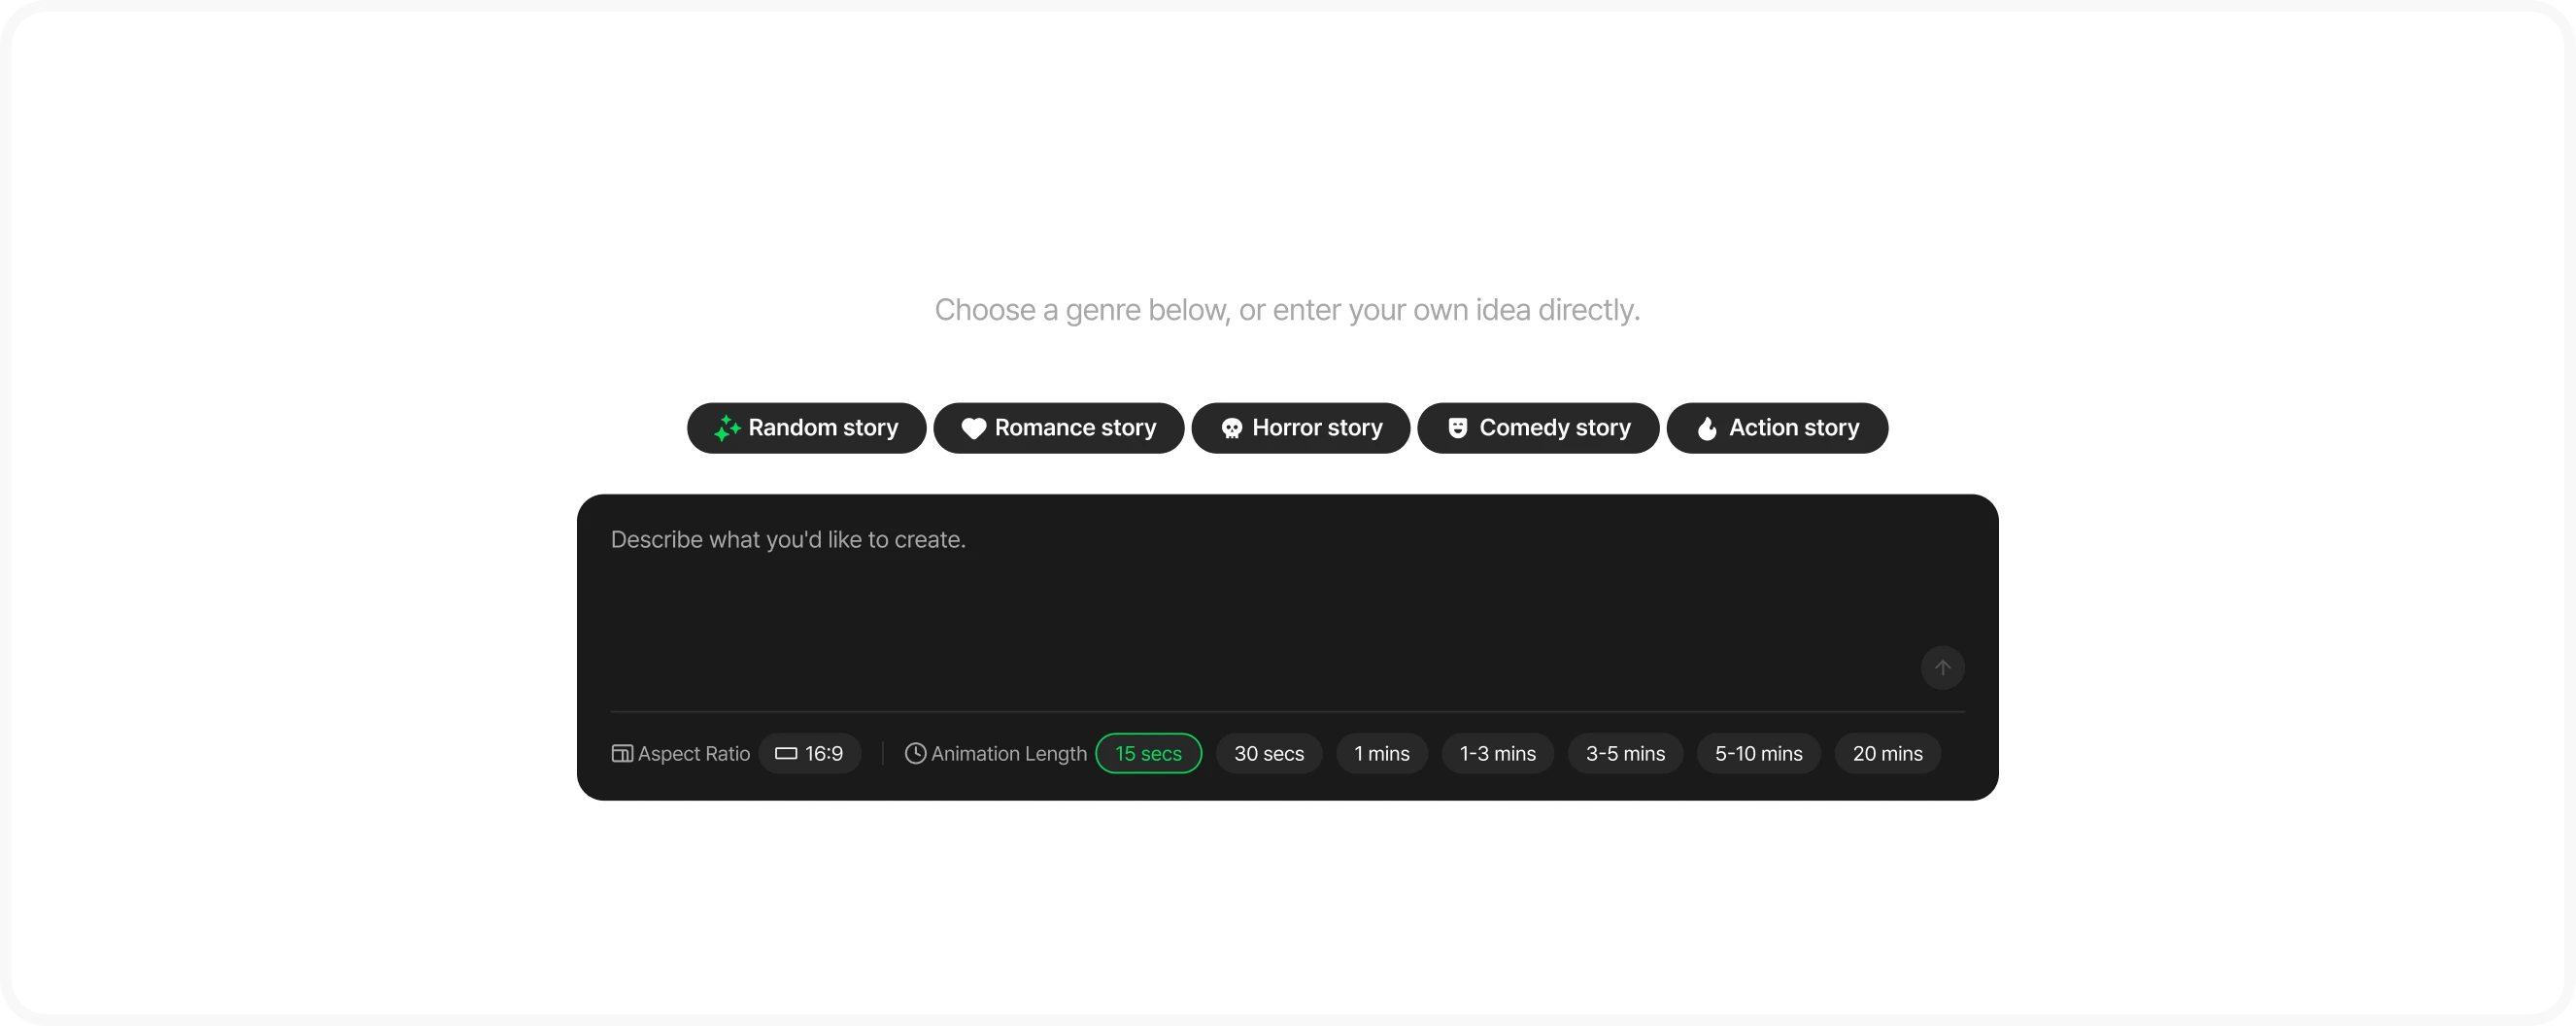
The “What scenario would you like to create?” screen offers two ways to begin.
Start with a genre
- Select a story chip, such as Random story or Romance story, to start writing immediately.
Write your own idea
- Describe what you want to make. A line like “Two people share an umbrella on a rainy day” is enough. You can also paste a complete scenario.
Choose the animation length below the input. There are seven options from 15 seconds to 20 minutes, with 15 seconds as the default. Shorter stories need fewer cuts and are easier for a first project.
Develop and confirm your scenario with AI
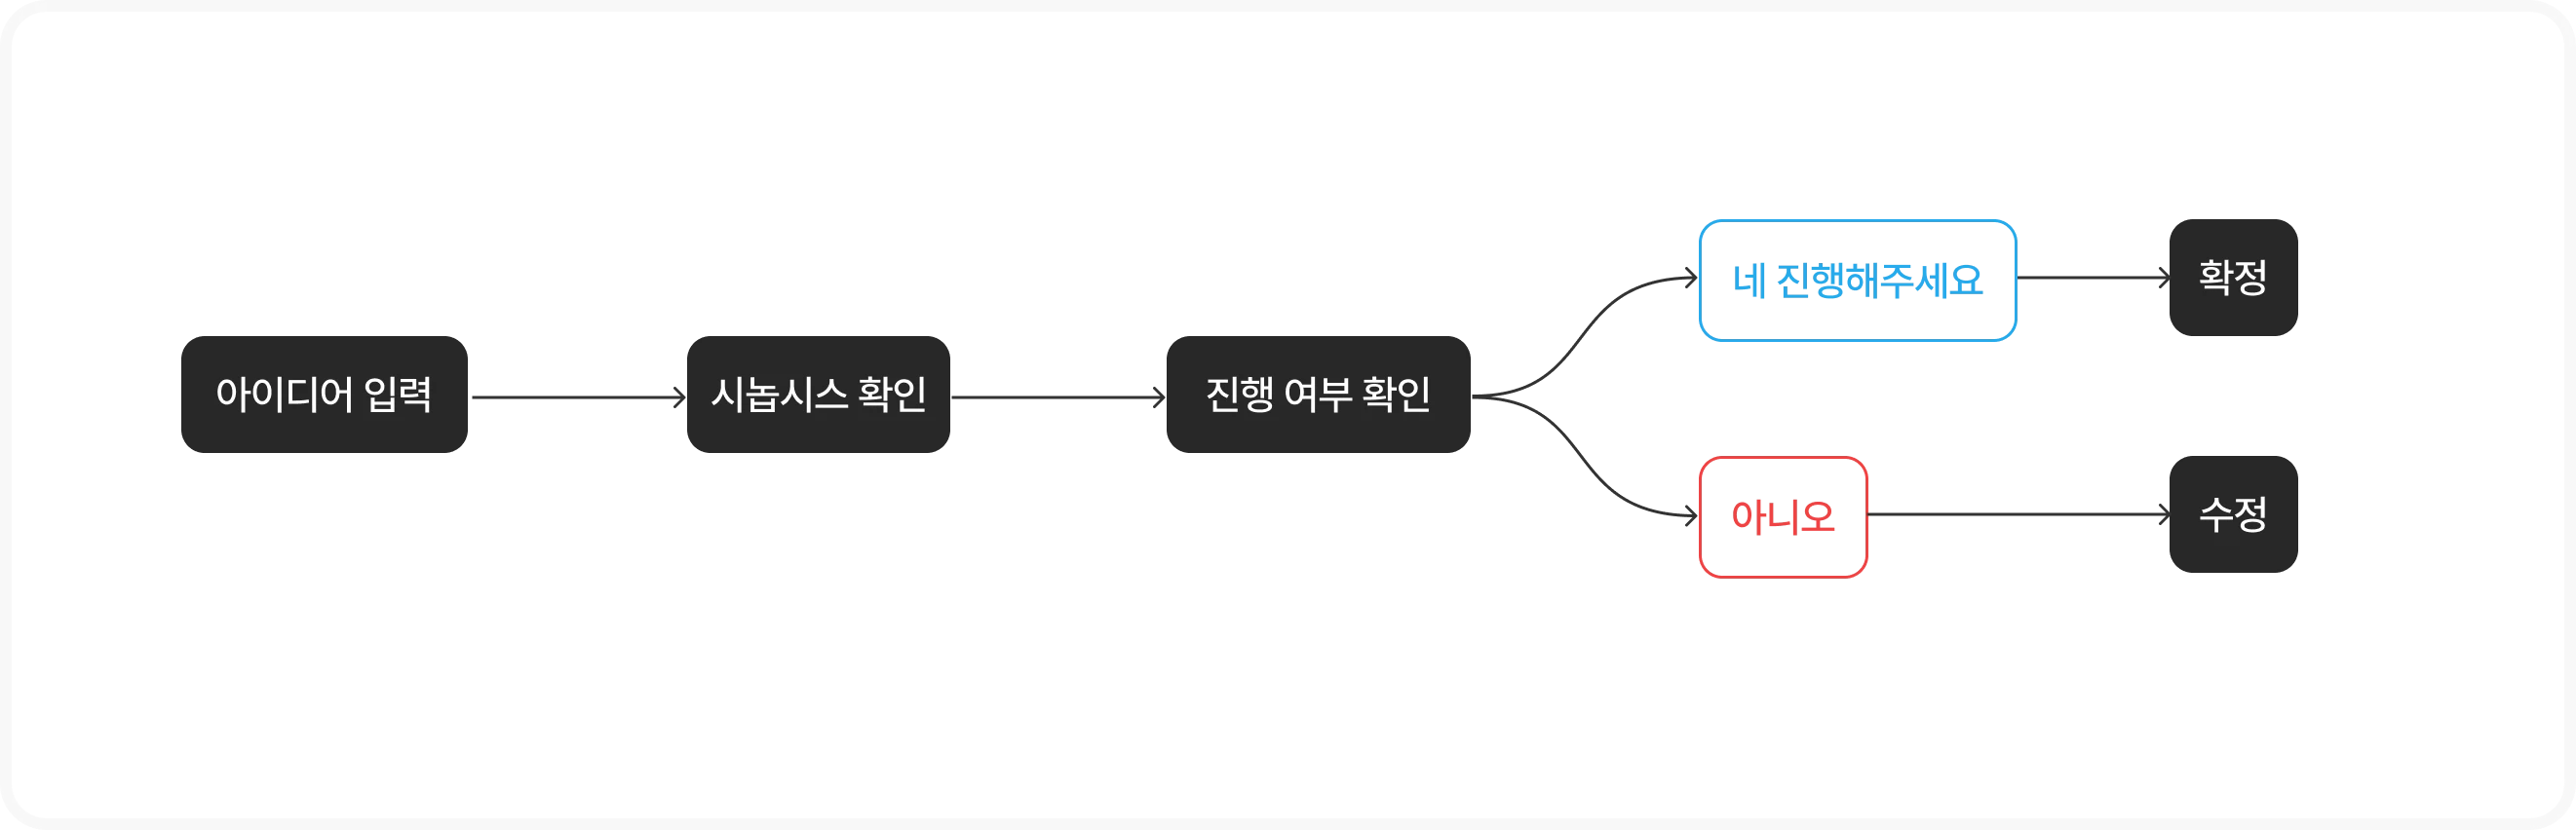
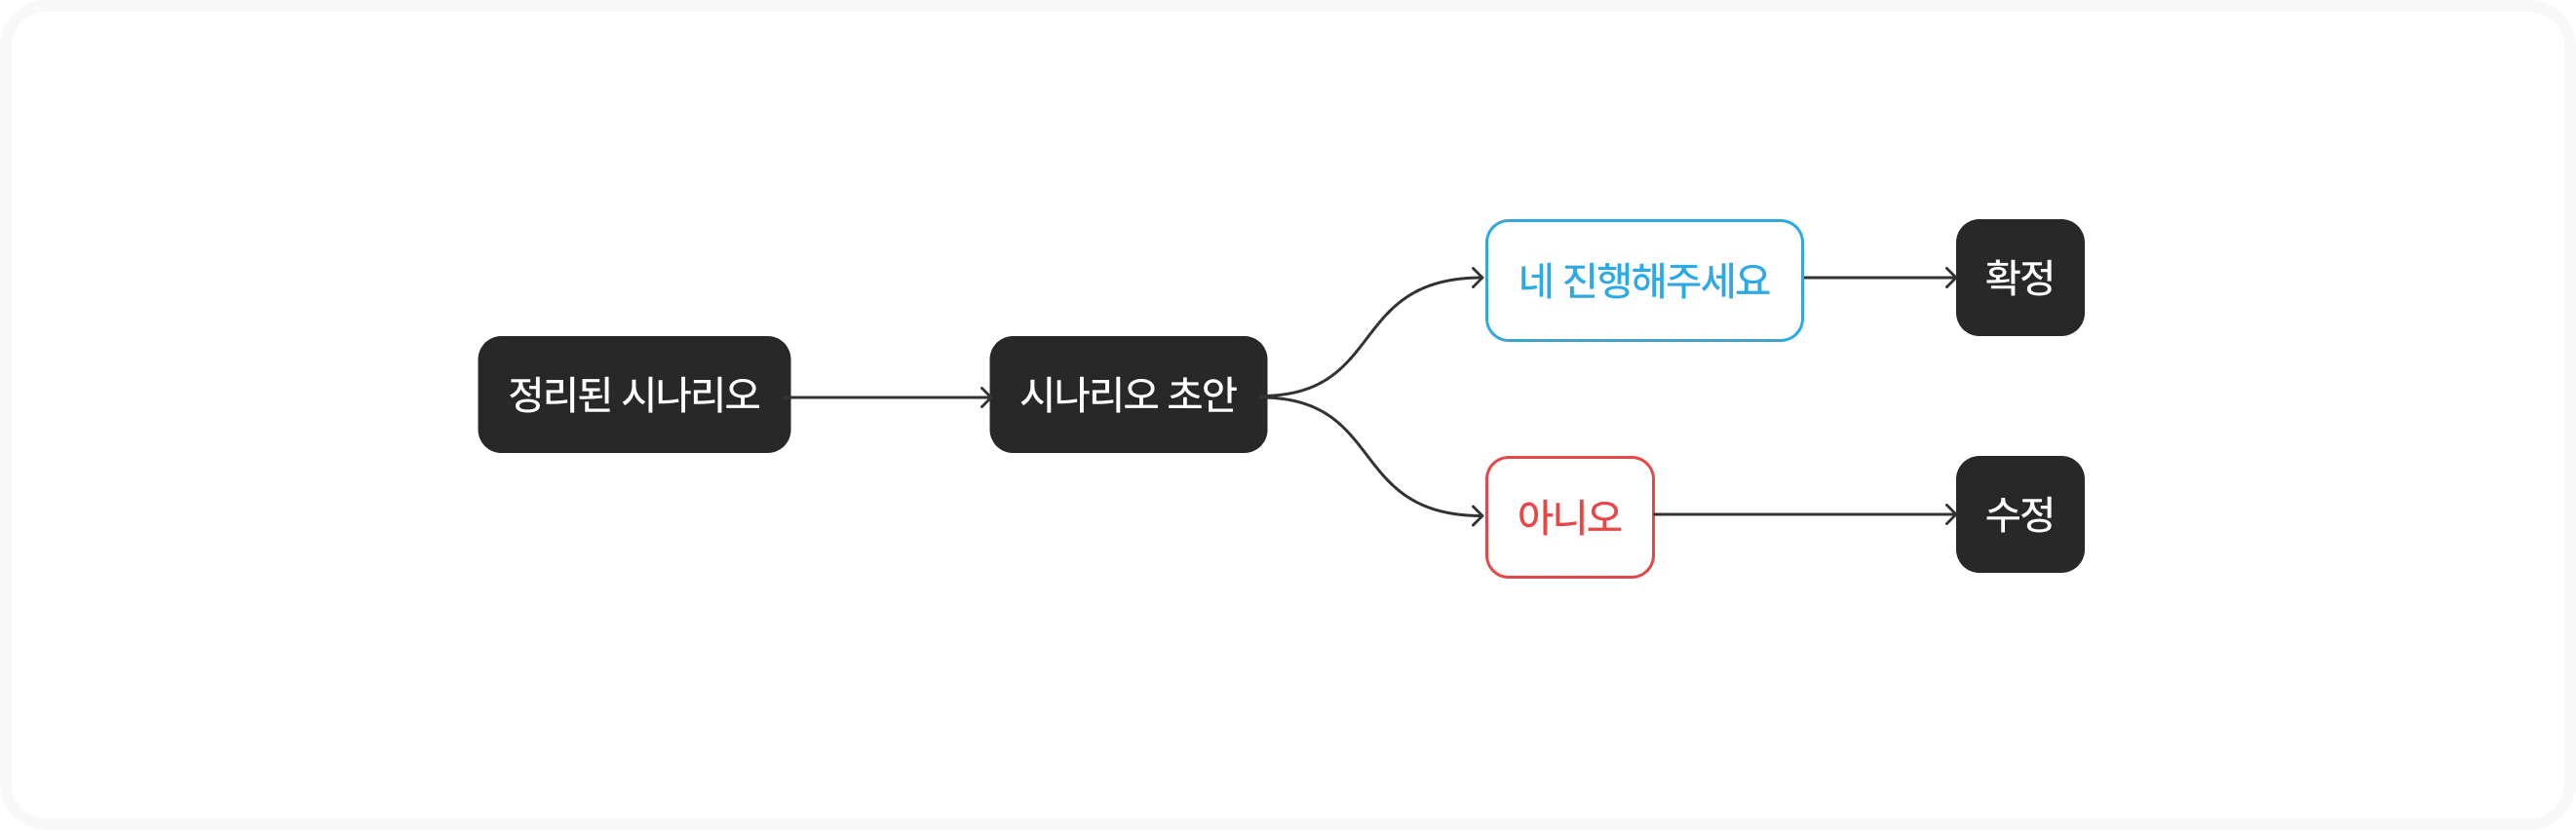
The conversation follows a slightly different path depending on how detailed your input is.
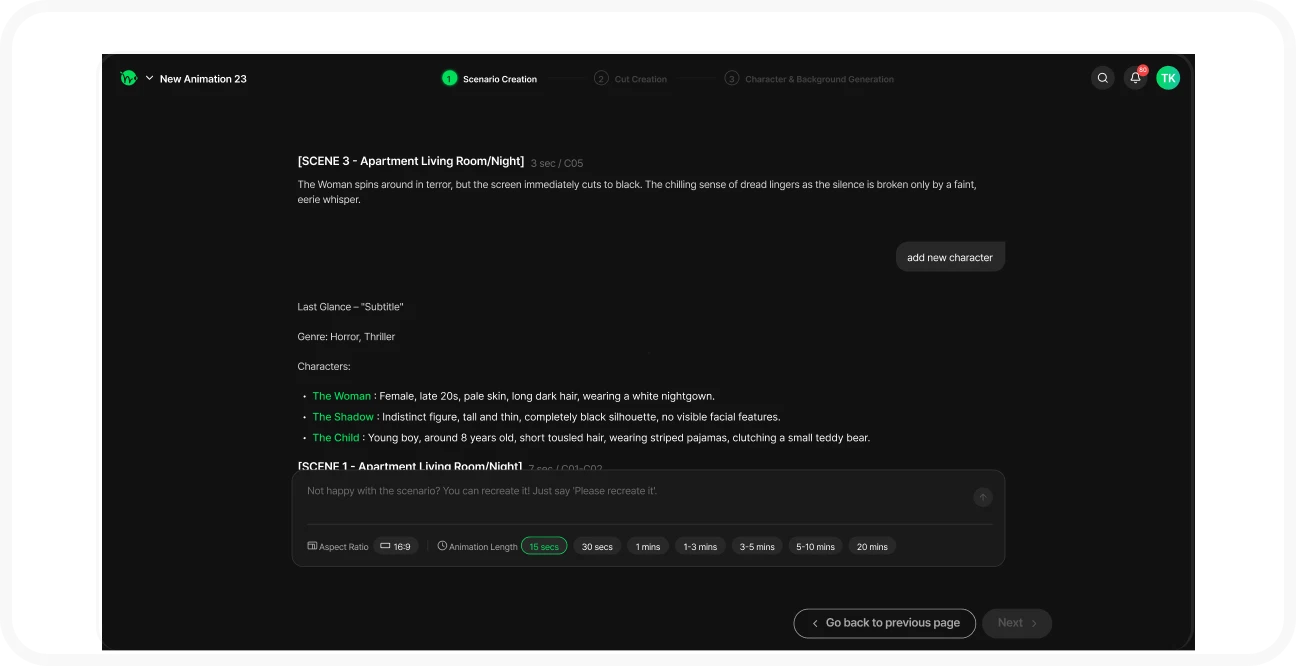
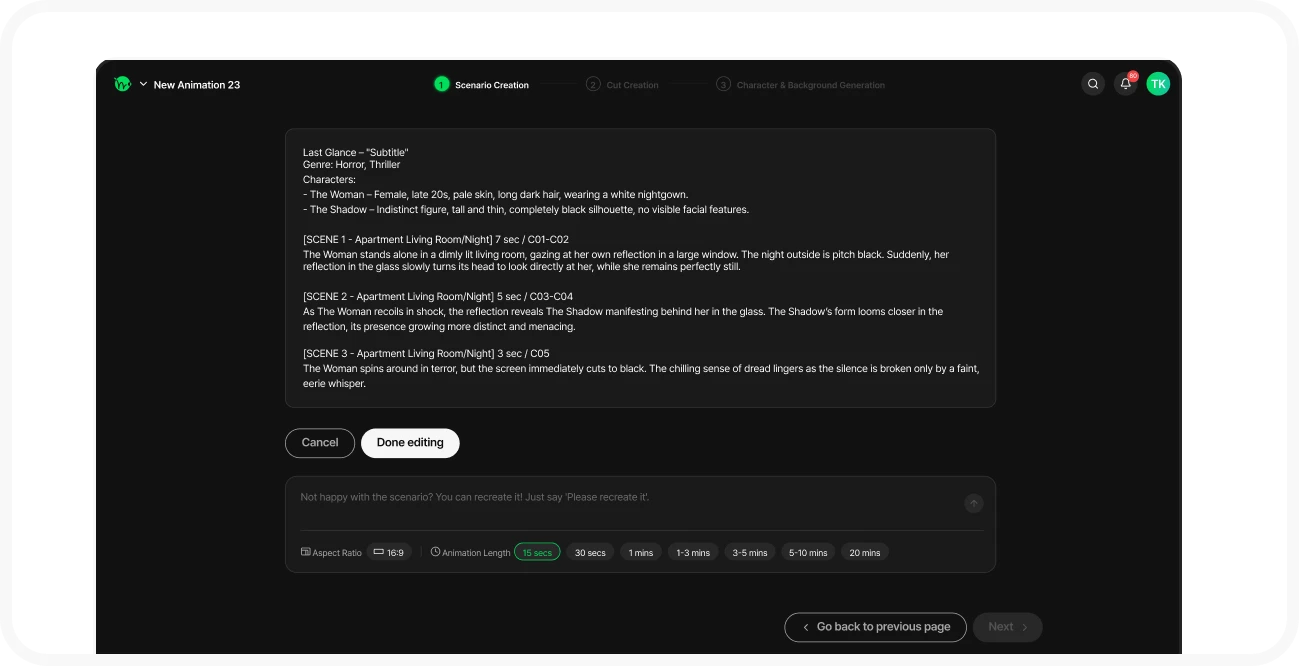
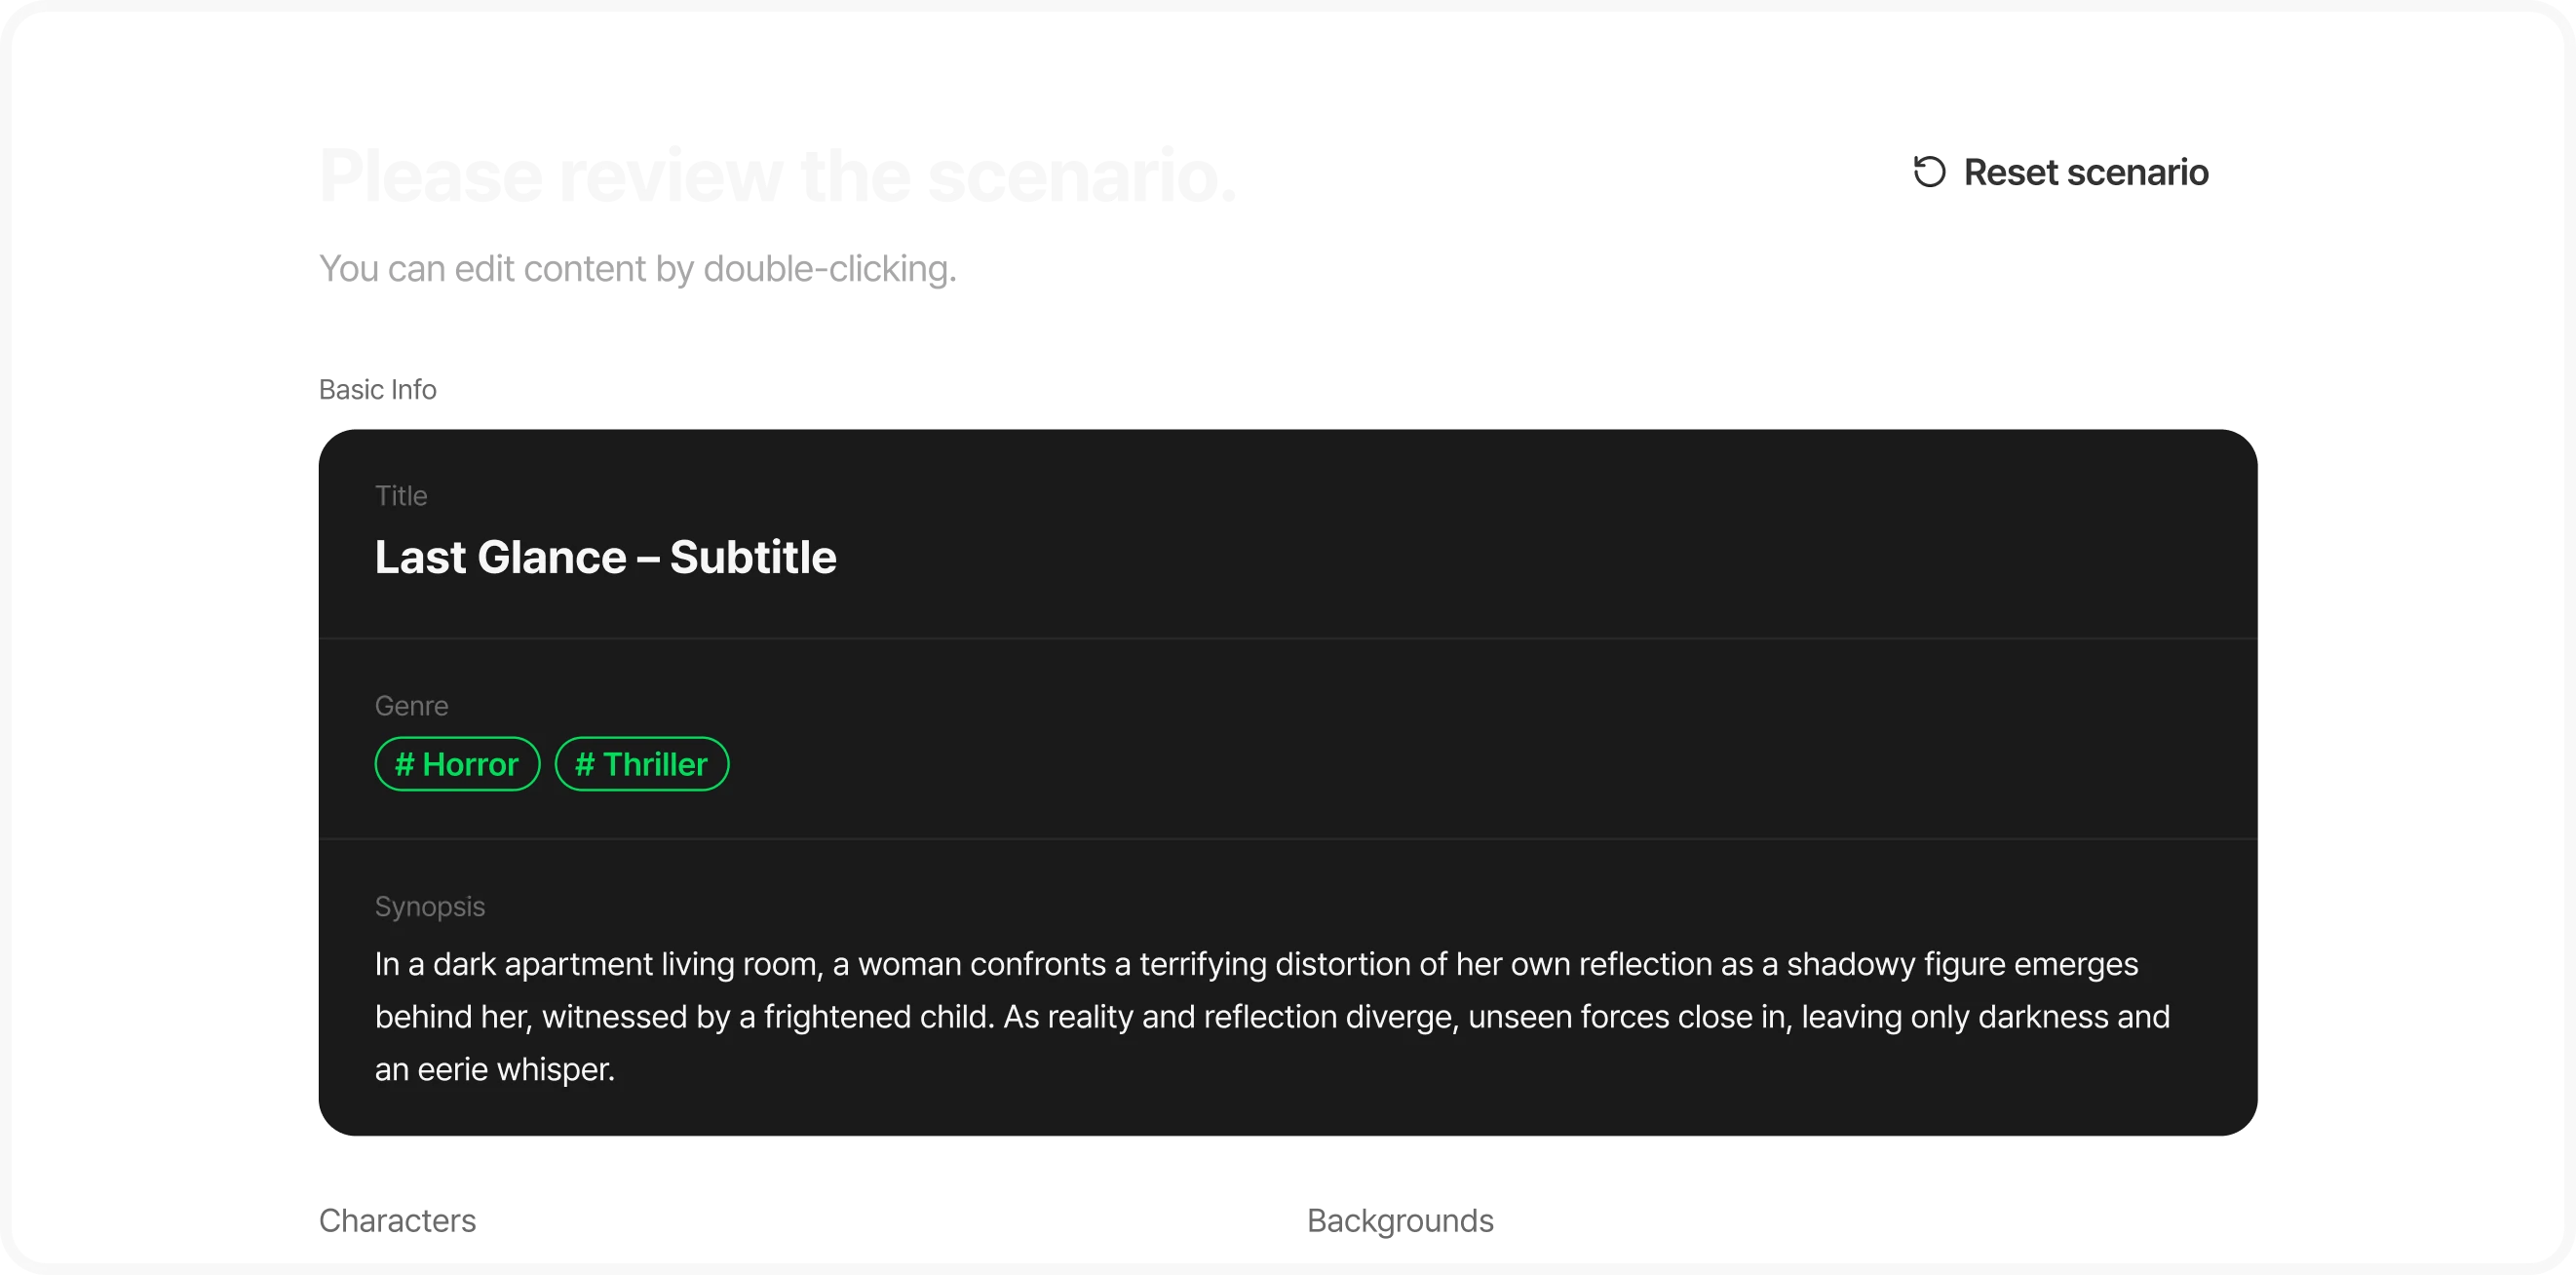
Review the scenario structure
AI organizes the scenario into a title, genre, synopsis, characters, backgrounds, and scenes. Double-click an item to edit it. You can also add characters and reorder scenes here.
Selecting ‘Another scenario’ deletes the current scenario, and it cannot be recovered.
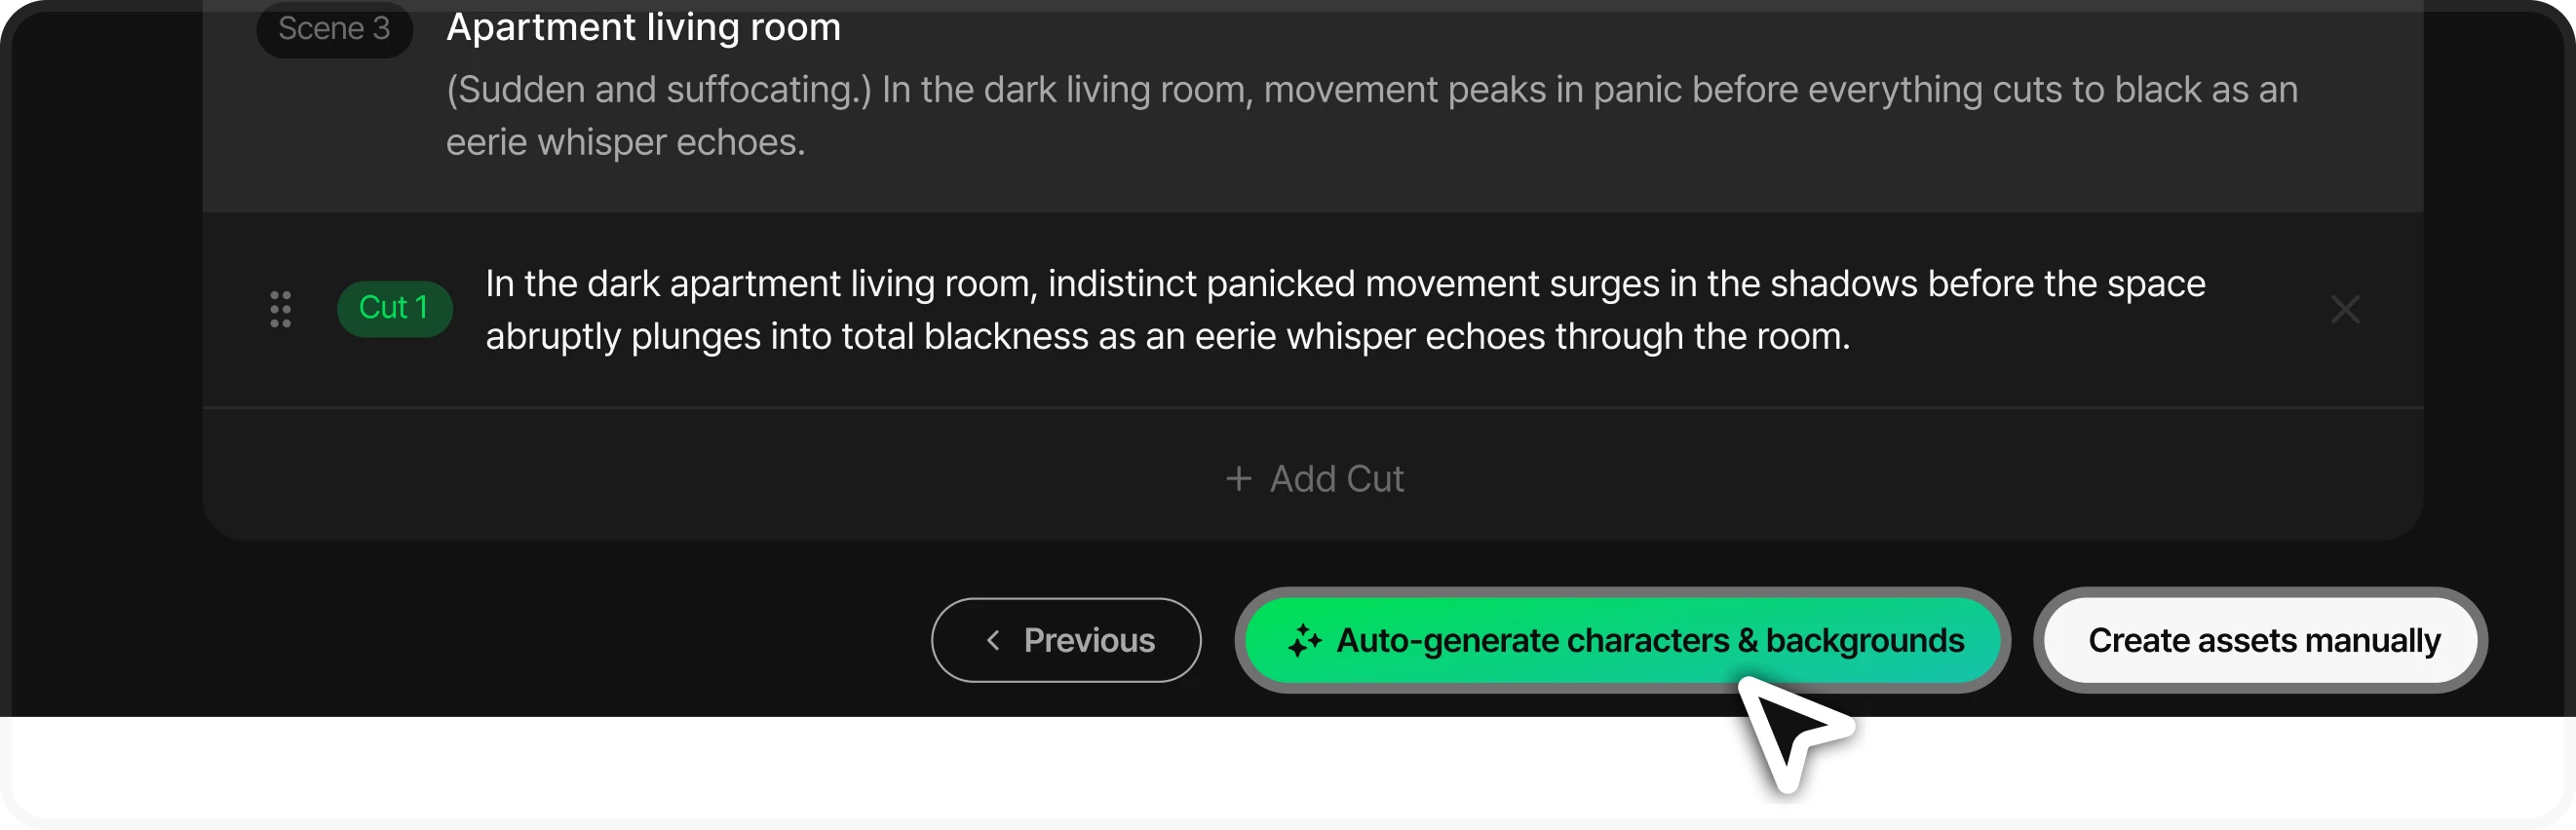
Review the cut descriptions
Descriptions are generated for each cut in a scene. Double-click to refine them, add cuts, or drag to change their order. Clear cut descriptions help you get better images in the next step. Choose one of the two options at the bottom of the screen.
Generate characters and backgrounds automatically
Quick startTry the storyboard first,
or start creating quickly without preparing assets.
Create assets yourself
For creators with assets readyUse characters, backgrounds, and styles you already have,
or build your own assets with detailed control.
Create characters, backgrounds, and props
If you chose to create assets yourself, prepare them in the Characters, Backgrounds, and Props tabs.
Characters
Create a character sheet for each character in your scenario.
Use ‘Generate all’ to create them at once.
Backgrounds
Optional.
If you skip this step, backgrounds matching each scene are generated automatically during cut creation.
Props
Add any objects your animation or characters need.
The ‘Auto-generate cut images’ button becomes available when all character images are ready. The total credit cost for all cuts is shown next to the button.
Refine your storyboard
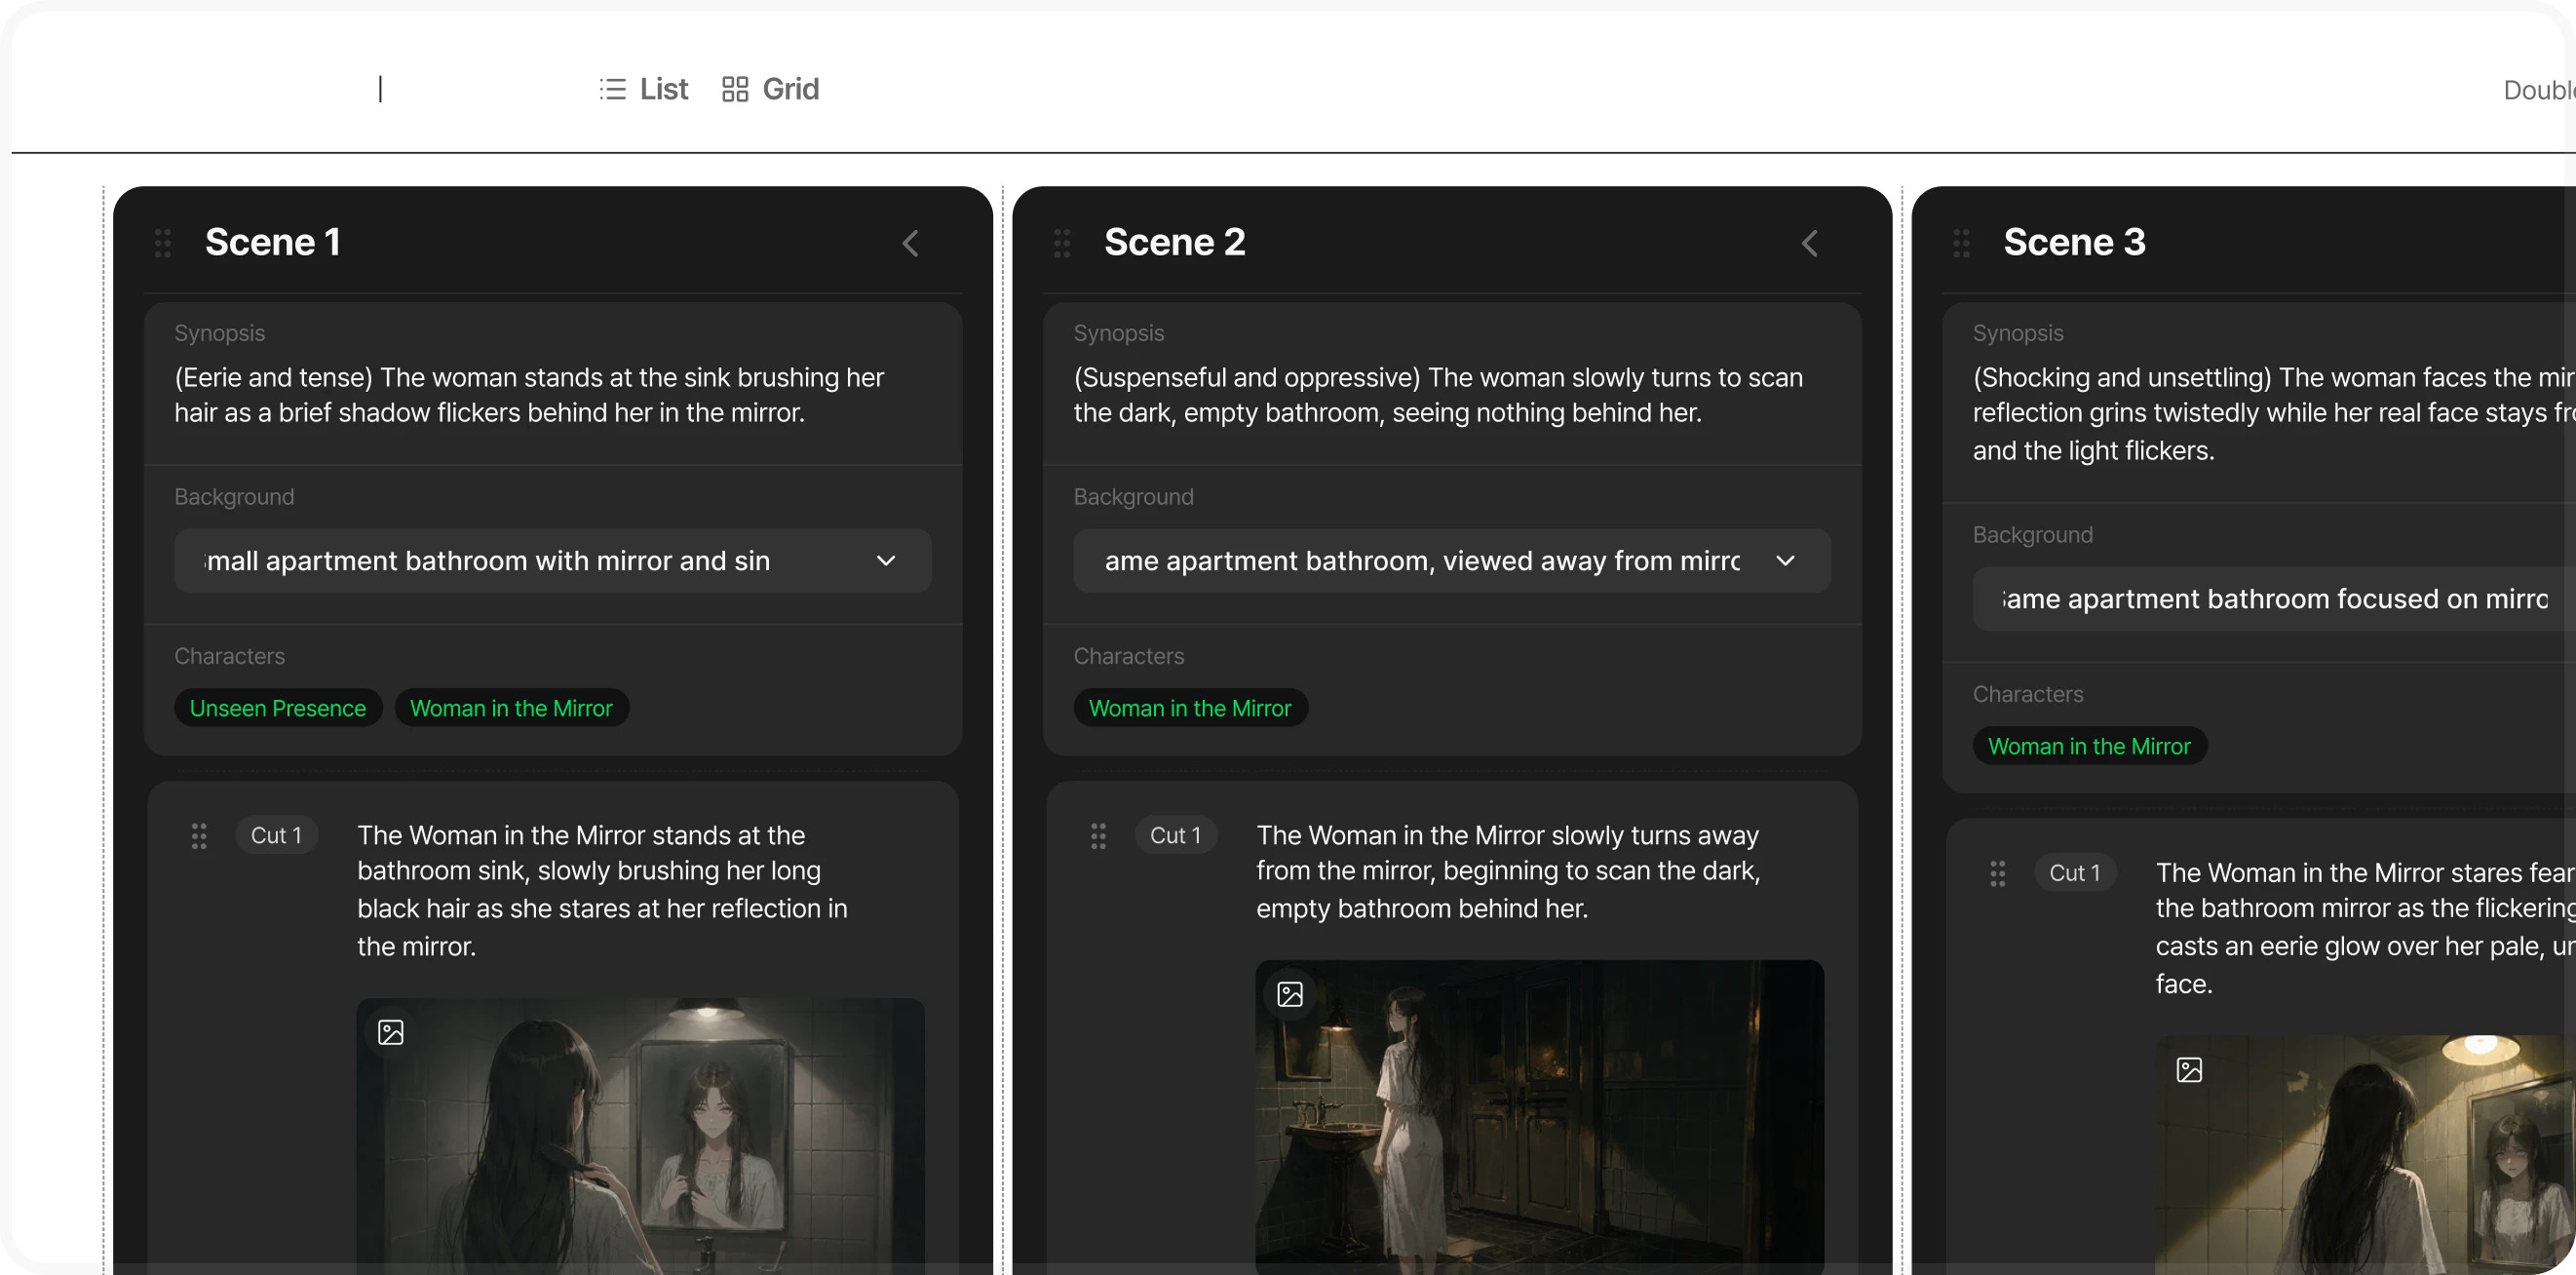
Once your assets are ready, open the project storyboard. Use Kanban, List, or Grid view to review the overall flow. Fill your cuts with images and videos from Cut Creation.
Edit and finish your video
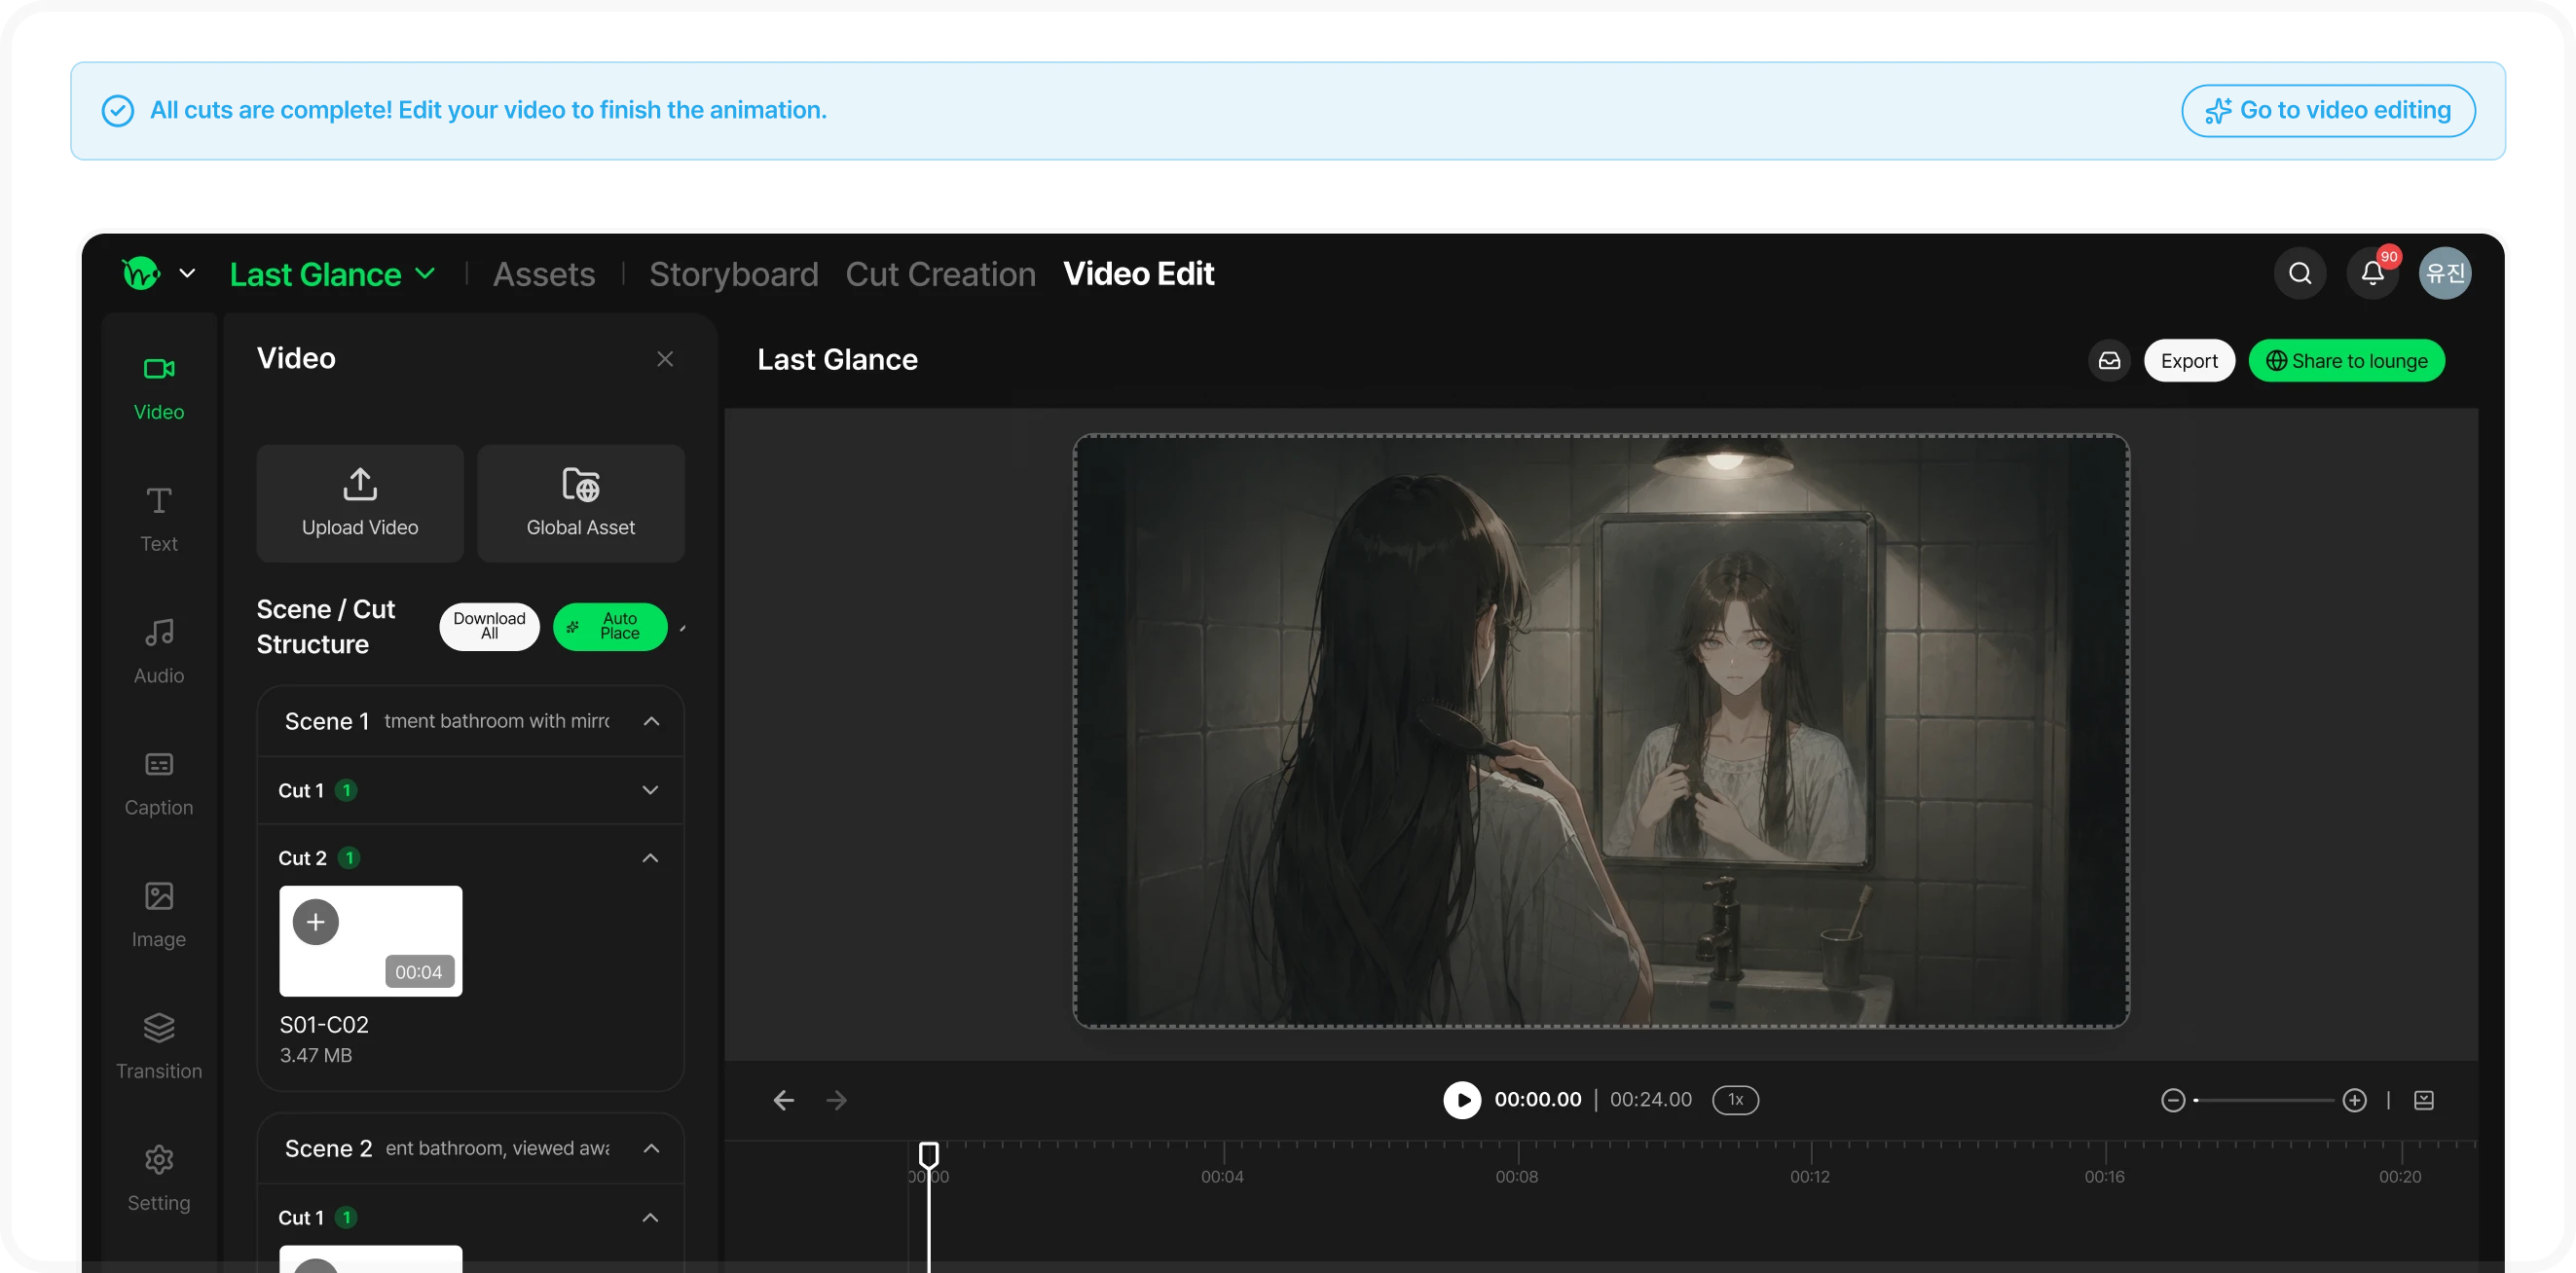
When the videos for all cuts are complete, a completion banner appears. Open Video Edit, add captions and sound on the timeline, and render your animation. Download your finished work or share it in the Lounge.
Creation tips
Scenario writing uses no credits
Brainstorming and refining your story in the AI conversation does not use credits. Keep working on your scenario until you are happy with it.
Continue whenever you want
Assets and scenario conversations are saved with your project. Reopen it to continue planning after closing your browser.
Use specific details for consistency
Describe distinctive details, such as a young man wearing black glasses and an orange hoodie, to help preserve the same character across cuts.