
Storyboard - Video Edit
This is where you turn your cut videos into one finished film.
Place clips on the timeline, add captions and sound, connect them with transitions, then render to complete your animation. Save the result as a file or share it to the Lounge.
Get to know the workspace
Explore the four main areas of the video editing screen.
Scene 1
Scene 2

Open a panel to see its tools.
Name your project, find recent renders, export, or share to the lounge.
See the result of your edits.
Arrange clips across up to five tracks.
Get to know the layout
Here's a quick look at the 4 main work areas of the video editing dashboard.
| Area | Description |
|---|---|
| Top toolbar | View recent renders, export your final video in high resolution, and publish it to Toonkit Lounge. |
| Preview player | Monitor your video composition in real time. Drag subtitles, text stickers, and overlays to adjust their position, rotation, and scale. |
| Timeline | Arrange and trim clips in the main editing workspace. Use separate tracks for cut videos, subtitles, TTS, and background music. (Up to 5 tracks supported) |
| Sidebar controls | Use the tabs on the left to open panels for video, text, audio, automatic subtitles, additional images, cut transitions, and project settings. |
Step-by-step guide
These essential guidelines take your imported cut assets through to a finished cinematic video clip.
Place your clips
The video panel lists your project's cut videos in scene / cut order.
Auto place
Load every scene and cut onto the timeline at once, in order. If this is your first time, this is the fastest way to start.

Add individually
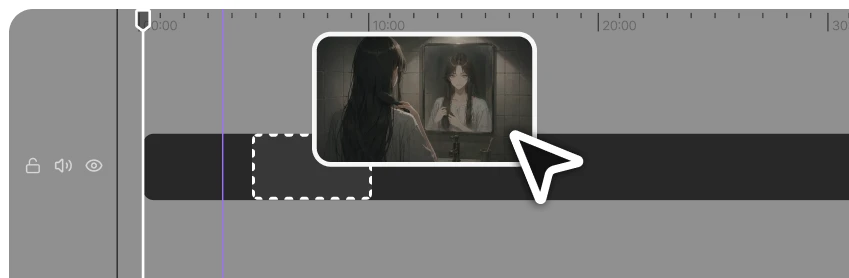
Pick only the clips you want and drag each one onto the track you want on the timeline.
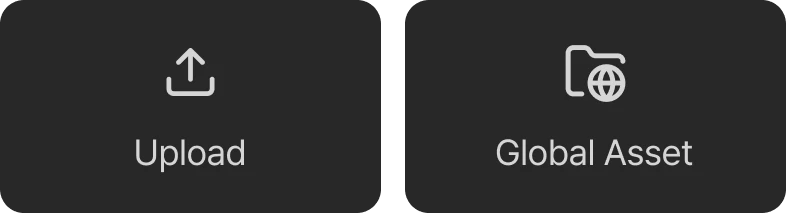
Upload video
Manually upload a high-quality video you made elsewhere, or an MP4/WebM file from Global Assets. (Up to 200MB)
Fine-tune on the timeline
Use the timeline's editing controls to fine-tune clip placement.
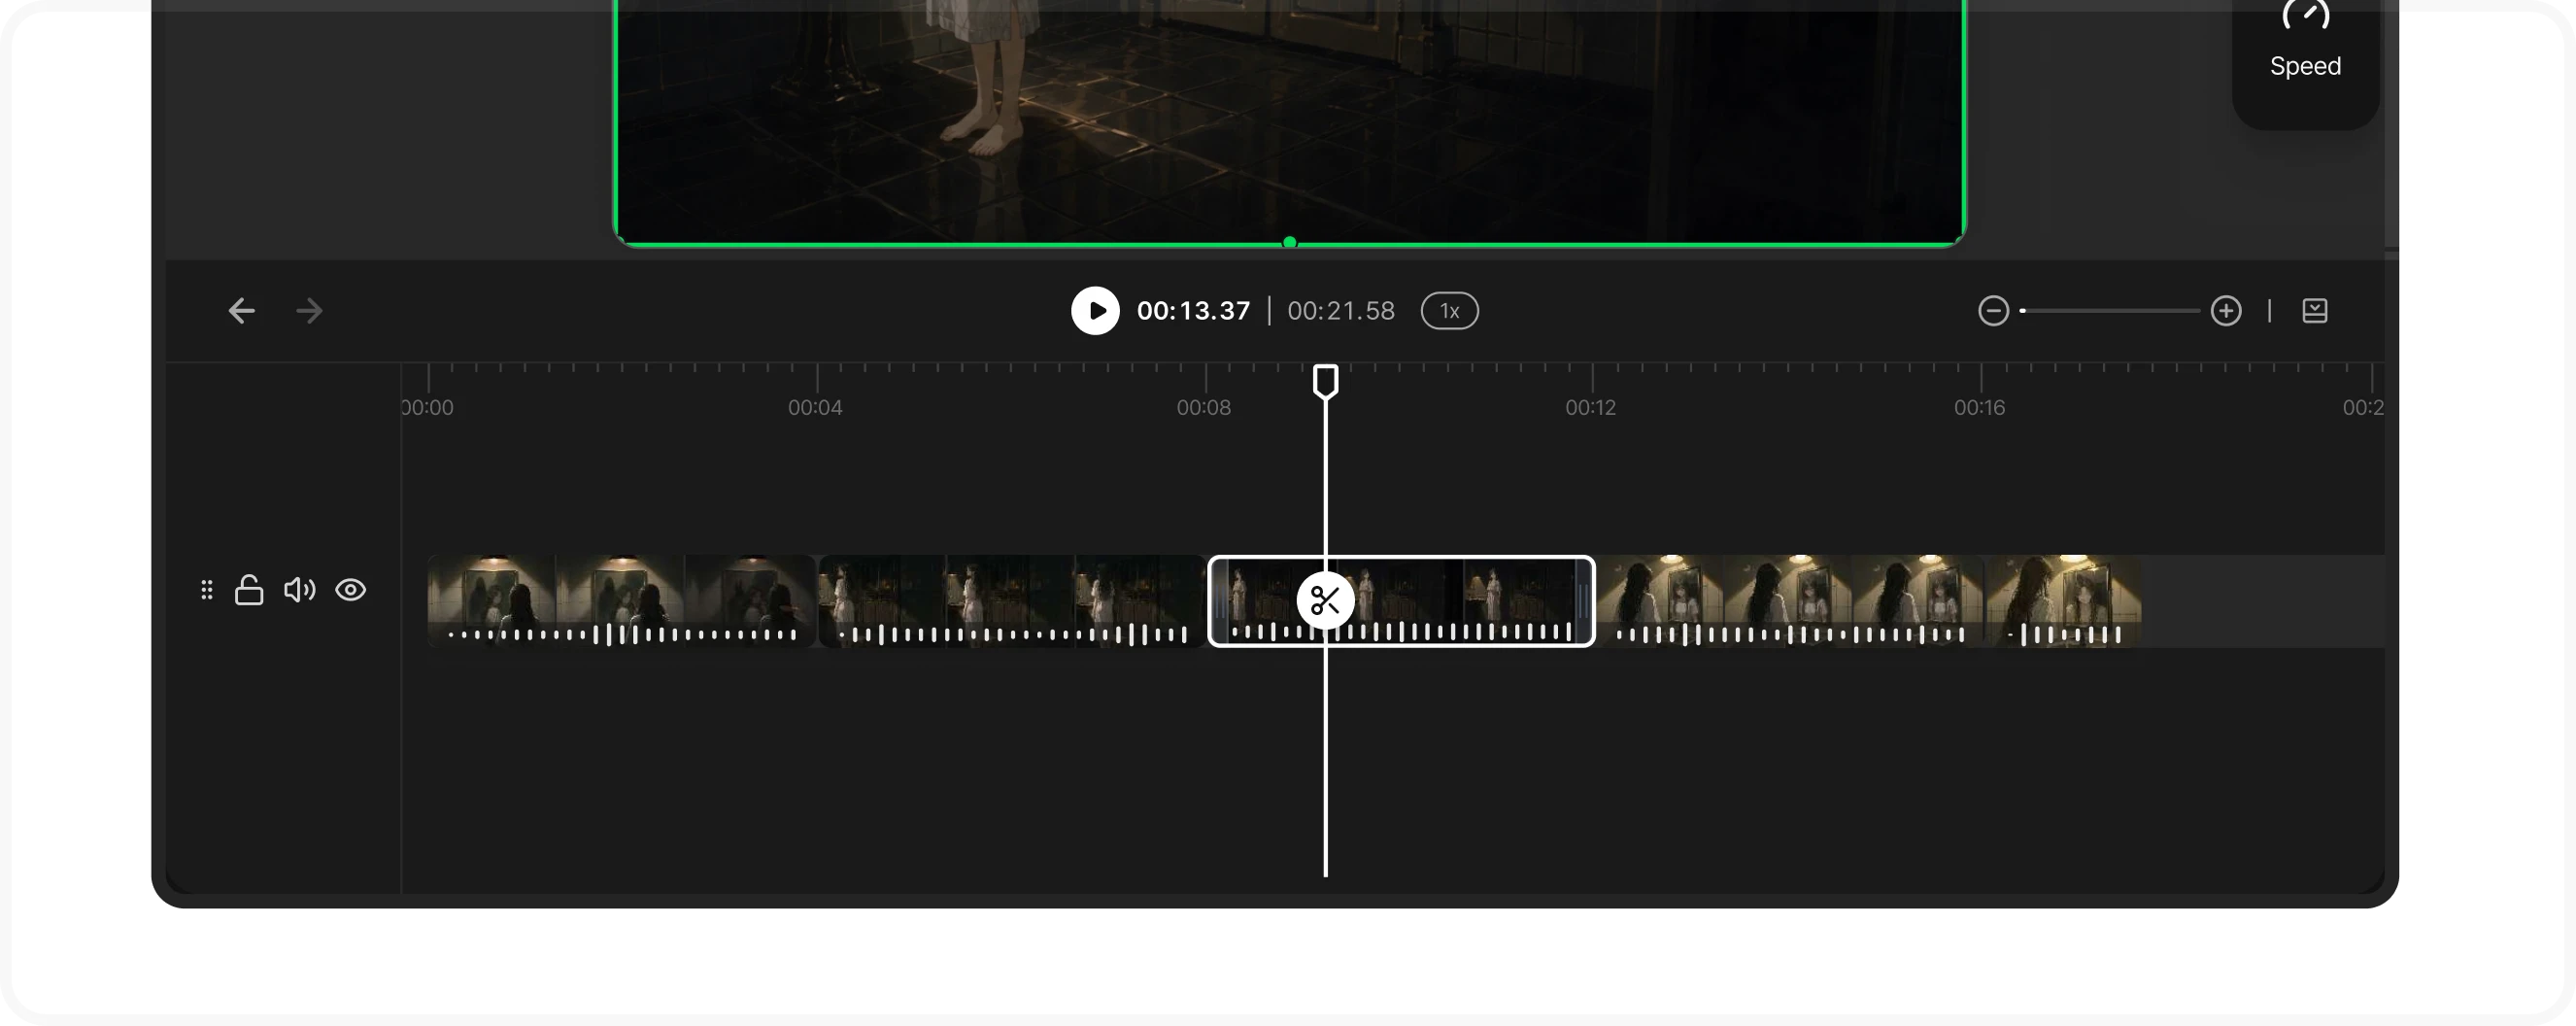
Video clips show their audio waveform, so it's easy to cut right on the beat of a line or sound effect.
| Trim | Drag either edge handle of a clip to adjust its length. |
|---|---|
| Split | Click the scissors button on a clip, or right-click and choose Split, to cut it at the playhead. |
| Move · duplicate · delete | Drag a clip to move it between track rows, or use the right-click context menu to duplicate or remove it. |
| Undo | Undo a mistake with Ctrl/⌘+Z, and redo it with Ctrl/⌘+Shift+Z. |
| Magnetic snapping | Snapping is always on to keep clips from drifting apart. Ripple editing and flexible track control can be toggled anytime. |
Add effects to a clip
Select a video clip on the timeline to see its detailed editing options in the panel on the right.
- Basic
- Audio
 Animation
- Speed
- Basic
- General video settings
- Audio
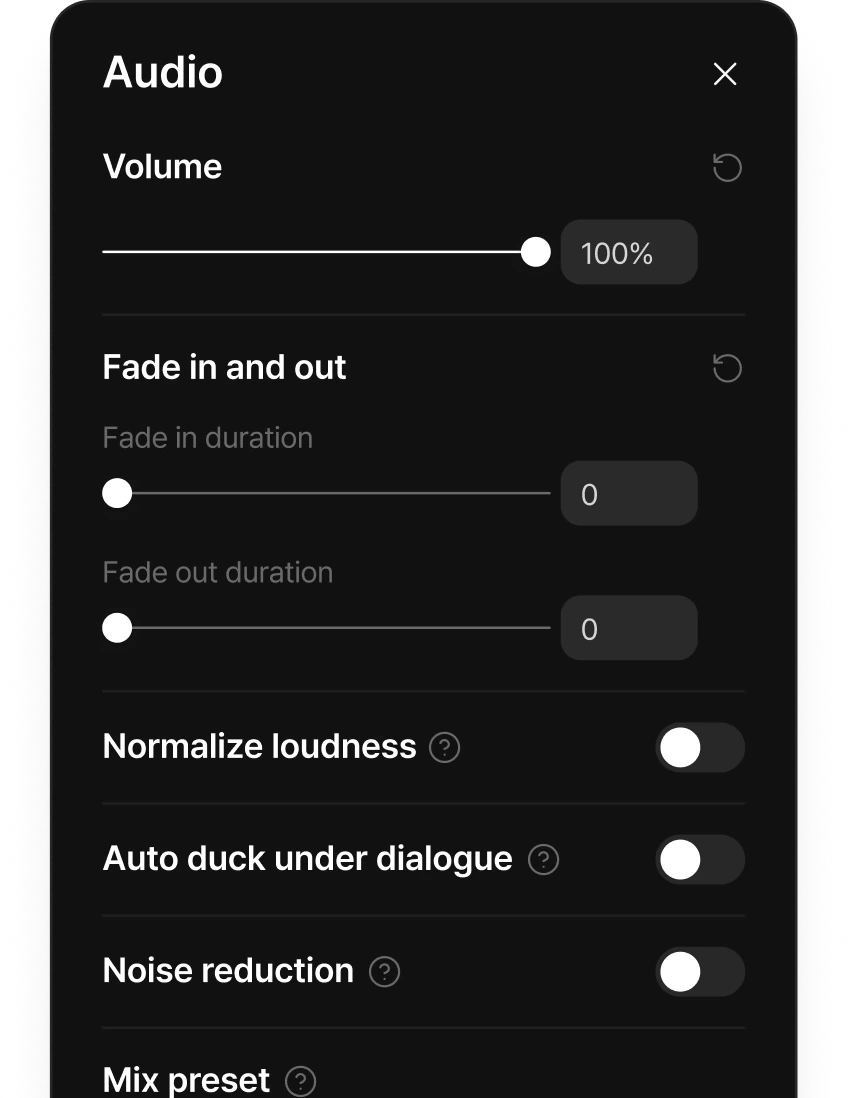
- Video audio settings panel
- Entry/exit animation
- Use fades, slides, and bounces for clip entrances and exits.
- Playback speed
- 0.25x–4x, with speed curves (Flash In, Hero, and Jump Cut presets)
Audio tab
Video audio settings panel
- Basic
- Audio
- Animation
- Speed
- Basic
- Audio
- Animation
- Speed
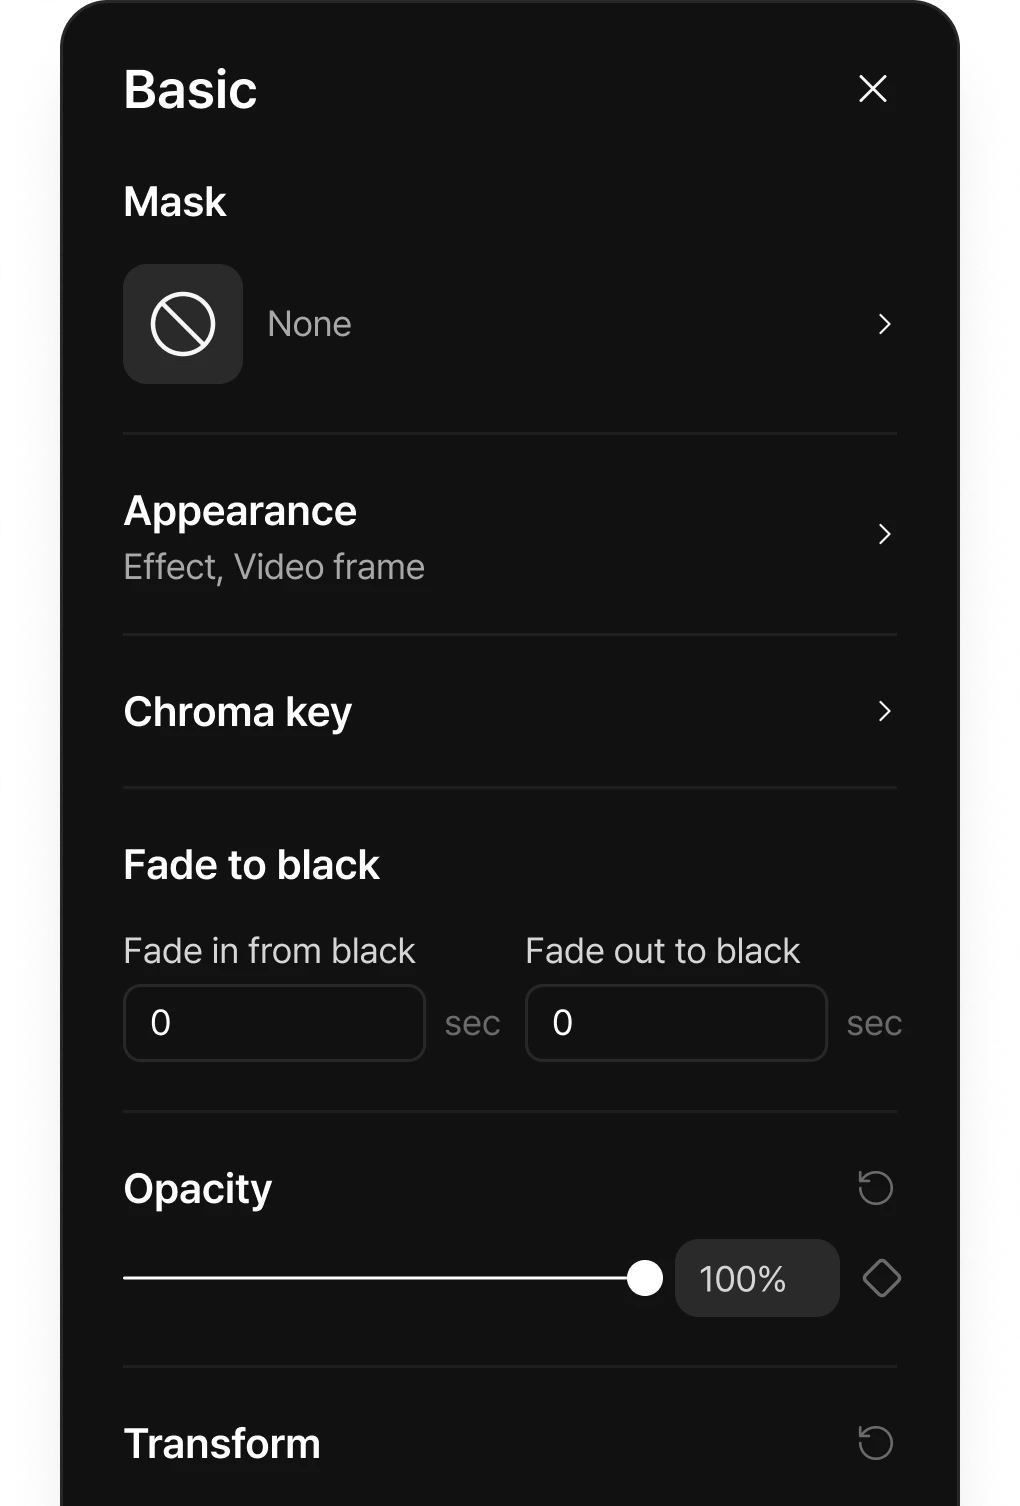
- Shape mask
- Crop the frame into a rectangle, circle, heart, or star.
- Transform & appearance
- Adjust position, scale, rotation, opacity, corner radius, brightness, and blur.
- Chroma key
- Remove a green or blue background to make it transparent.
- Fade in & fade out
- Fade in — the video appears gradually. Fade out — the video disappears gradually.
- Keyframes
- Animate position, scale, rotation, opacity, and volume over time.
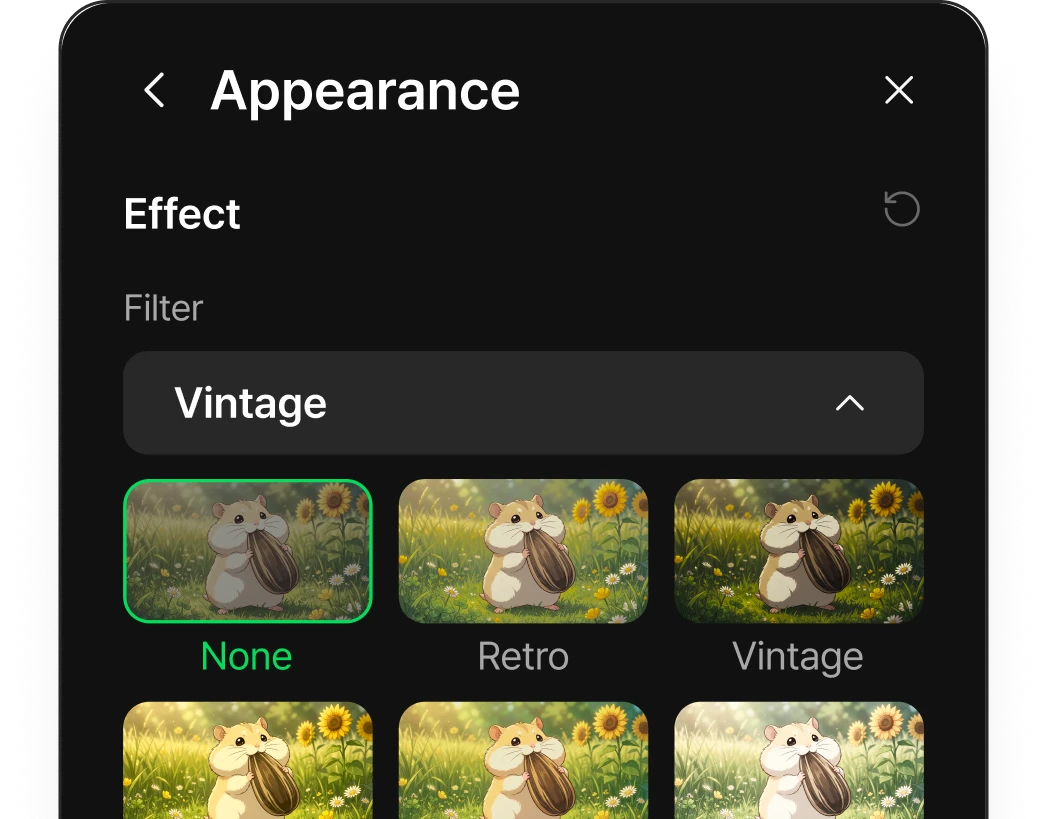
Appearance
Effects, video frame
- Filter presets
- Apply 12 presets in one click, including Cinematic, Warm, Cool, Vintage, and Polaroid.
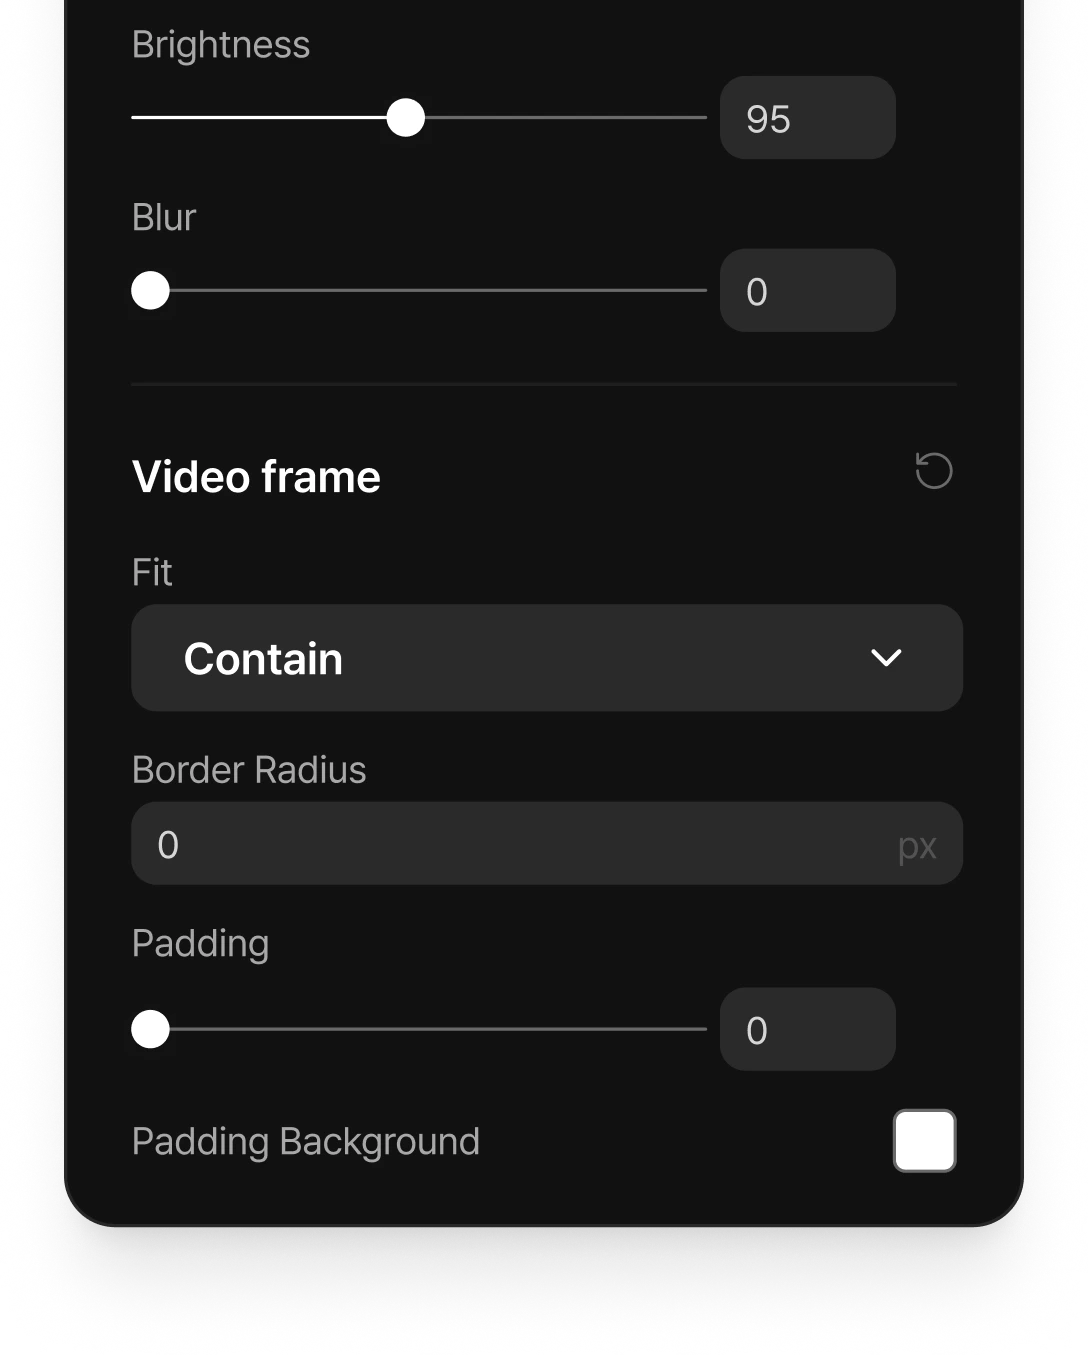
- Reframe
- Crop the visible area.
- Padding
- Add space inside the frame.
- Padding background
- Add color to the padding.
Add transitions
Place a visual crossover effect from the Transition panel wherever two clips meet.
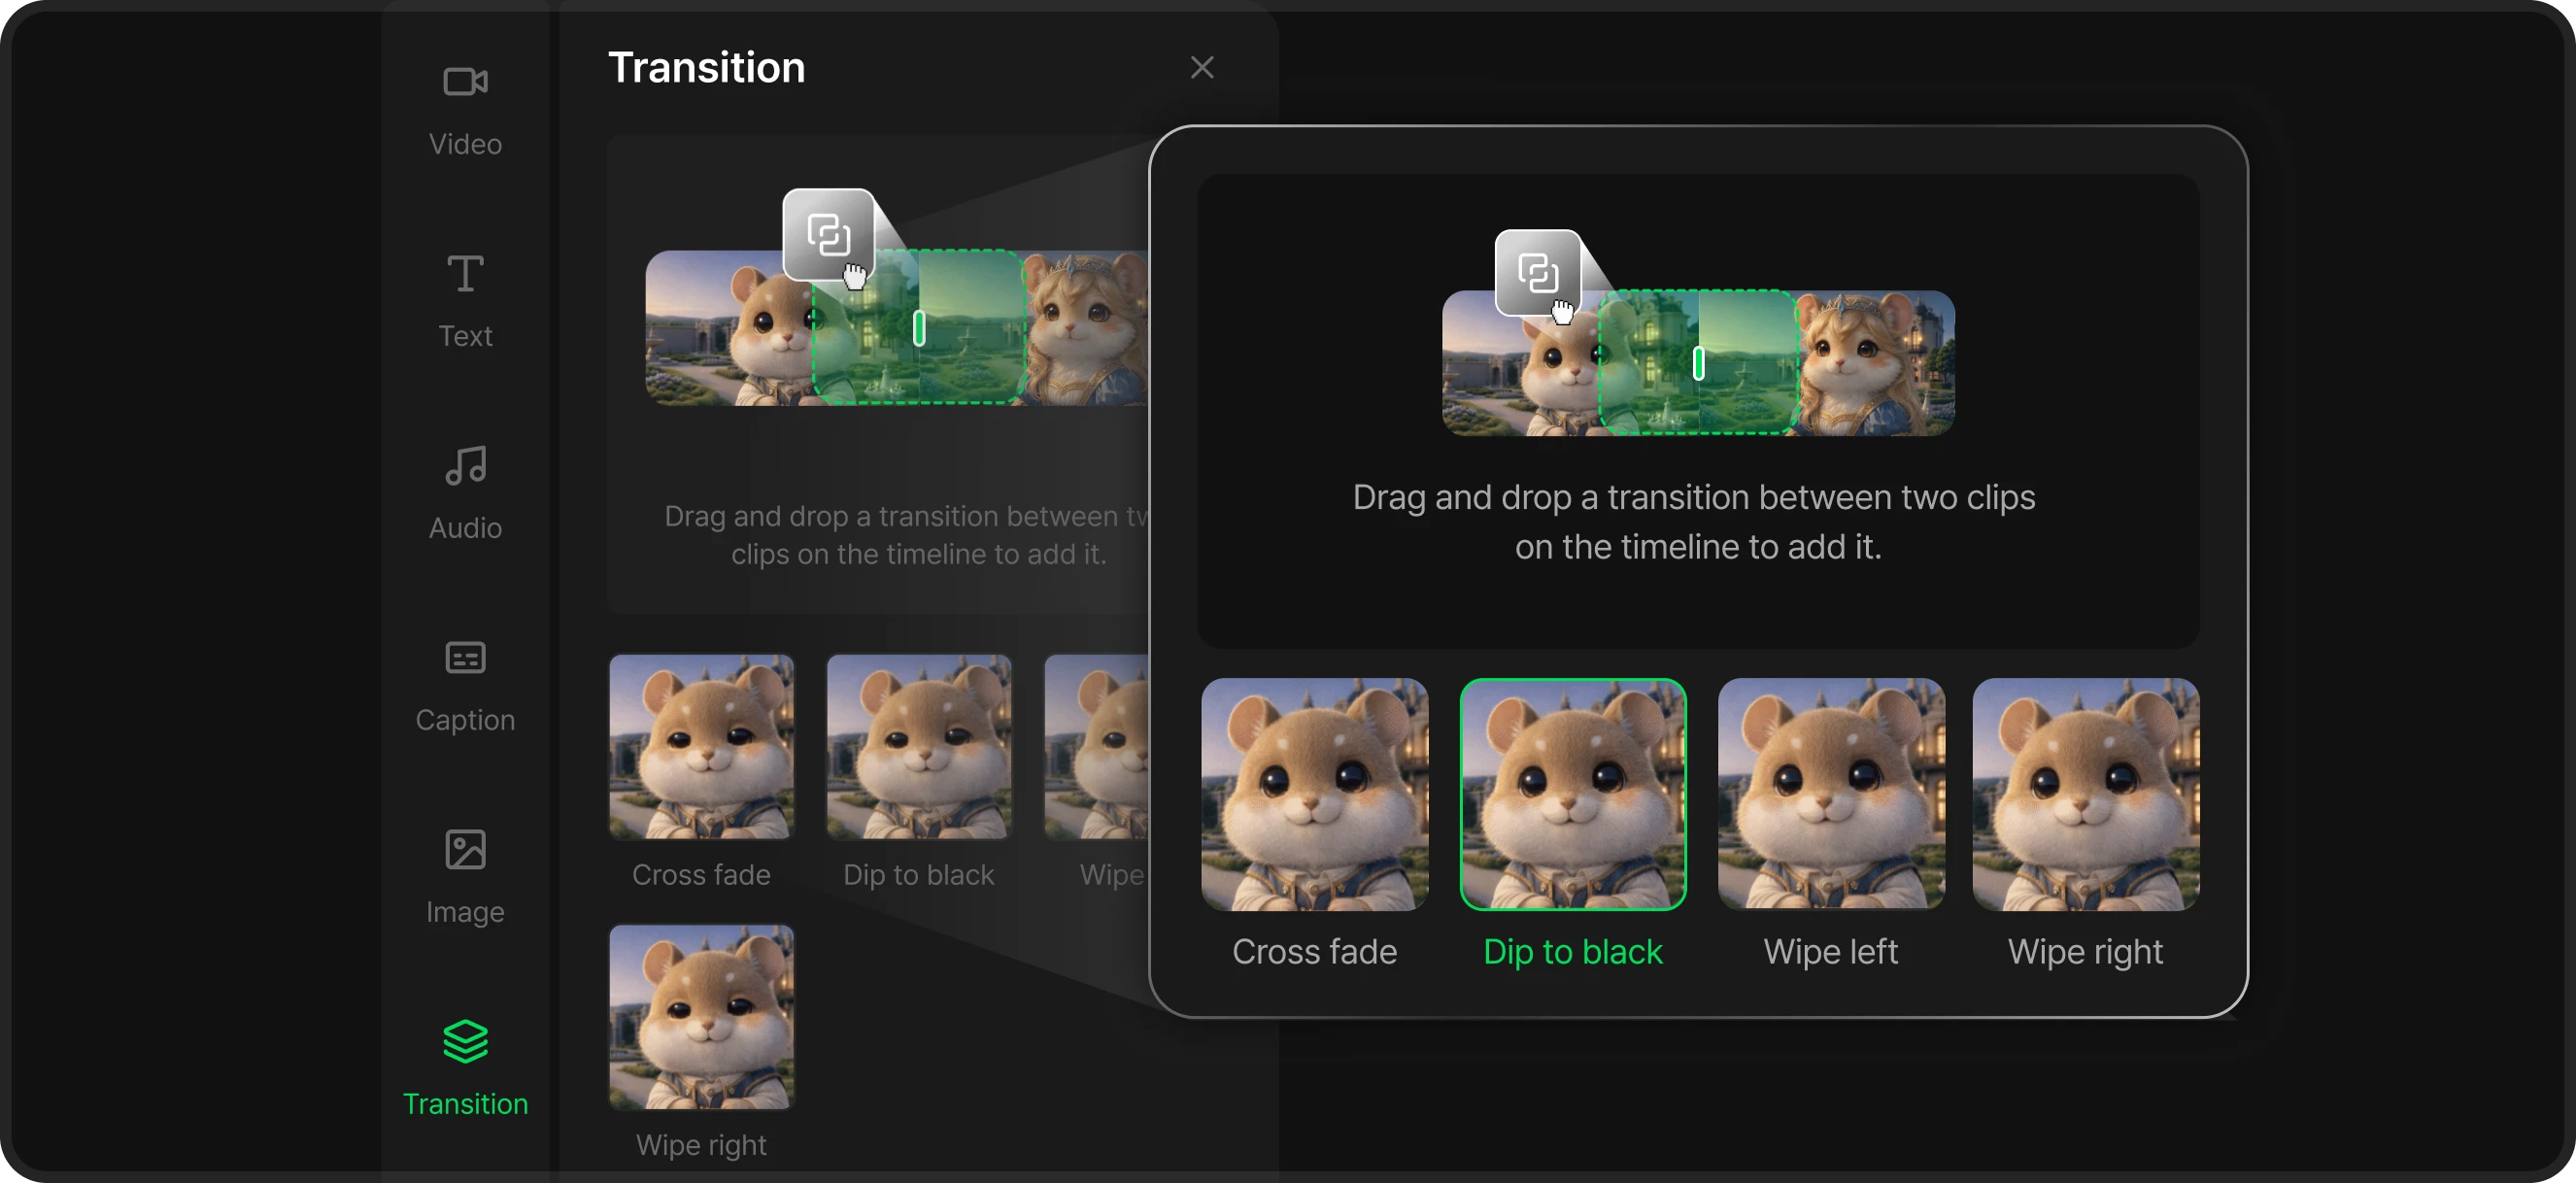
Choose an effect in the Transition panel, then drag and drop it between two clips on the timeline to apply it automatically.
Four cinematic presets are available: cross fade, dip to black, wipe left, and wipe right.
Start with the default duration of 0.5 seconds and adjust it as needed.
Add text
Layer text effects and fonts to strengthen your storytelling.
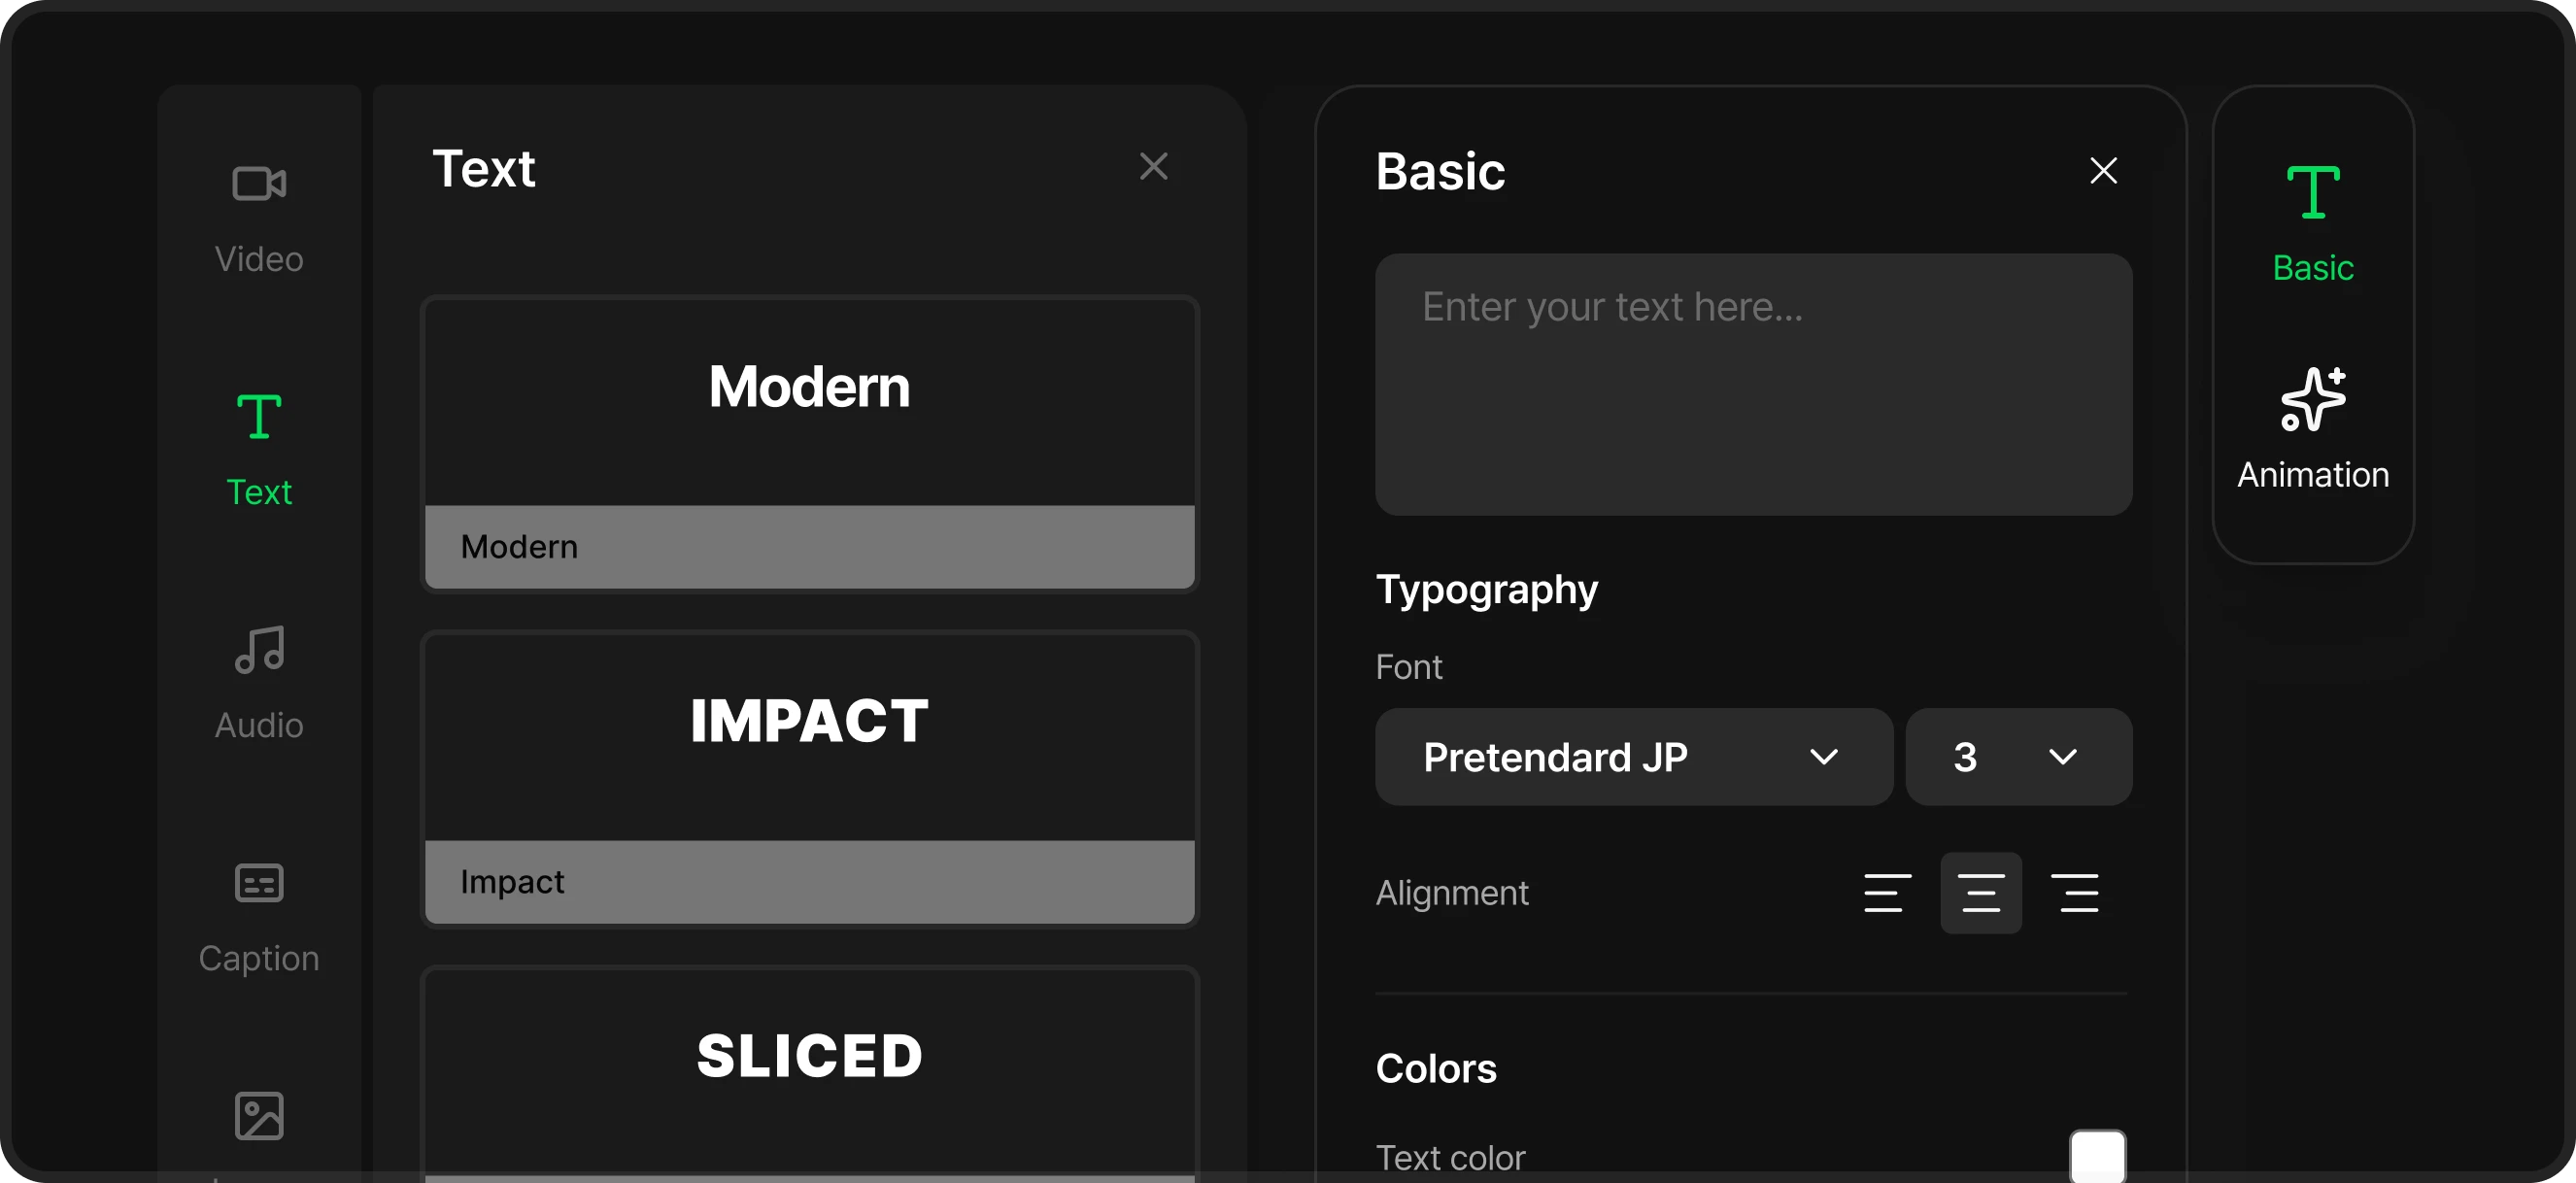
Apply one of 9 style presets in the Text panel, including Impact Bold, Minimal Neon, and Gradient Glass, to place a label at the desired point in your video.
Choose from 24 fonts and adjust the opacity of the caption background box to improve readability.
Add captions — three ways
Try the three captioning methods available in the Caption panel.
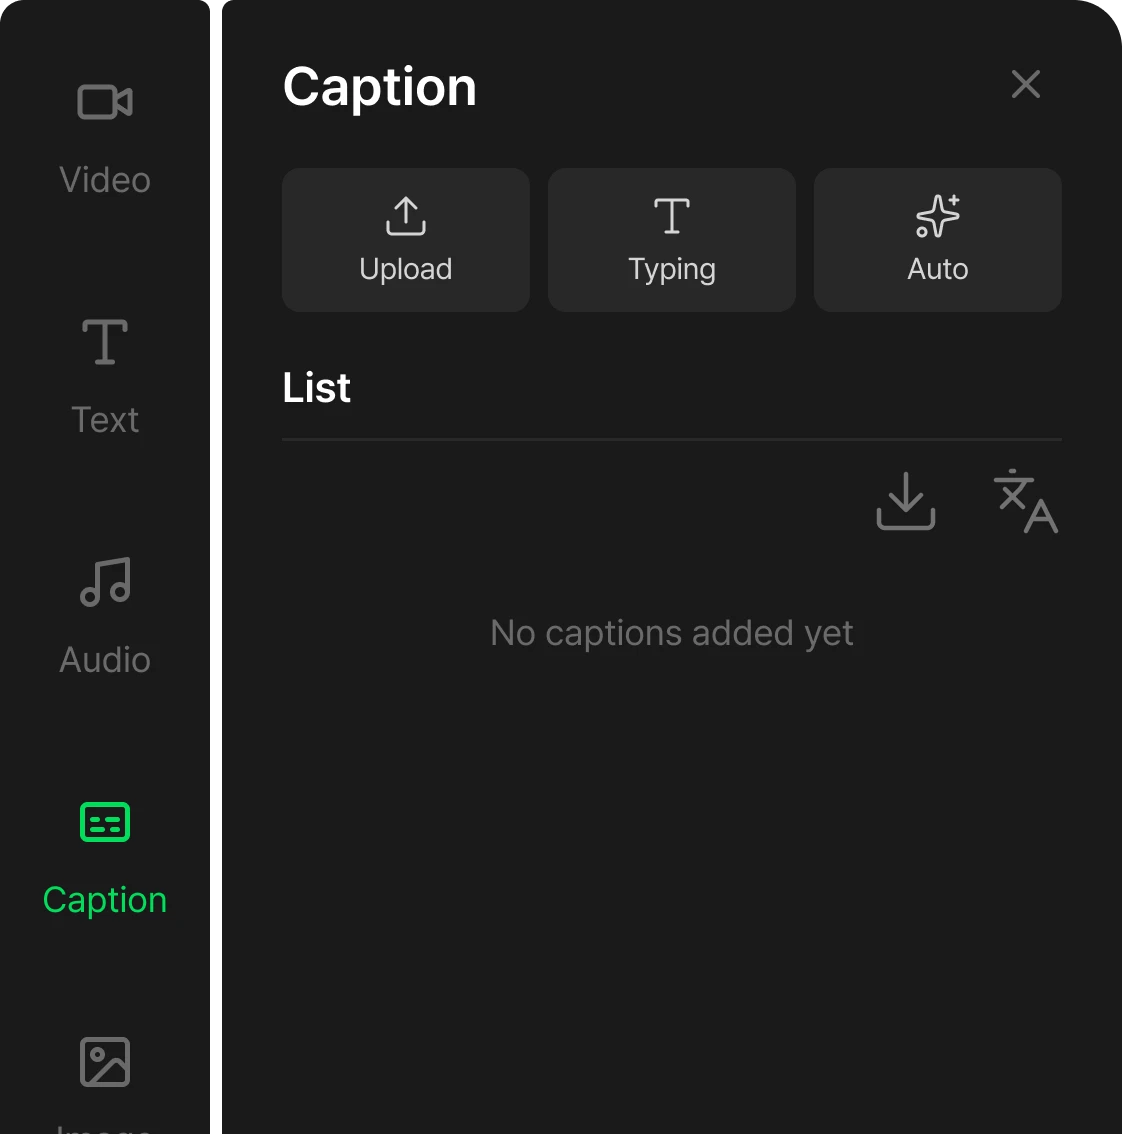
- Auto captions (Speech-to-Text)
Automatically transcribe speech into Korean, English, or Japanese captions for free. Processing takes place locally in your browser. (The small model is recommended for Korean and Japanese.)
- Paste or type a script
Paste your script into the input field to automatically divide it into timed captions, using sentence endings as split points.
- Upload a caption file (.srt, .vtt, .txt)
Drop in SRT, VTT, or TXT caption files that already include timecodes.


Add sound — three ways
Add background music or sound effects using the audio panel.
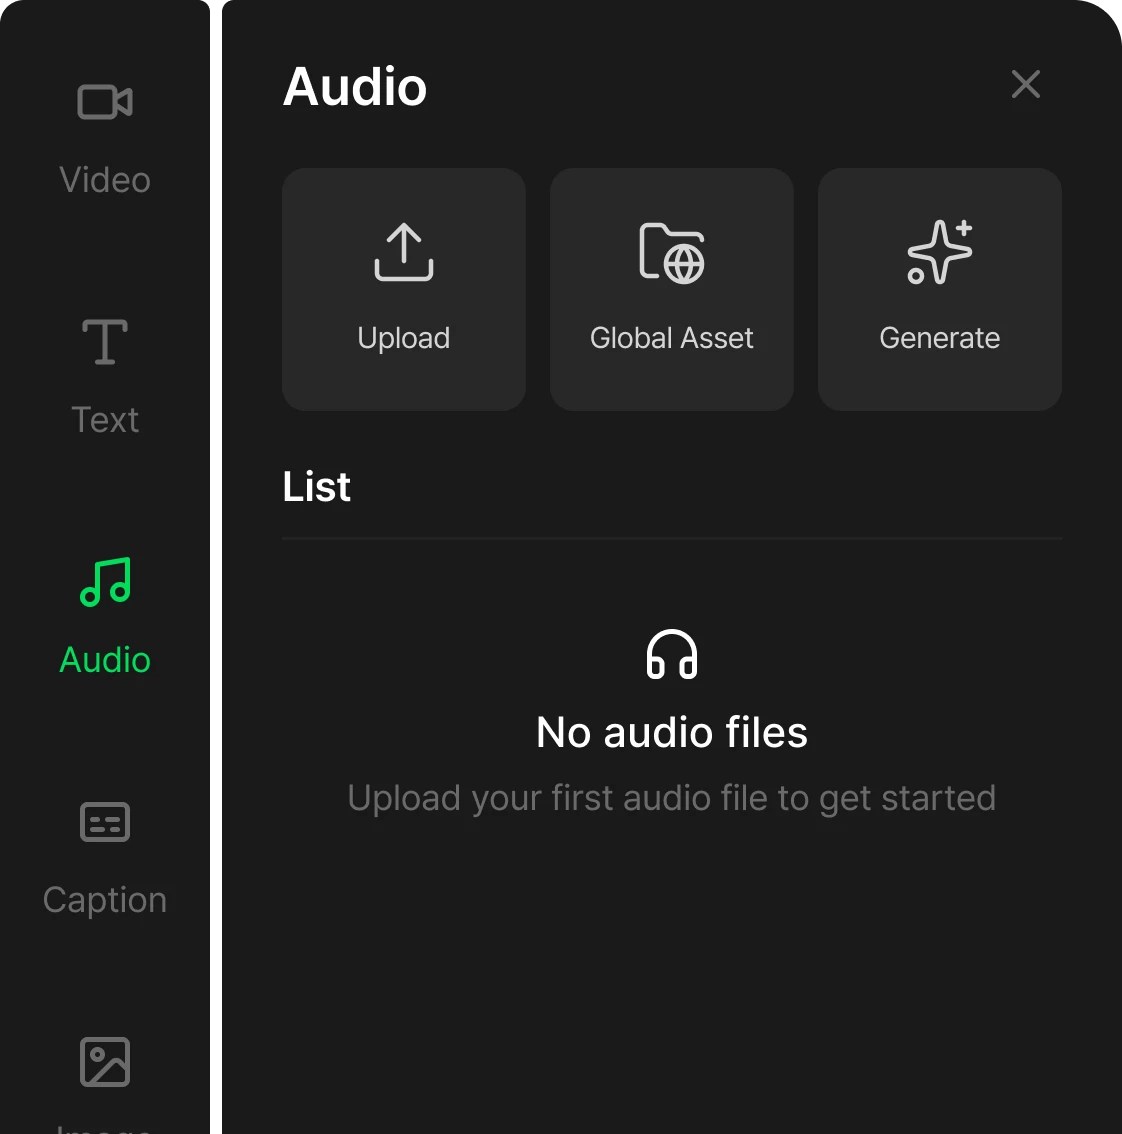
- Upload
- Upload a music or sound effect file. (Up to 15MB)
- Global Assets
- Reuse voices you created in Playground or Canvas.
- Generate
- Generate AI voice (TTS) — pick an emotion tag and a voice to create it.


Settings panel — final check
A checklist worth reviewing before you render.
Aspect ratio
- You can only change your project's aspect ratio here now. Ratios other than 16:9 and 9:16 show a warning that some AI video models don't support them.
Video fade
- Fades the whole video in from black and out to black. Applies to every track, including captions.
Canvas background
- Transparent or a color. To keep a transparent background, export as WebM.
Cloud auto-save
- Your edits autosave every second. It's normal not to see a save button.
Export and share
Save as a file
Set your options in the export panel at the top.
Format
MP4 (default) or WebM. Transparency is only kept in WebM — MP4 saves as opaque.
Quality
Low / Medium / High (default) / Very high
Include audio
Turn it off to save a silent file.
Rendering runs in your browser and doesn't use credits.
While it's running, you'll see the stage (Preparing → Audio → Frames → Rendering → Finishing) and a percentage; the file downloads automatically when it's done.
You can redownload past renders from the recent renders archive.
Share to Lounge
Click Share to Lounge, enter a title and genre for your animation, and you'll be taken to the results page after rendering.
From there you can download it or publish it with Share to Lounge.
Published posts go live on the Lounge after moderation review, and you can unpublish them anytime.
Tips for better quality 💡
Get the most out of the editing engine with these tips for a more polished result.
Where credits are used
The only thing on this screen that costs credits is voice generation (10 credits). Auto captions, caption translation, and rendering/export are all free.
Managing the AI model cache
The AI models for auto captions and translation are only downloaded once. To free up space, go to Settings → Clear browser cache.
Ducking during dialogue
If a dialogue clip overlaps with background music, turn on auto-ducking during dialogue on the music clip — it makes the mix sound much more natural.
Double-check your aspect ratio
Before you finish editing, double-check the aspect ratio in settings. Your render resolution is determined by it (e.g. 16:9 → 1280×720).