Direct the camera in your AI anime

Give an AI anime scene a different feeling by changing how the camera sees your character and setting. Describe the framing and movement in Toonkit and use the camera options supported by your chosen model to explore the shot. From moving closer to following a character, compare the results and find the direction that serves your story’s mood and flow.

Key benefits

More precise prompts

Describe framing, camera movement and character action separately. Define the subject and viewing distance before describing direction and speed. Separating character action from camera movement gives you a clearer basis for reviewing the result.

Clearer scenes

Start with one main movement so the result is easier to evaluate. Try a pan and a push-in separately from the same reference image and compare the results. Note the selected model settings so you can refine the next shot deliberately.

References that guide

Use compatible references when words alone are not enough. If the model accepts video references, prepare a short example of the intended movement. References provide direction, while the generated framing and subject still need review.

Pan to reveal the setting

Specify rotation direction and speed. Try: ‘Wide shot of a village at dusk. Slow pan right, steady horizon, characters standing still.’ Review the result before continuing. A pan rotates the camera from a position, so describe which direction reveals the setting. Compare the horizon and subject position after generation and adjust the speed description if needed.

Track alongside your character

Describe the camera’s position relative to the subject. Try: ‘Medium profile shot. Camera slowly follows the walking character at a constant distance, background moving past.’ Avoid adding a rotation and zoom at the same time. Decide whether to follow the character from the side or behind and describe its size in the frame. Review movement speed and body distortion before selecting the section to use.

Push in to emphasize emotion

Describe what stays still and what moves closer. Try: ‘Gentle push-in toward the face, steady gaze, calm expression, unchanged outfit.’ Check facial details as the face fills the frame. Plan a push-in as the camera approaching the subject and distinguish that intention from a simple zoom. Watch the first result to check the changes in both the face and background.

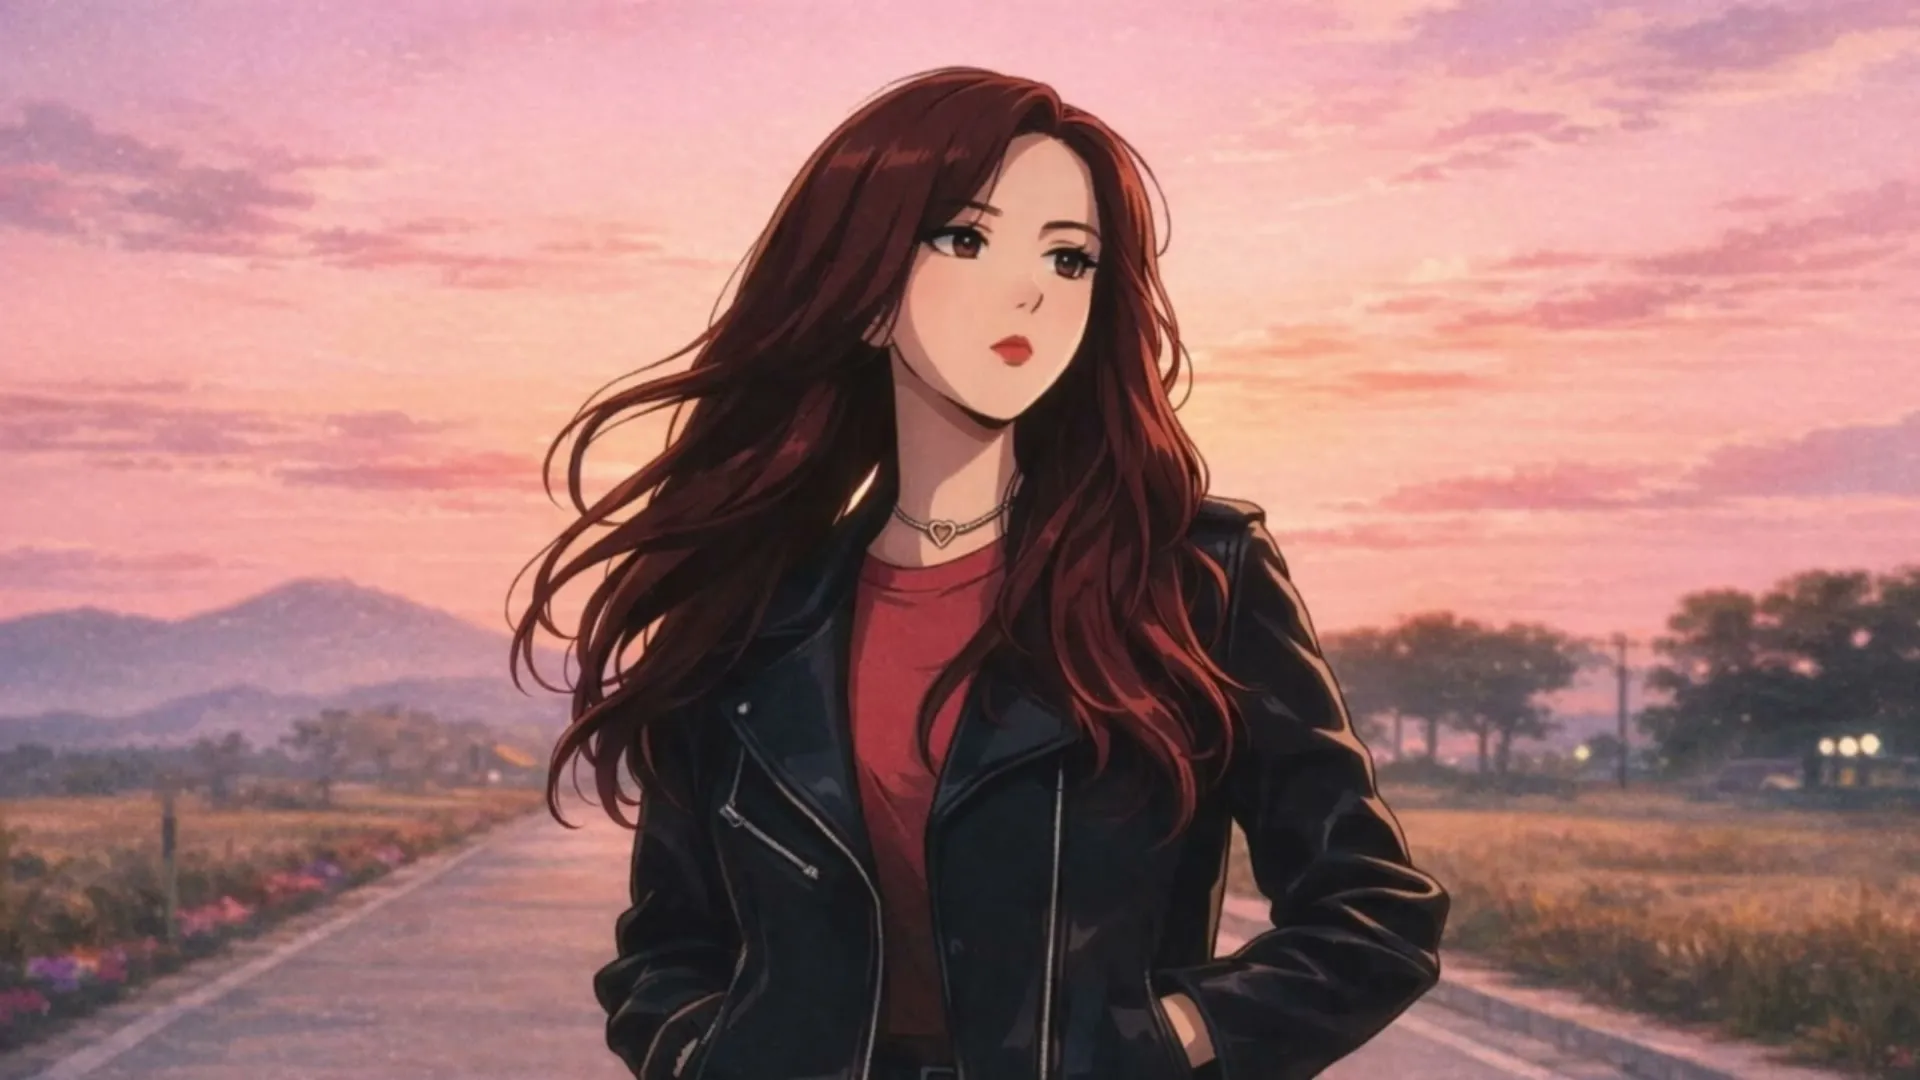
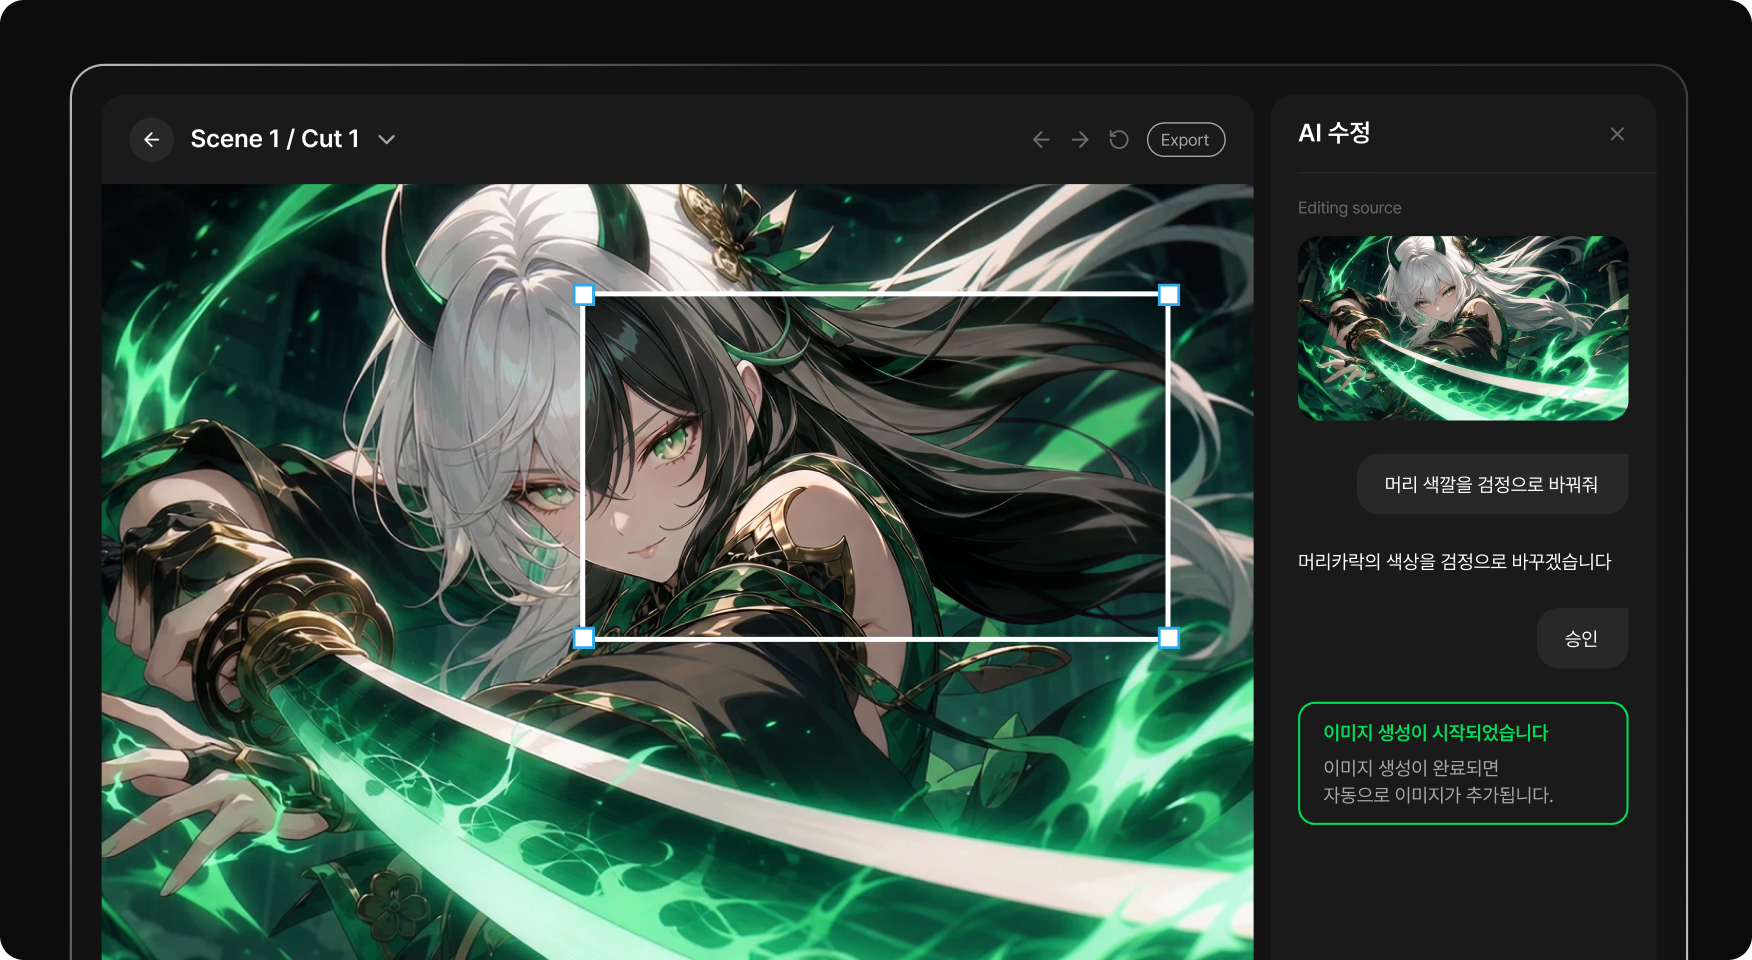
Anime character used to illustrate a close framing

Guide difficult paths with a reference

If the model supports video references, prepare a simple camera path and describe the intended look. A 3D preview can communicate framing; review and adjust the generated result. Check accepted input types and reference lengths in the selected model’s interface. Use the Blender + Seedance guide to prepare a camera path, then refine it by comparing generated results.

Explore Blender + Seedance
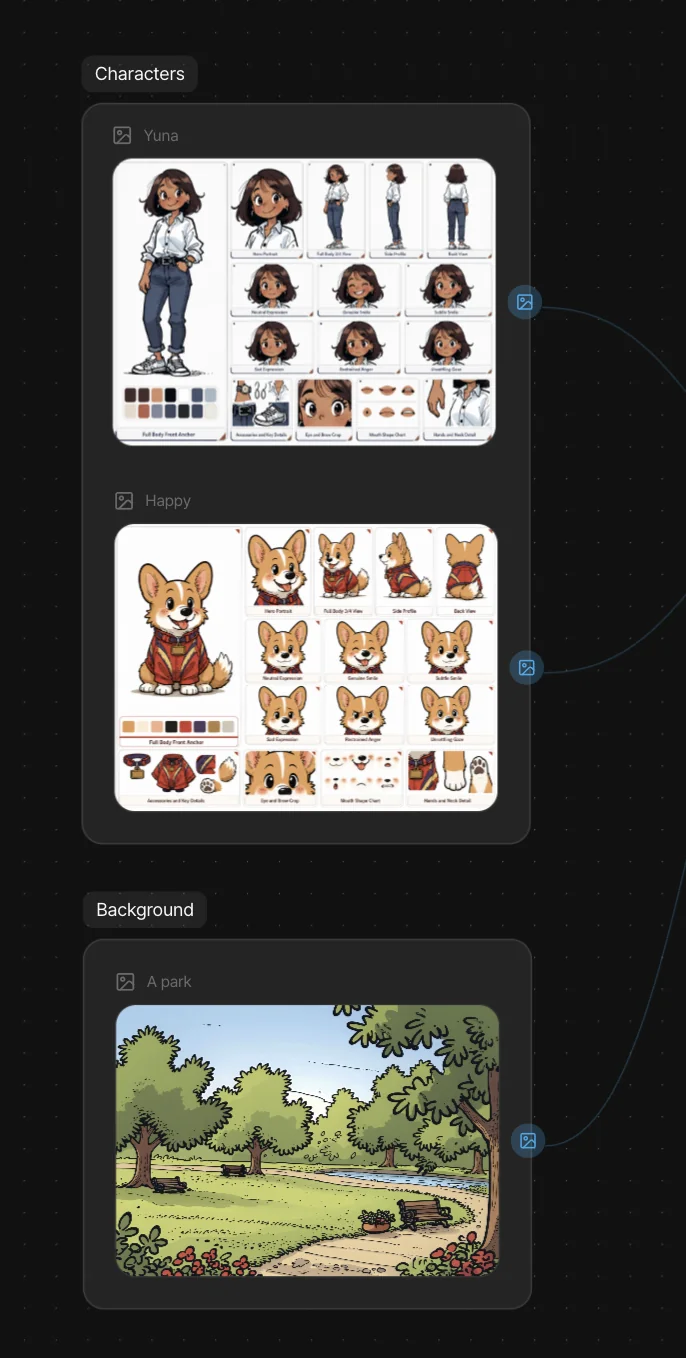
Adding visual references for camera direction

Prepare, test and refine your shot

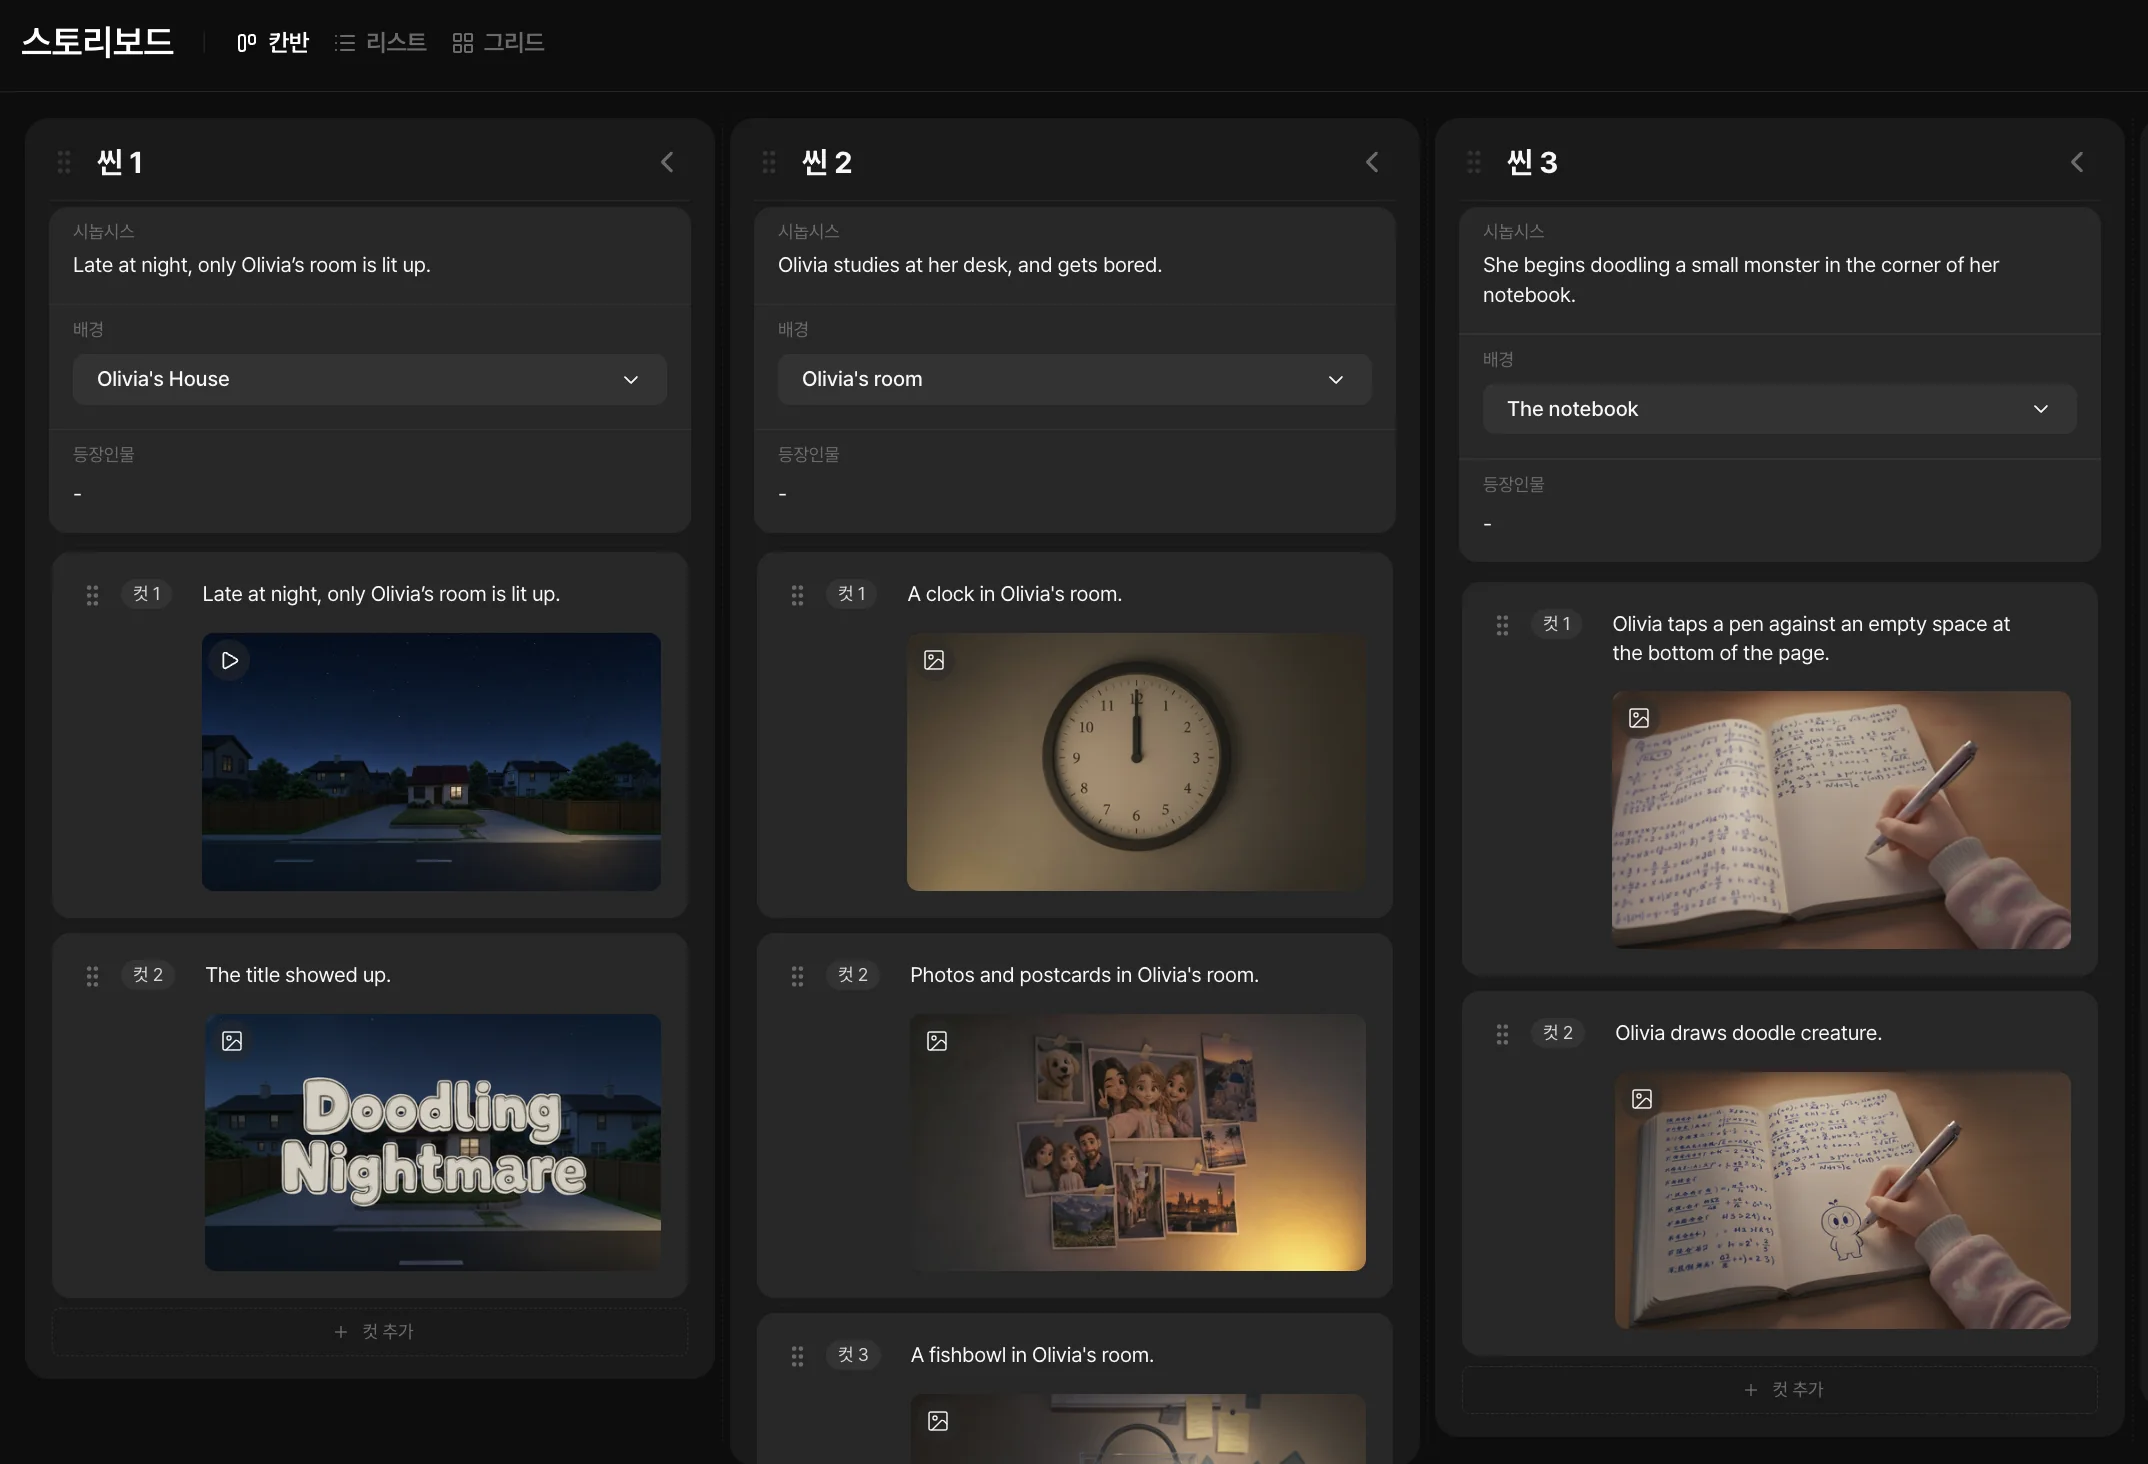
  1. Planning a shot in the storyboard
    01

    Choose the framing

    Define the subject, its position and the main camera movement. Choose the opening composition, subject and one main movement such as a pan or tracking shot. Write the character action separately from the camera direction in your prompt.

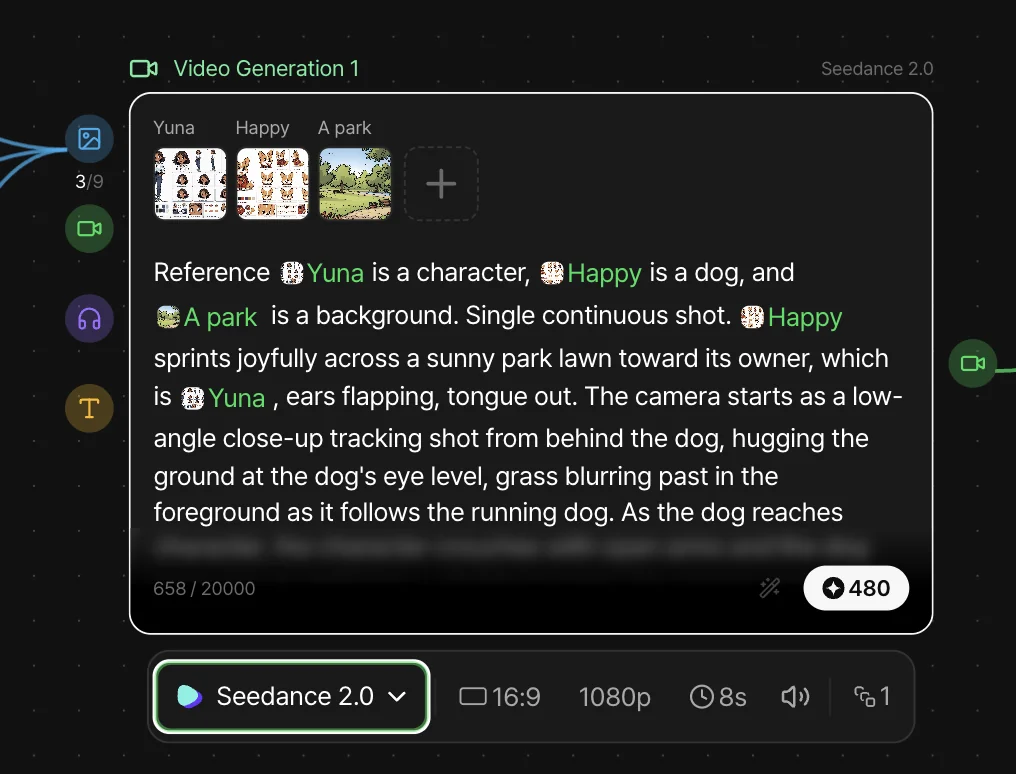
  2. Describing the shot for video generation
    02

    Test a simple intention

    Use a starting image and a precise prompt, then check the model options. Select supported camera options or references and check the duration and displayed cost. Test a representative shot before combining several different movements.

  3. Reviewing and refining a generated shot
    03

    Refine the result

    Check framing, face and setting. Adjust the description or reference as needed. Compare the first and last frames for changes in the face, horizon and subject position. Revise the action or camera instruction, regenerate the necessary clip and select its usable section in the editor.

Frequently asked questions

What is the difference between panning and tracking?
A pan rotates the camera from a position; a tracking shot moves the camera itself. Describe the expected visual effect clearly.
Can I combine several movements?
You can describe a complex sequence, but start with one main intention. Simultaneous instructions can conflict.
Do these prompts guarantee a precise movement?
No. They are starting points to test. Results depend on the model, source image and settings.
How can I reduce character distortion?
Use a clear reference, begin with gentle movement and limit simultaneous transformations. Simplify or regenerate shots where features drift.
Can I use a Blender preview?
The Blender + Seedance workflow uses a 3D camera reference. Check supported inputs and the dedicated guide before selecting a model.
Where do I set shot duration?
Generation duration depends on model options. You can then adjust the usable portion and timing in the edit.

Move the camera with a purpose.

Start with a subject, a framing choice and one simple movement.

ToonkitToonkit

© 2026 Toonkit. All rights reserved.

Innerverz Inc. | CEO : Junghyuk Im | Business Registration : 615-88-01959 | Mail-order Sales Registration : 2023-Daejeon Yuseong-1774

Address : 3212, 13-8, Eungubinnam-ro 33beon-gil, Yuseong-gu, Daejeon, Korea | Tel : 070-4102-3345 | CS : cs@toonkit.io