Skip to content

Toonkit Canvas: connect nodes to build AI image and video workflows

Bring text, character images, video and voice onto one canvas. Connect references to generation nodes, compare results and prepare composition with 3D Dummy in a visual AI animation workspace. Explore related workflows: image to video and AI character creator.

How does an AI creation canvas work?

Toonkit Canvas arranges inputs and generation results as connected nodes. Describe a scene in a text node and connect image, video or voice references supported by your selected model.

Keeping references and results together makes it easier to compare variations and reuse outputs. Turn an image into a video or group nodes by scene to build a workflow around your project. Explore related workflows: AI storyboard and text to video. Connect text, reference images and generation nodes in Toonkit Canvas, and continue your creative workflow through conversation in AI tools connected to Toonkit MCP.

Connect text and references as nodes

Prepare scene text, characters and backgrounds together. Connect the inputs a generation node needs to see which materials feed the result. Supported reference types and counts depend on the selected model. Explore related workflows: AI storyboard and text to video.
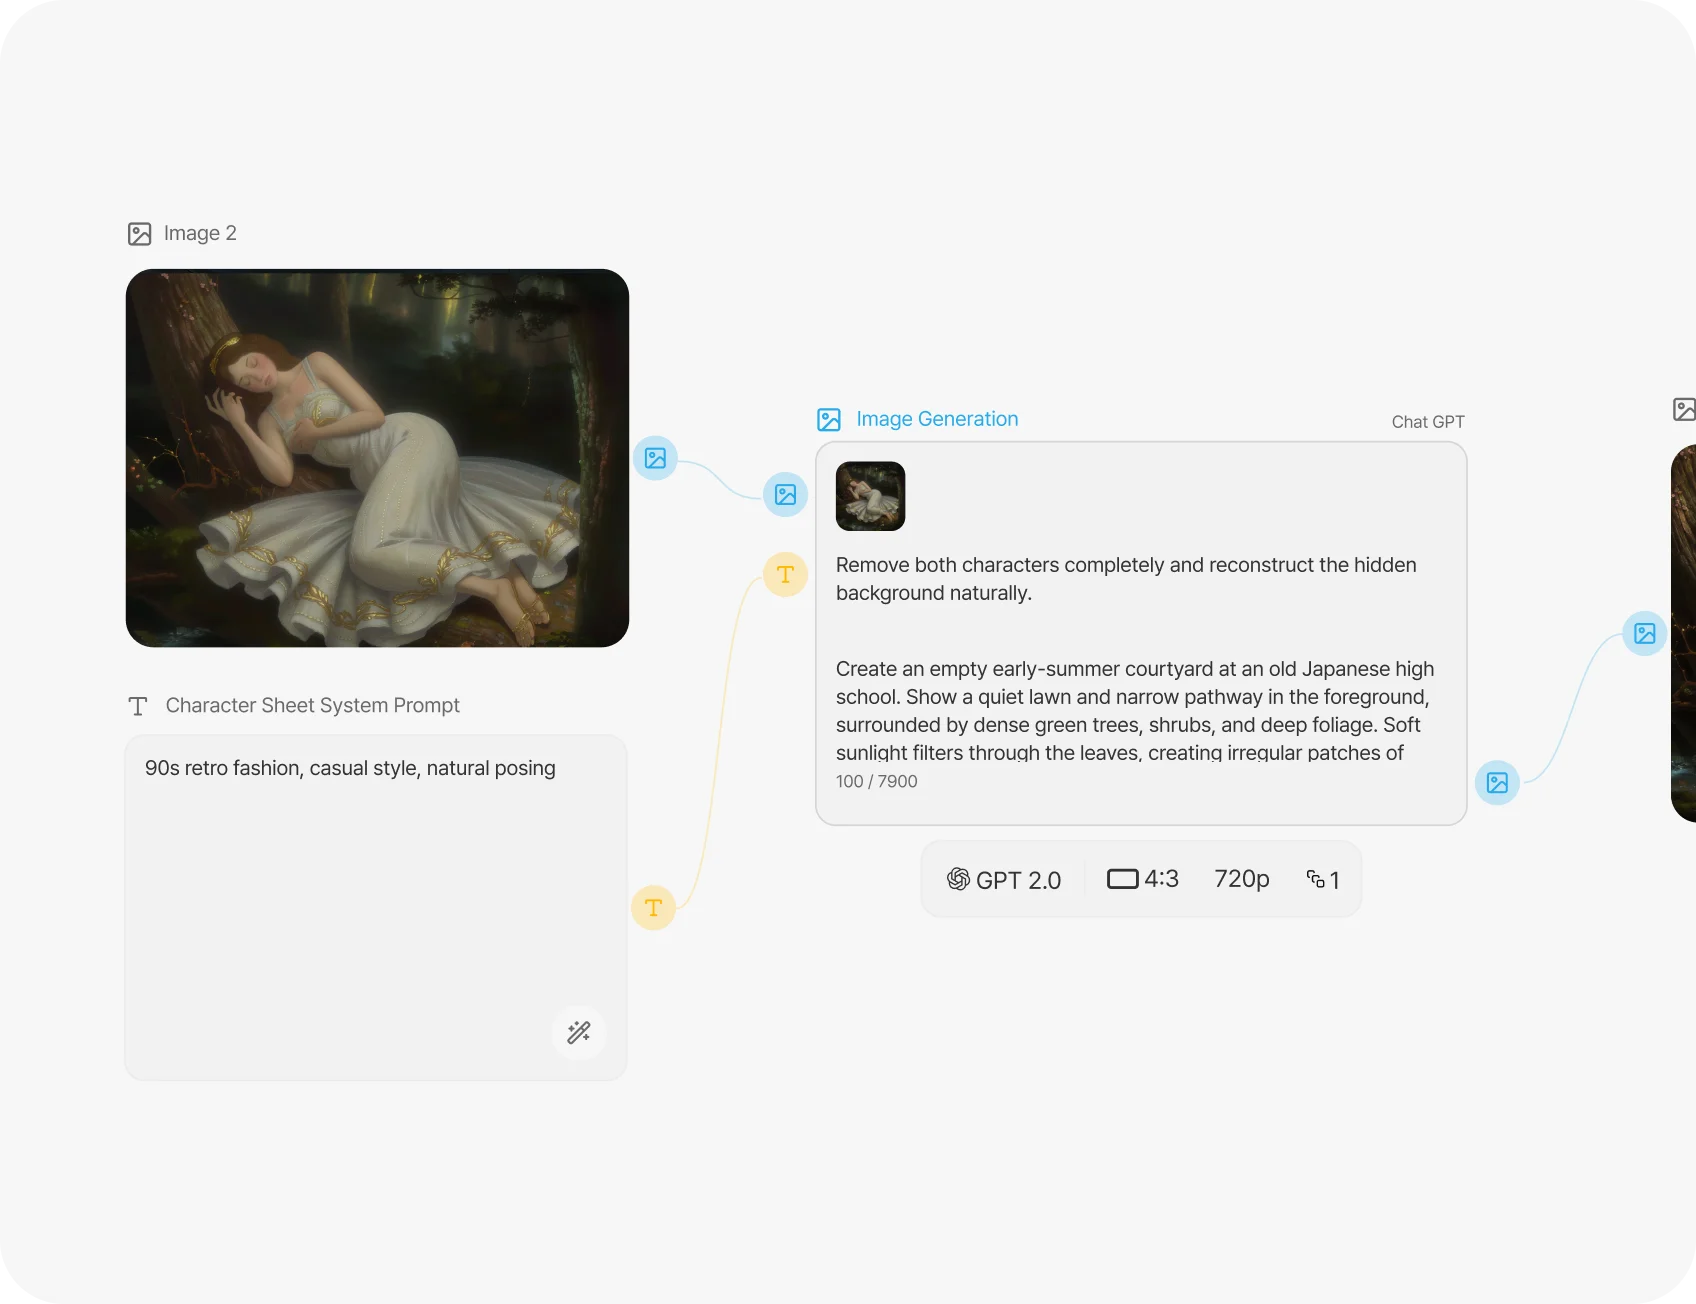
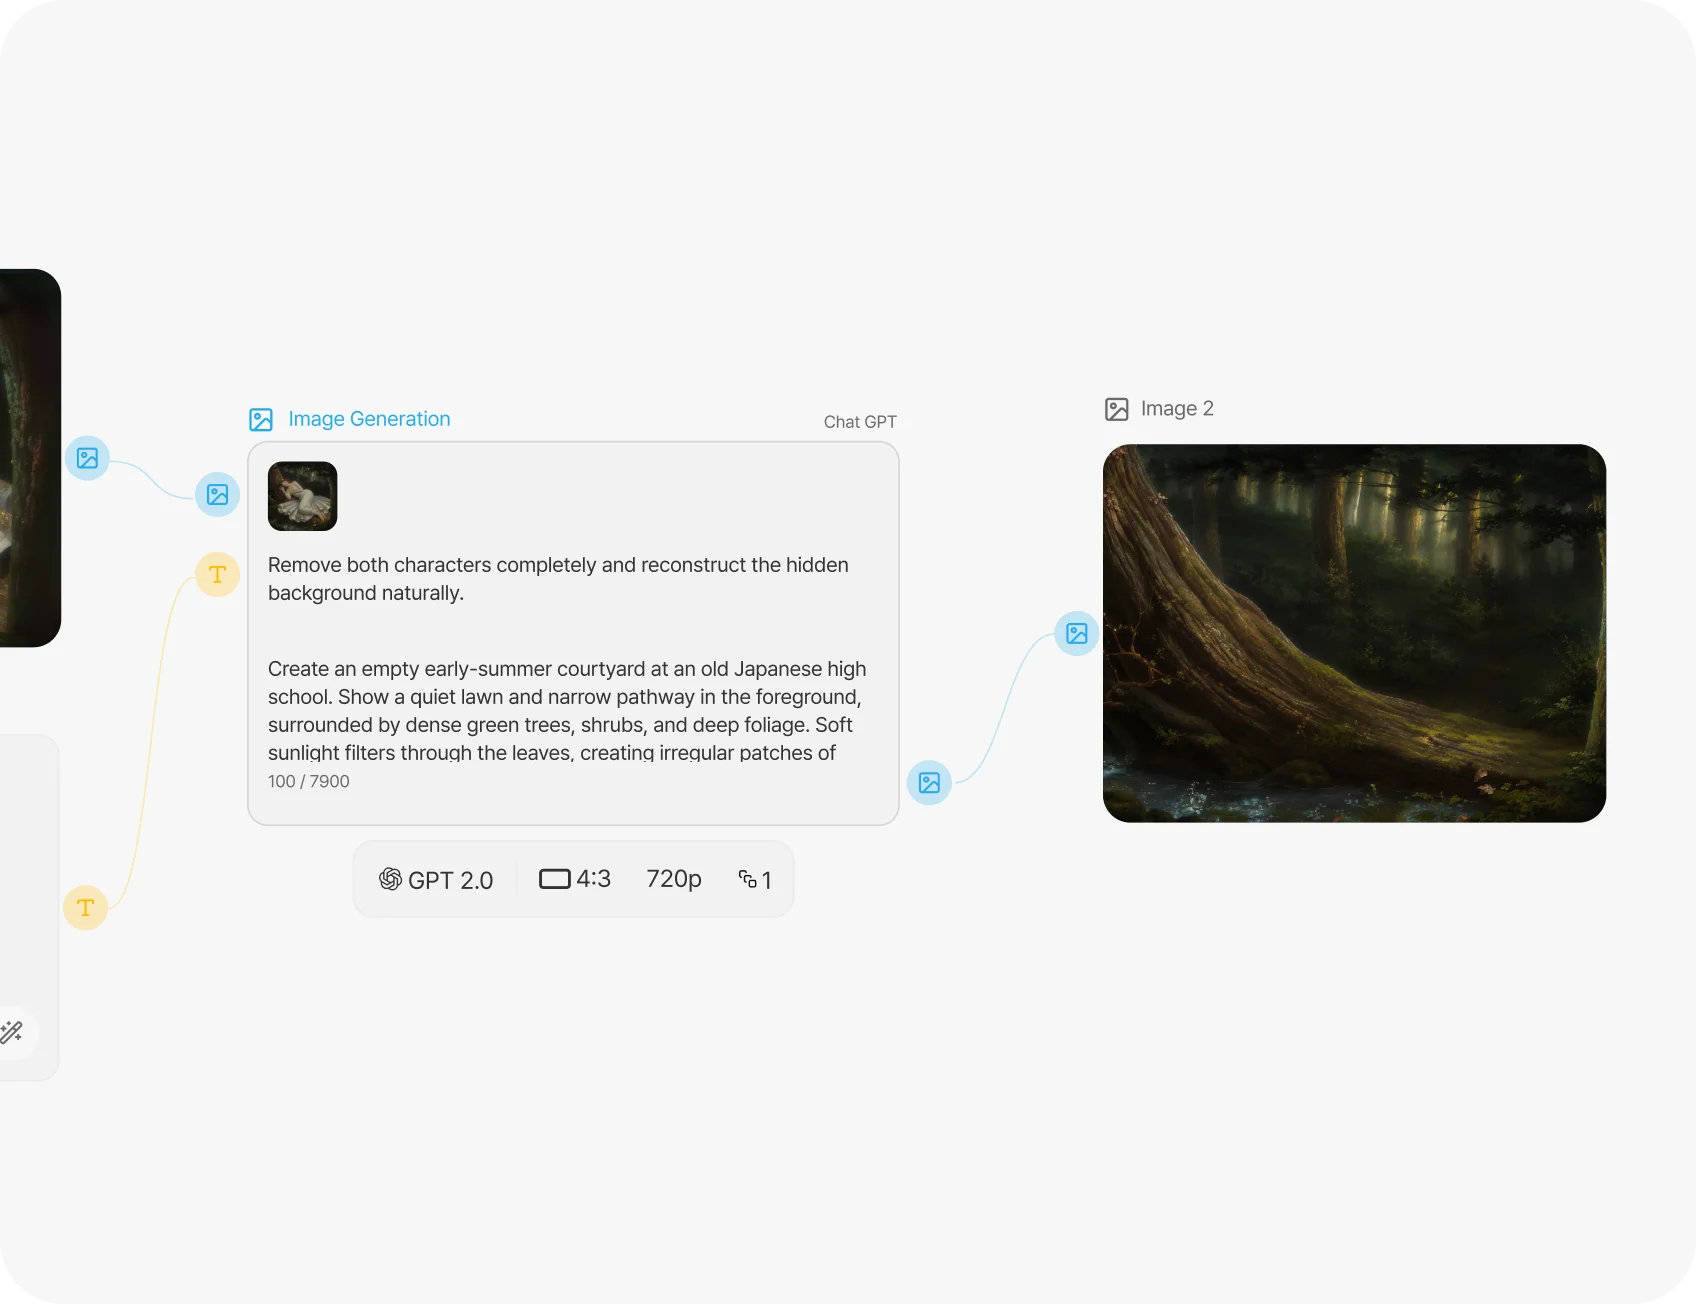
Canvas connecting reference images and generation nodes

Continue from images to video

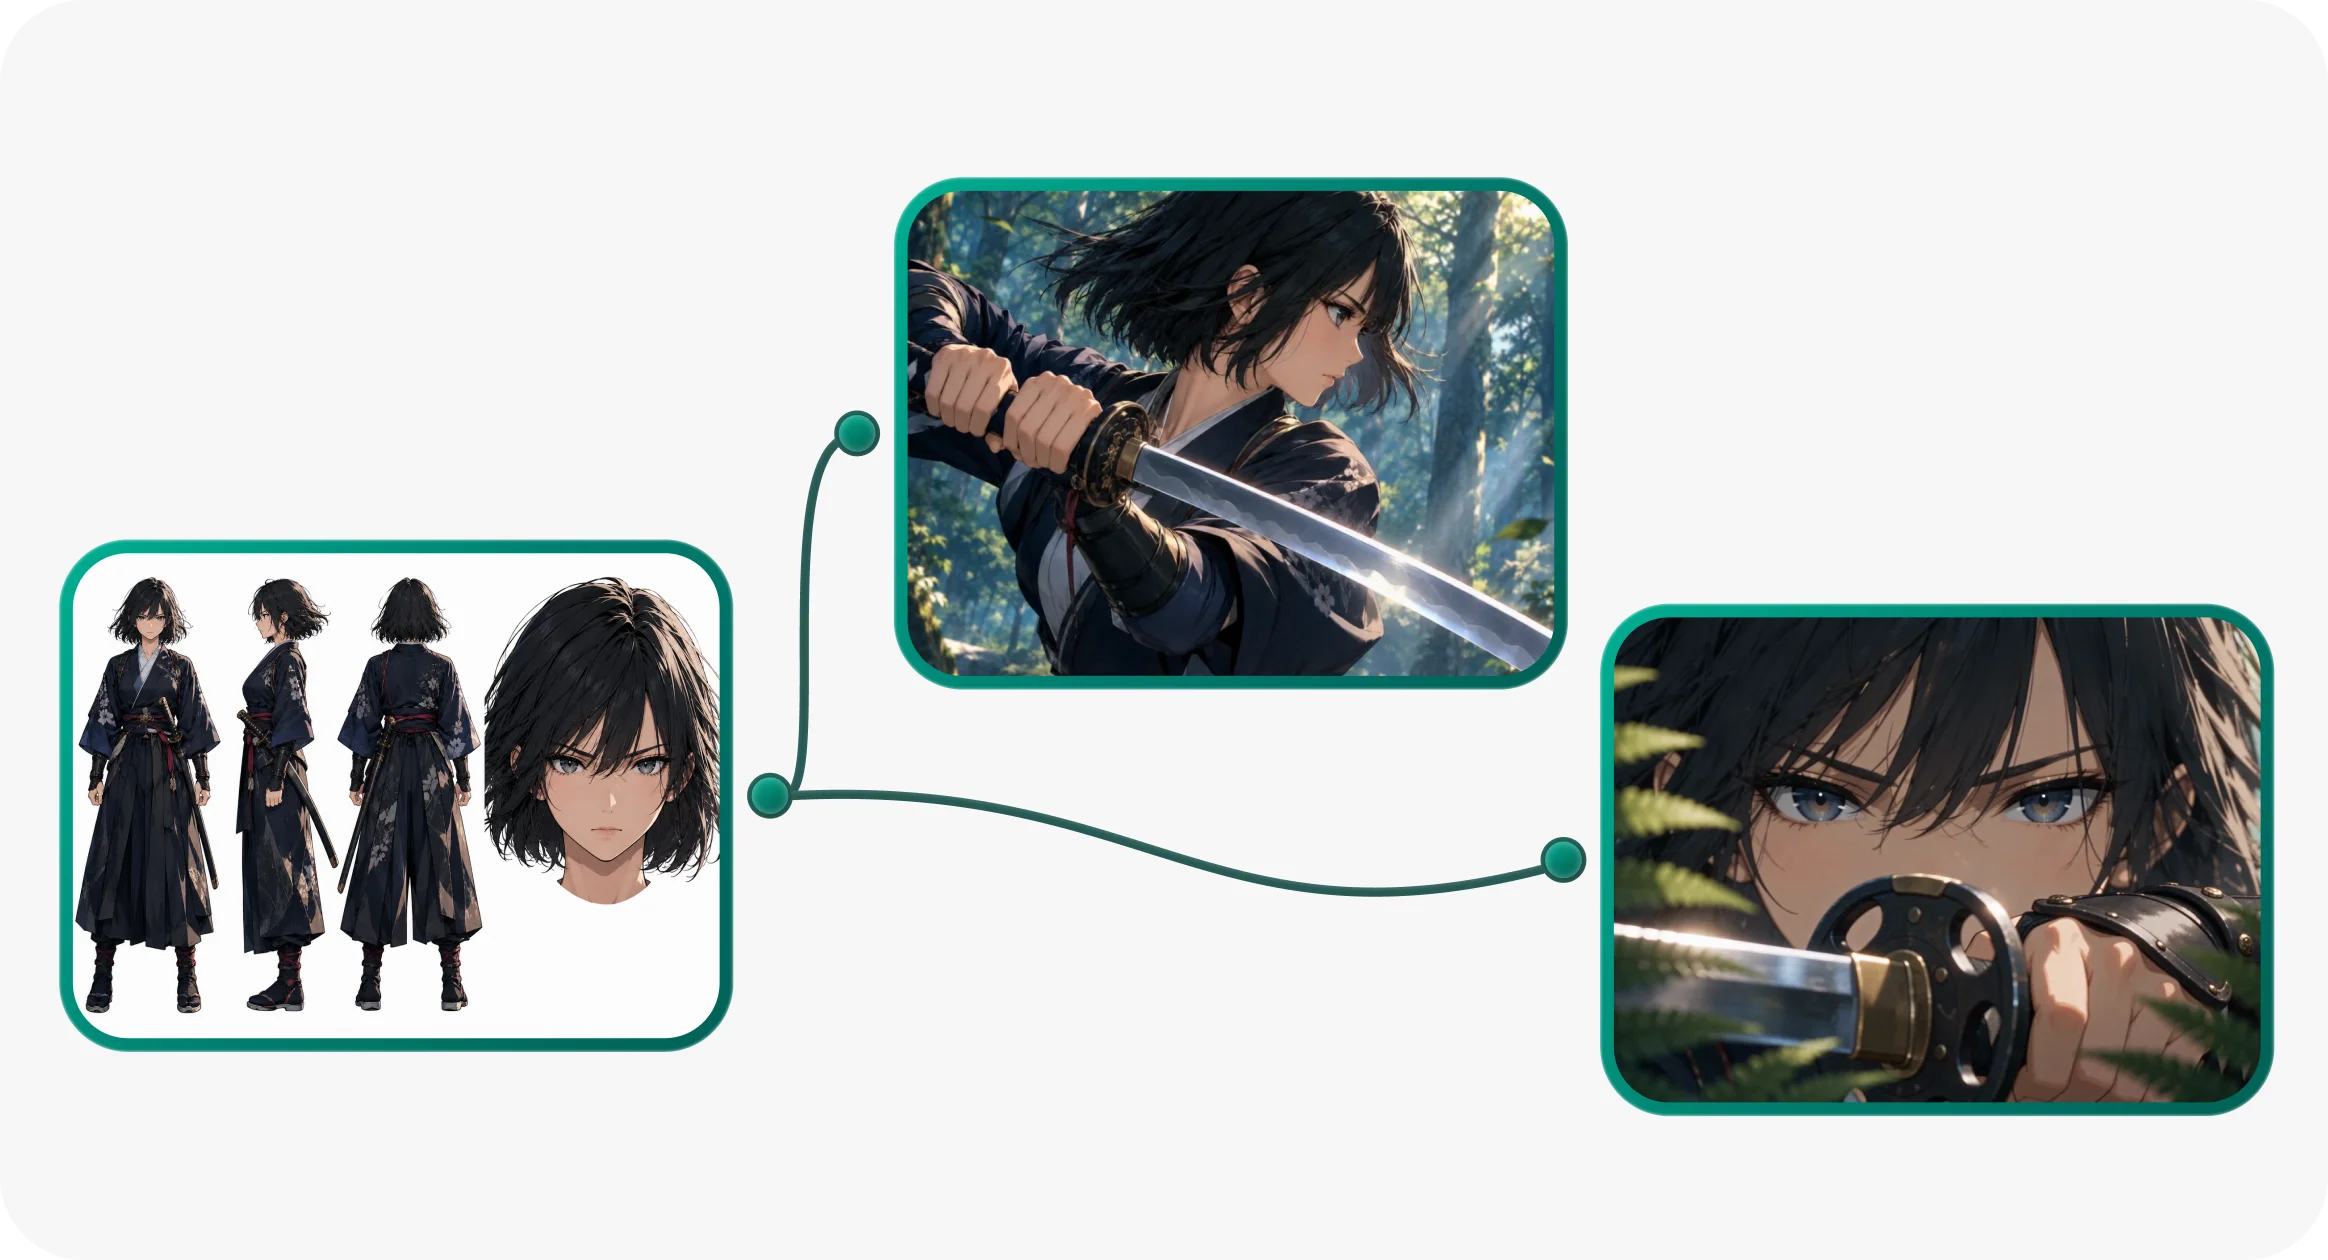
Connect an image result as a reference for video generation. Specify the subject and setting to preserve, then describe motion and camera direction. Choose models and options separately for image, video and voice generation. Explore related workflows: image to video and AI character creator.

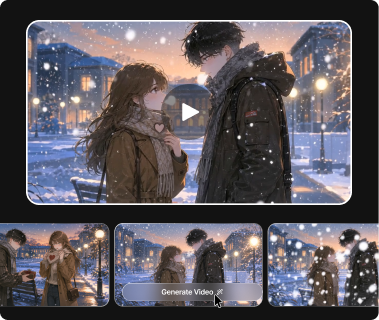
Snowy city scene and generated video candidates

Compare results and organize scenes

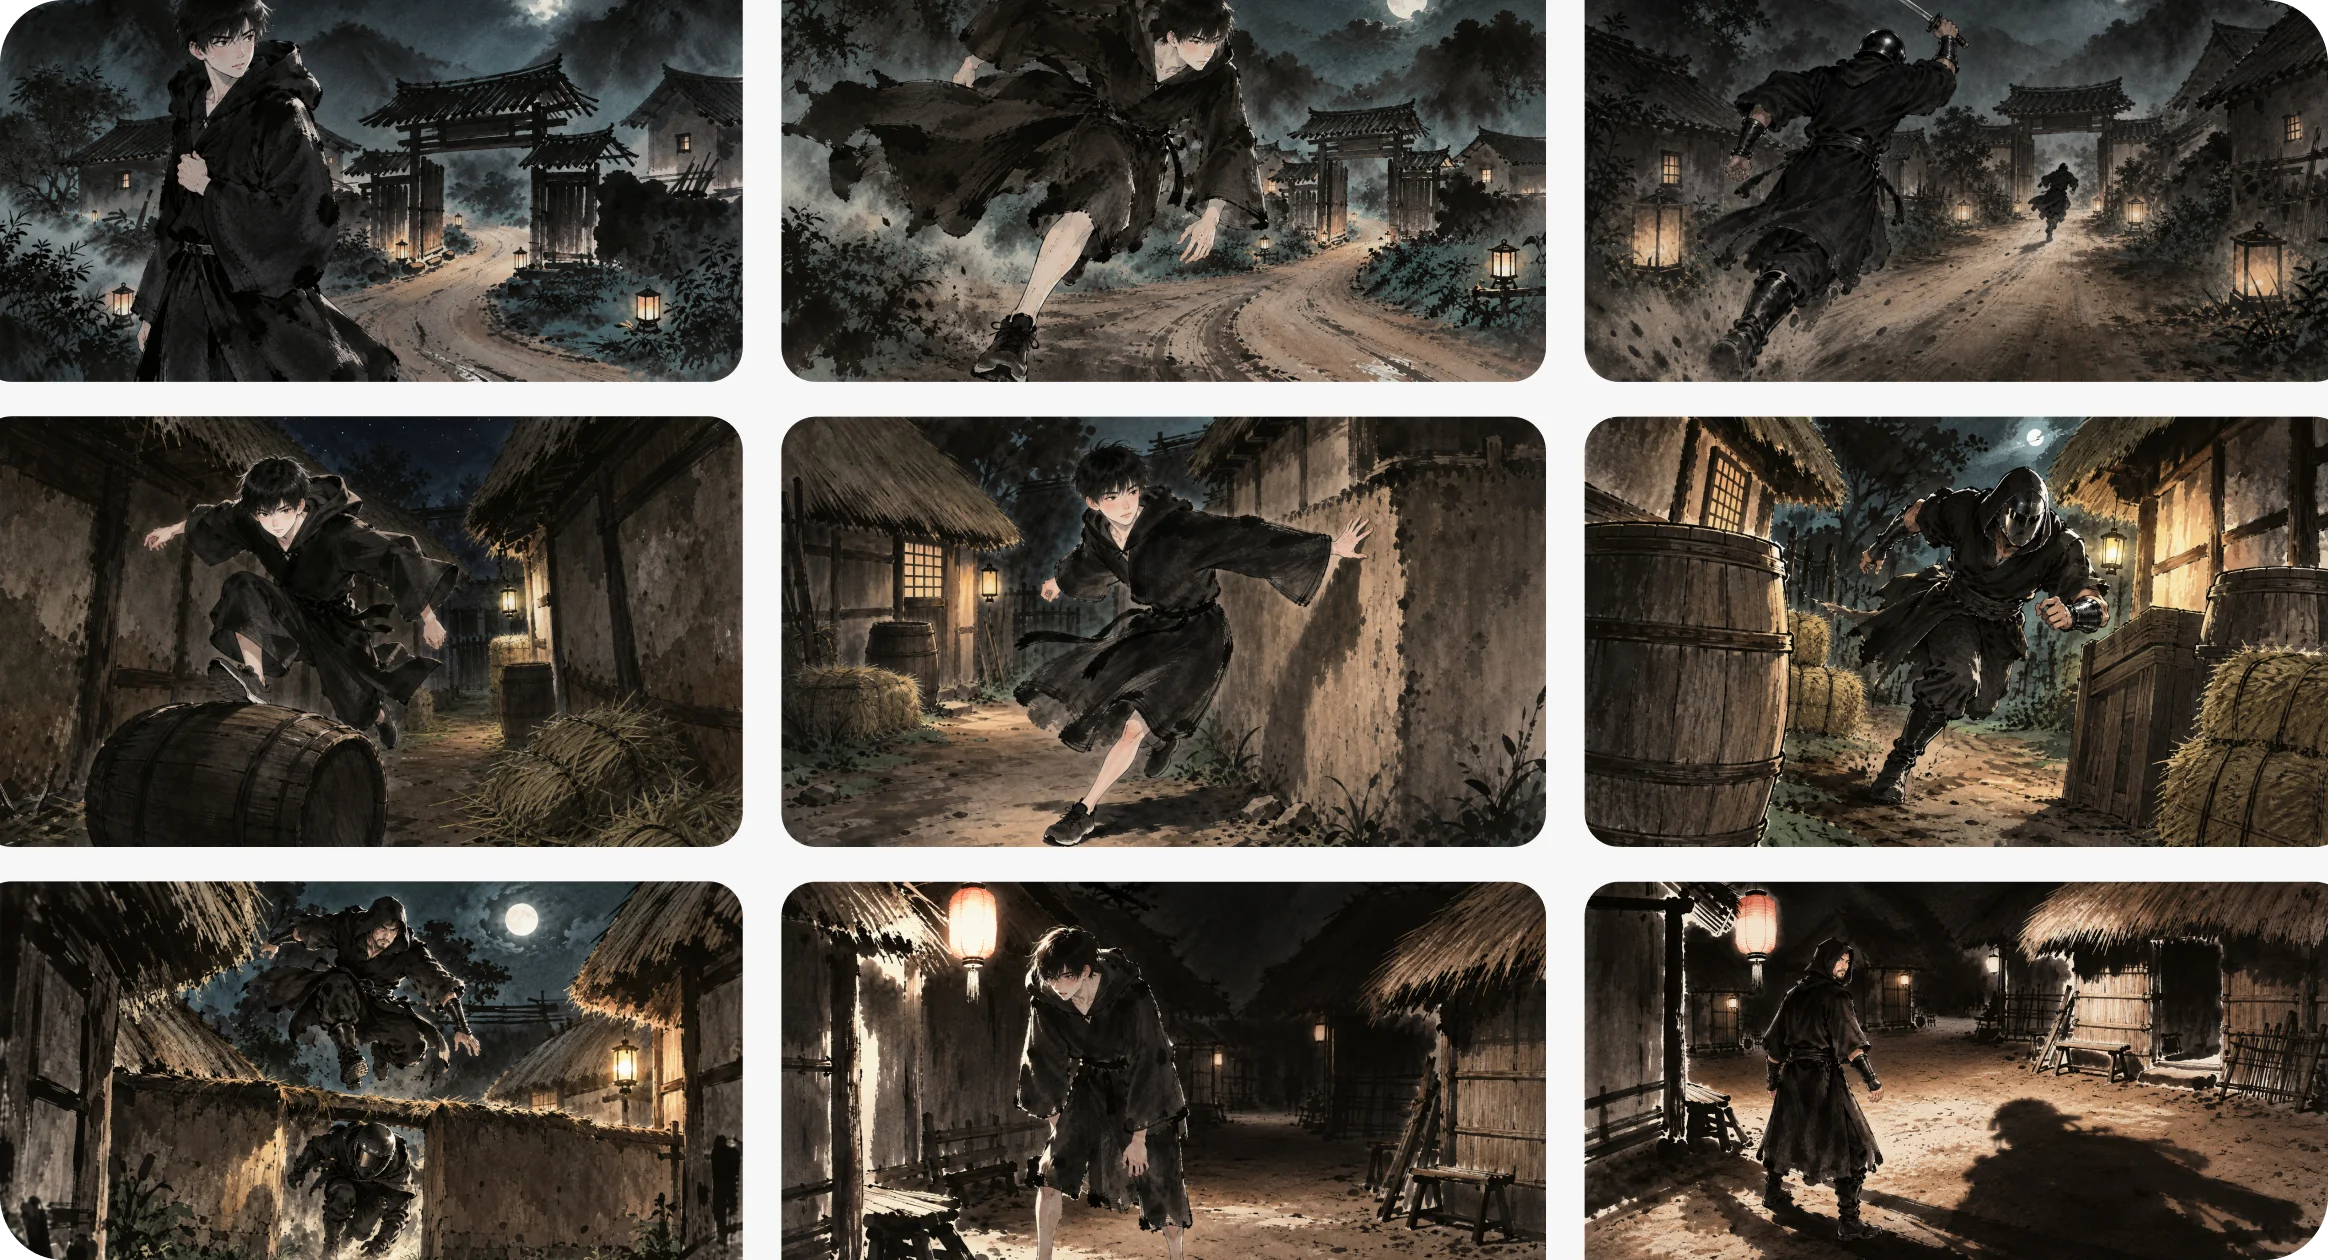
Place variations side by side to compare changes to prompts and references. Group related nodes to organize each scene’s inputs and outputs. Reconnect useful references for the next shot while retaining the project context. Explore related workflows: AI storyboard and text to video.
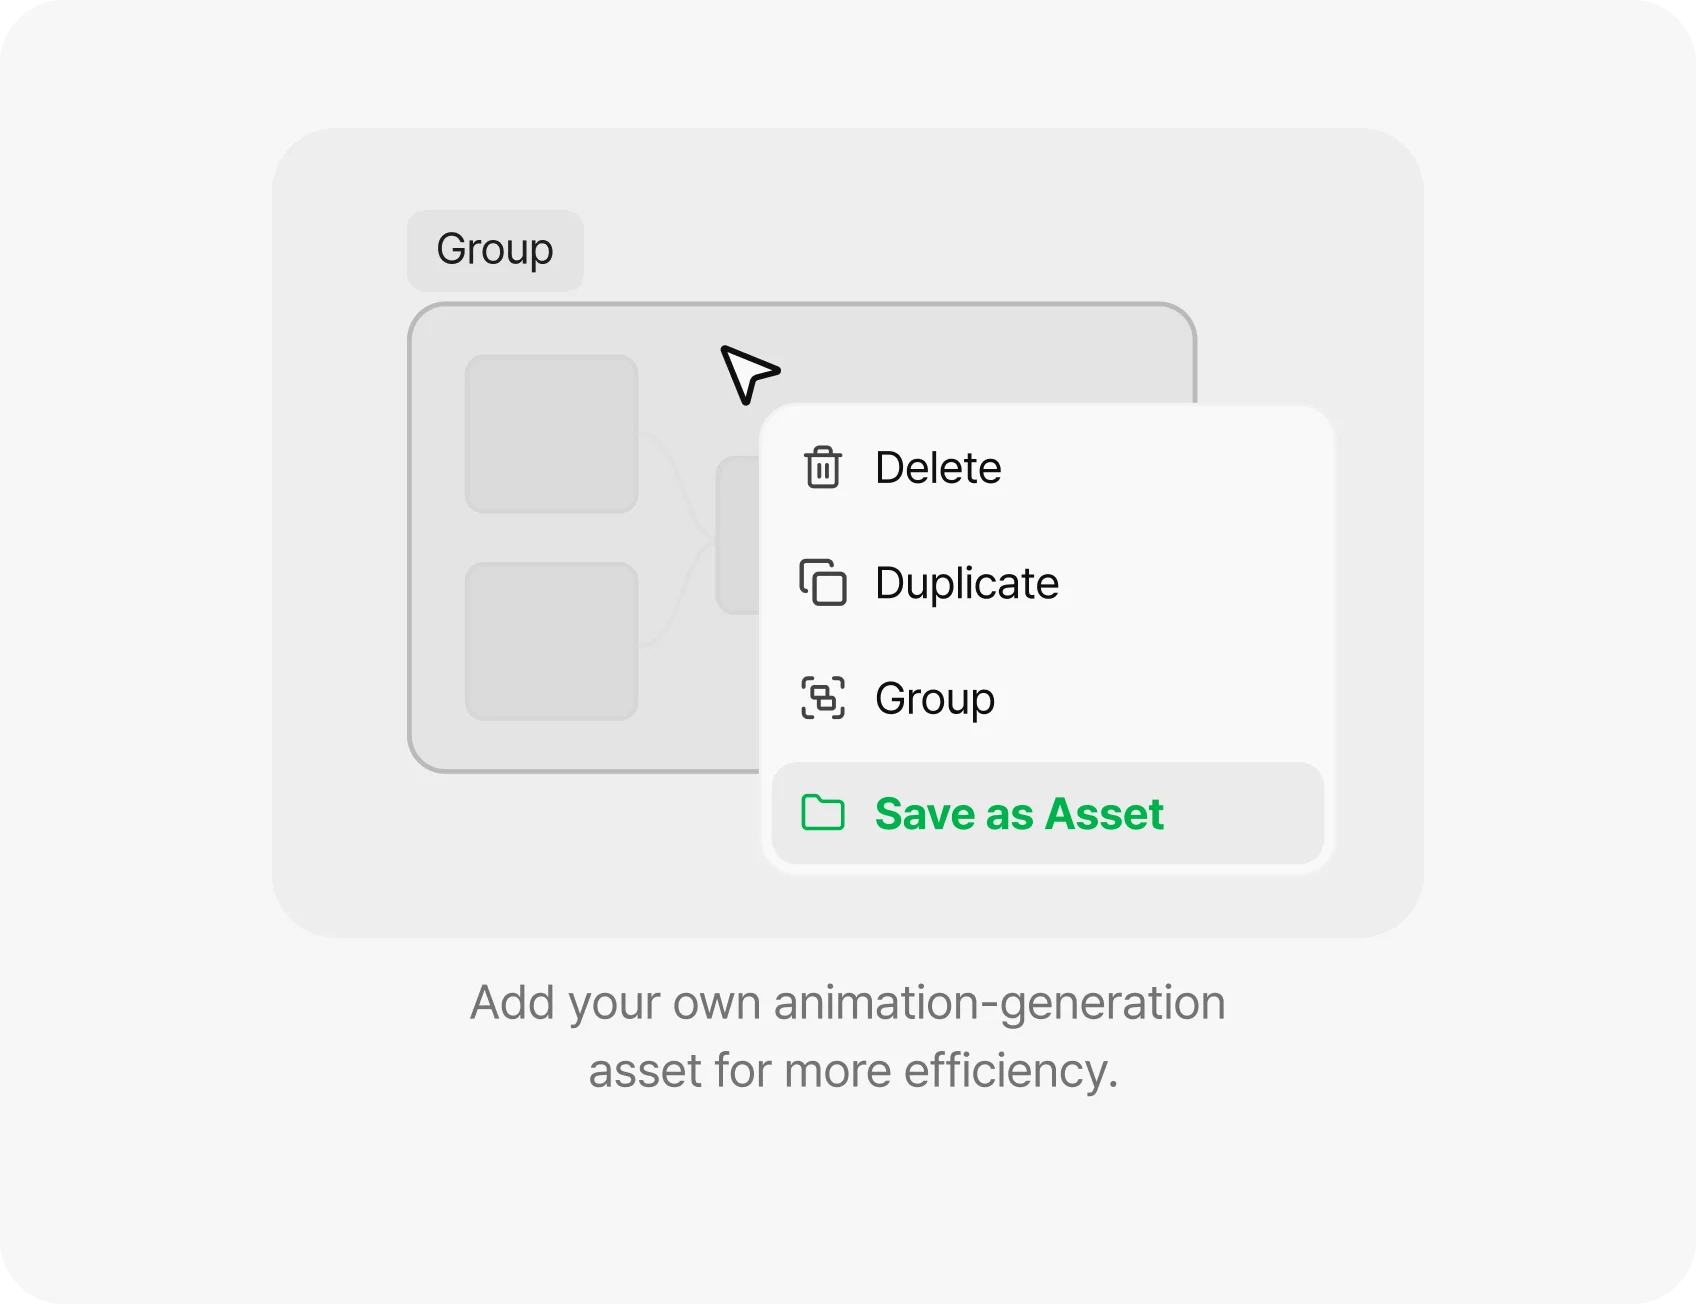
Menu for saving a workflow as an asset

Plan composition before generation with 3D Dummy

Place subjects, objects and cameras in a 3D Reference node. Review poses and spatial relationships, then export an image or video for generation. Prepare complex blocking and camera compositions as visual references. Explore related workflows: image to video and AI character creator.

Toonkit Canvas — How to get started

STEP 1

Open a canvas project

STEP 2

Prepare text and asset nodes

Place scene text and the images, video or voice you need. Prepare a 3D Reference when composition matters. Explore related workflows: AI storyboard and text to video.
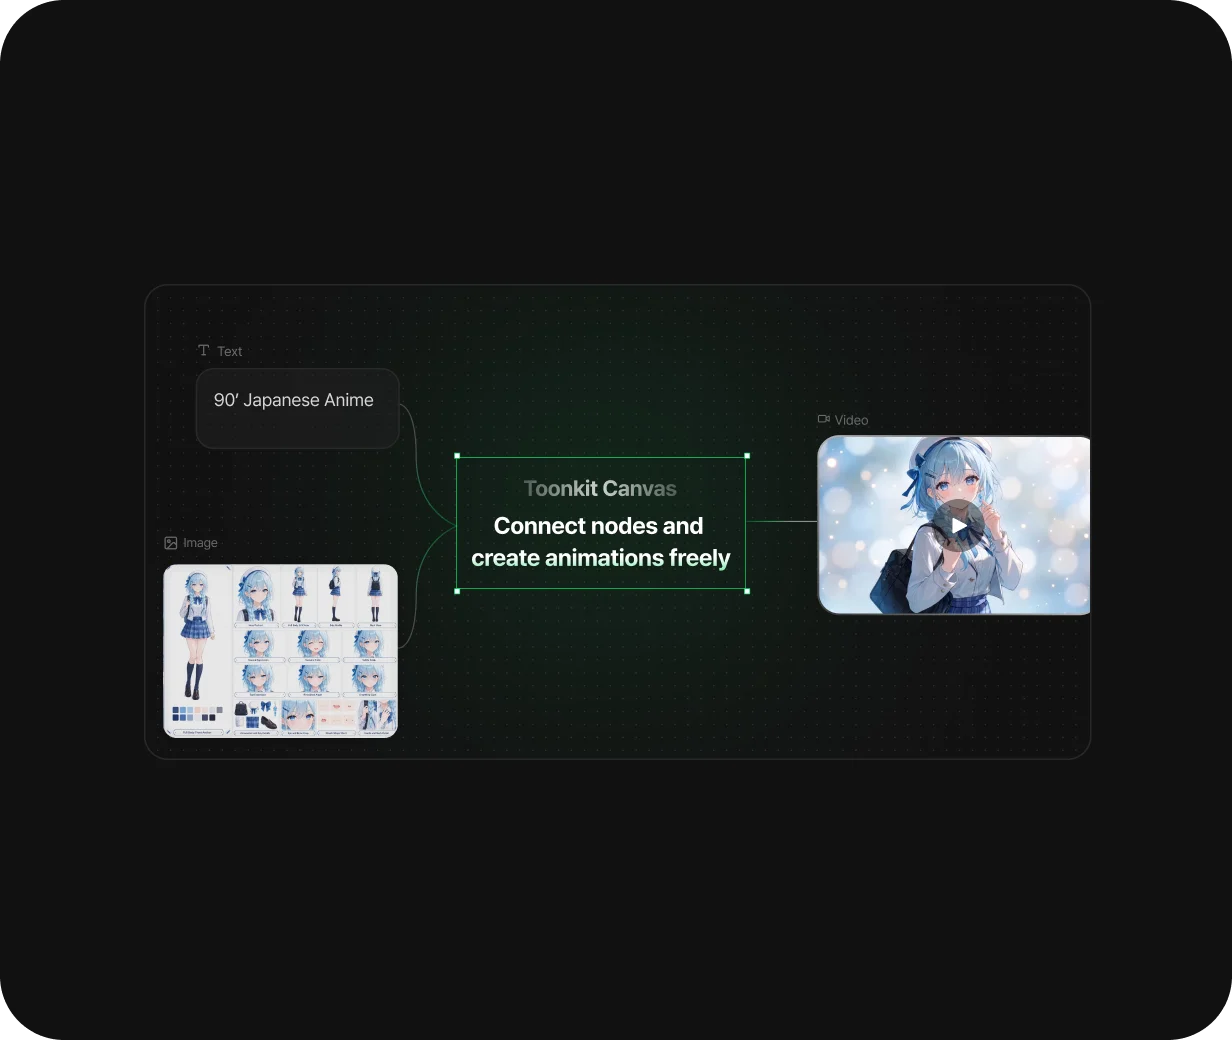
Prepare text and asset nodes
STEP 3

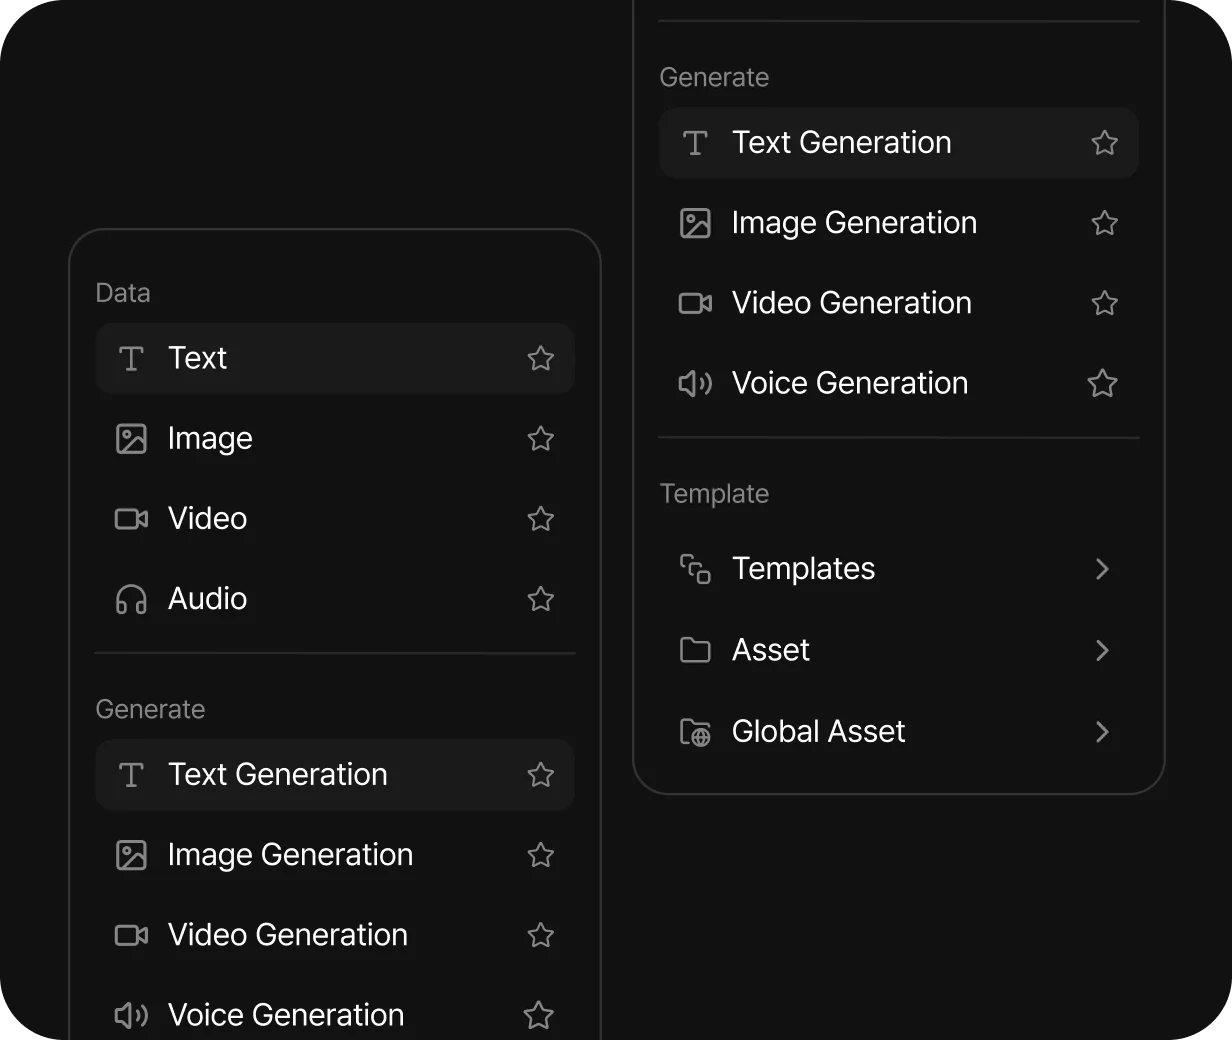
Connect generation nodes and set options

Connect compatible inputs, check supported options such as duration and resolution and review estimated credits before generating. Explore related workflows: image to video and AI character creator.

Connect generation nodes and set options
STEP 4

Compare results and connect the next step

Compare outputs and connect the selected result as the next node’s reference. Group related nodes by scene. Explore related workflows: AI storyboard and text to video.
Compare results and connect the next step

Why use Toonkit Canvas for AI animation creation?

Canvas keeps the path from scene description and references to generation visible. Compare variations side by side, organize work by scene and prepare 3D composition before generating. Explore related workflows: AI storyboard and text to video.
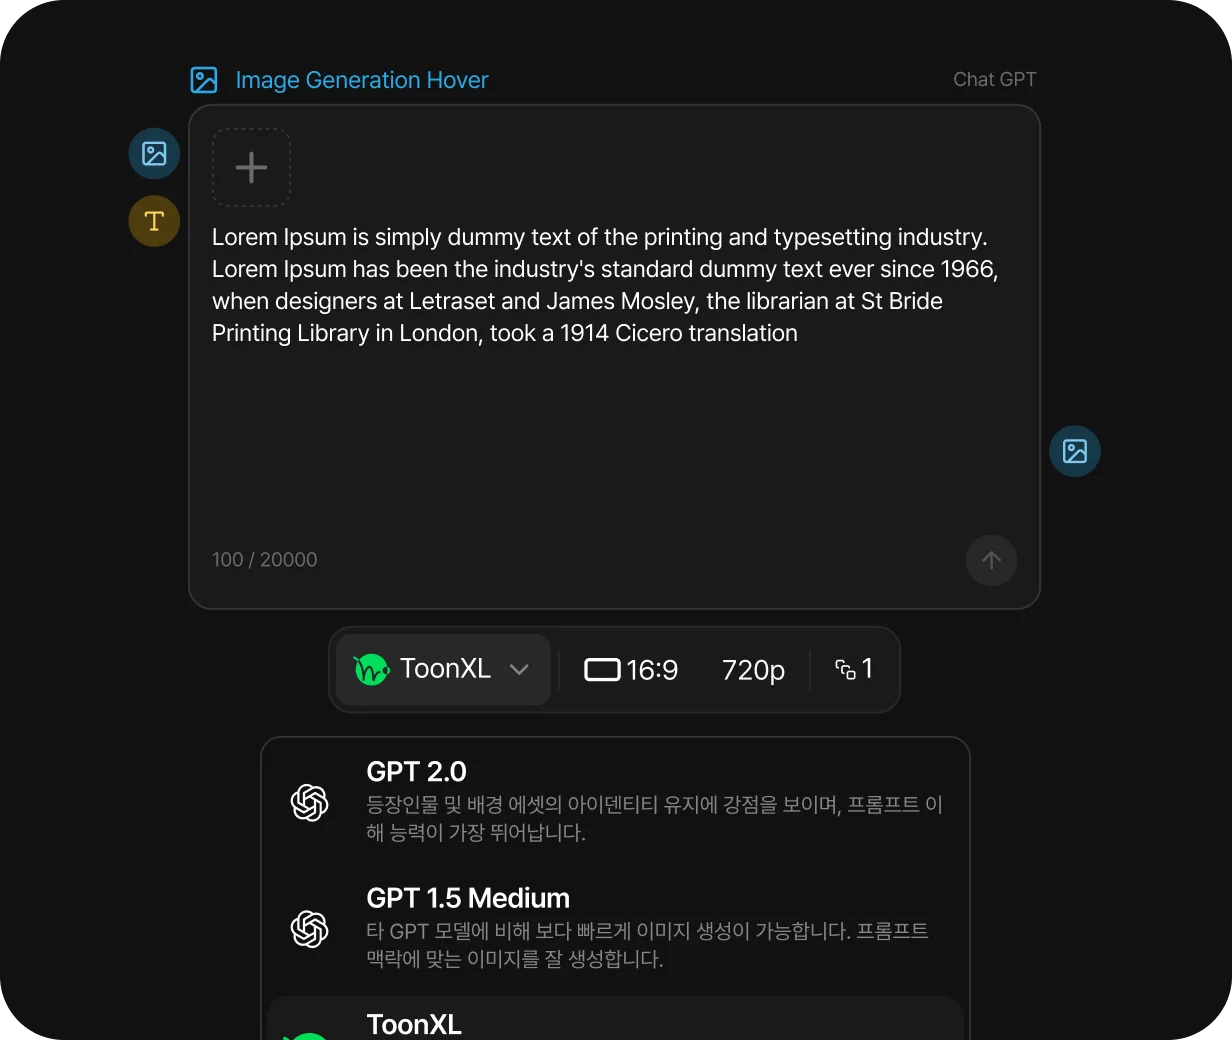
Canvas connecting reference images and generation nodes

See the workflow from input to result

Follow nodes and connections to see which prompts and references led to each result. Inspect the context on your workspace and decide which input to change next without reconstructing it from chat history or file lists. Explore related workflows: image to video and AI character creator.

Menu for saving a workflow as an asset

Compare creative directions side by side

Place variations in expression, setting and camera side by side. Group related nodes by scene to keep alternatives organized as the project grows. Connect the chosen result to the next generation node to develop your direction. Explore related workflows: AI storyboard and text to video.
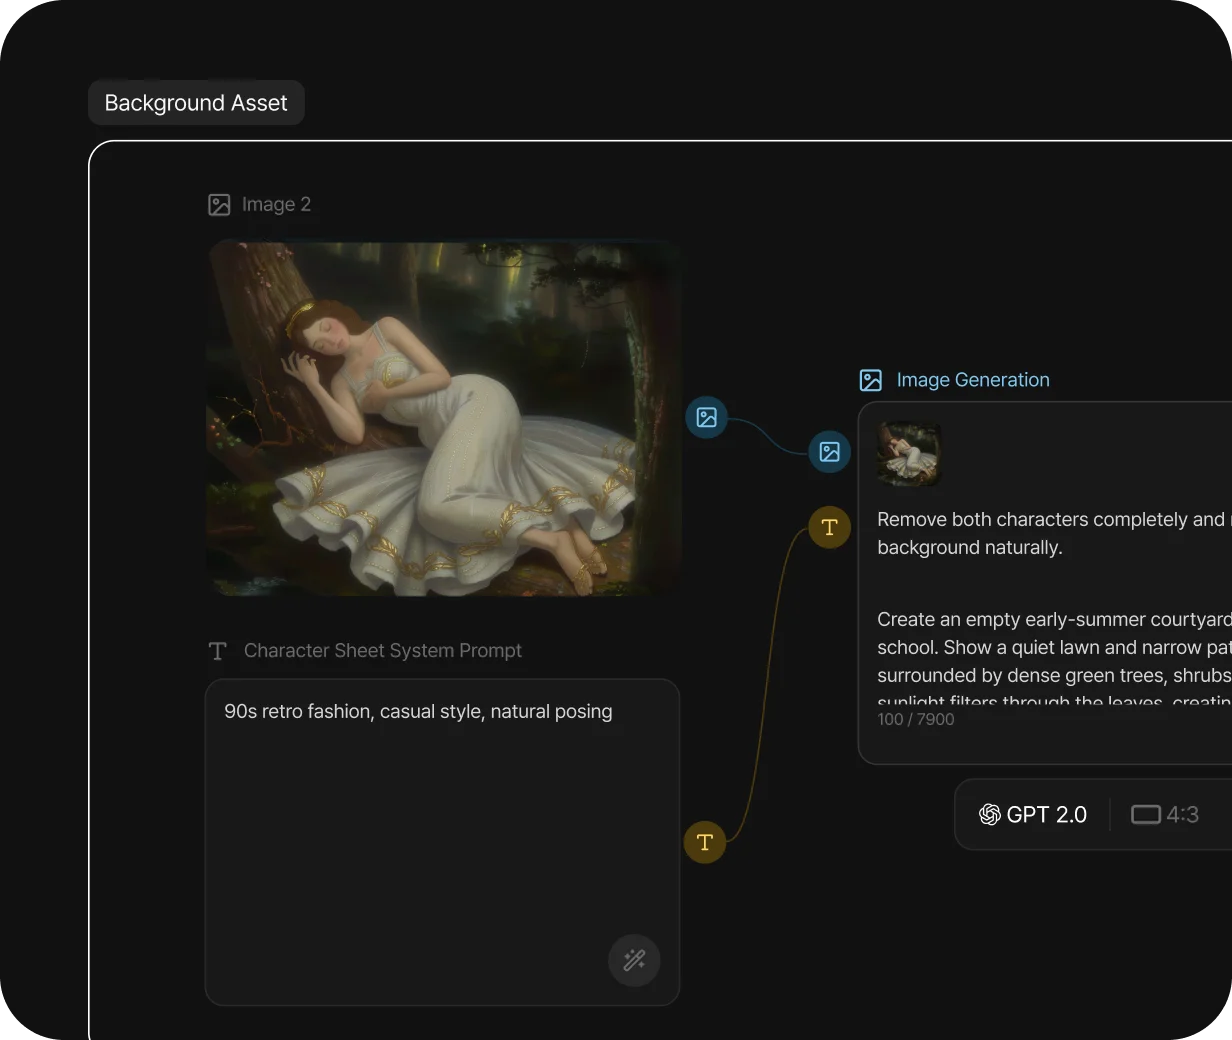
Stage subjects and cameras before generation

Check distances and positions that are difficult to describe in the canvas’s 3D Reference editor. Arrange subjects, objects and cameras, then export an image or video to connect as a reference. Review the spatial plan before creating the AI scene. Explore related workflows: AI storyboard and text to video.
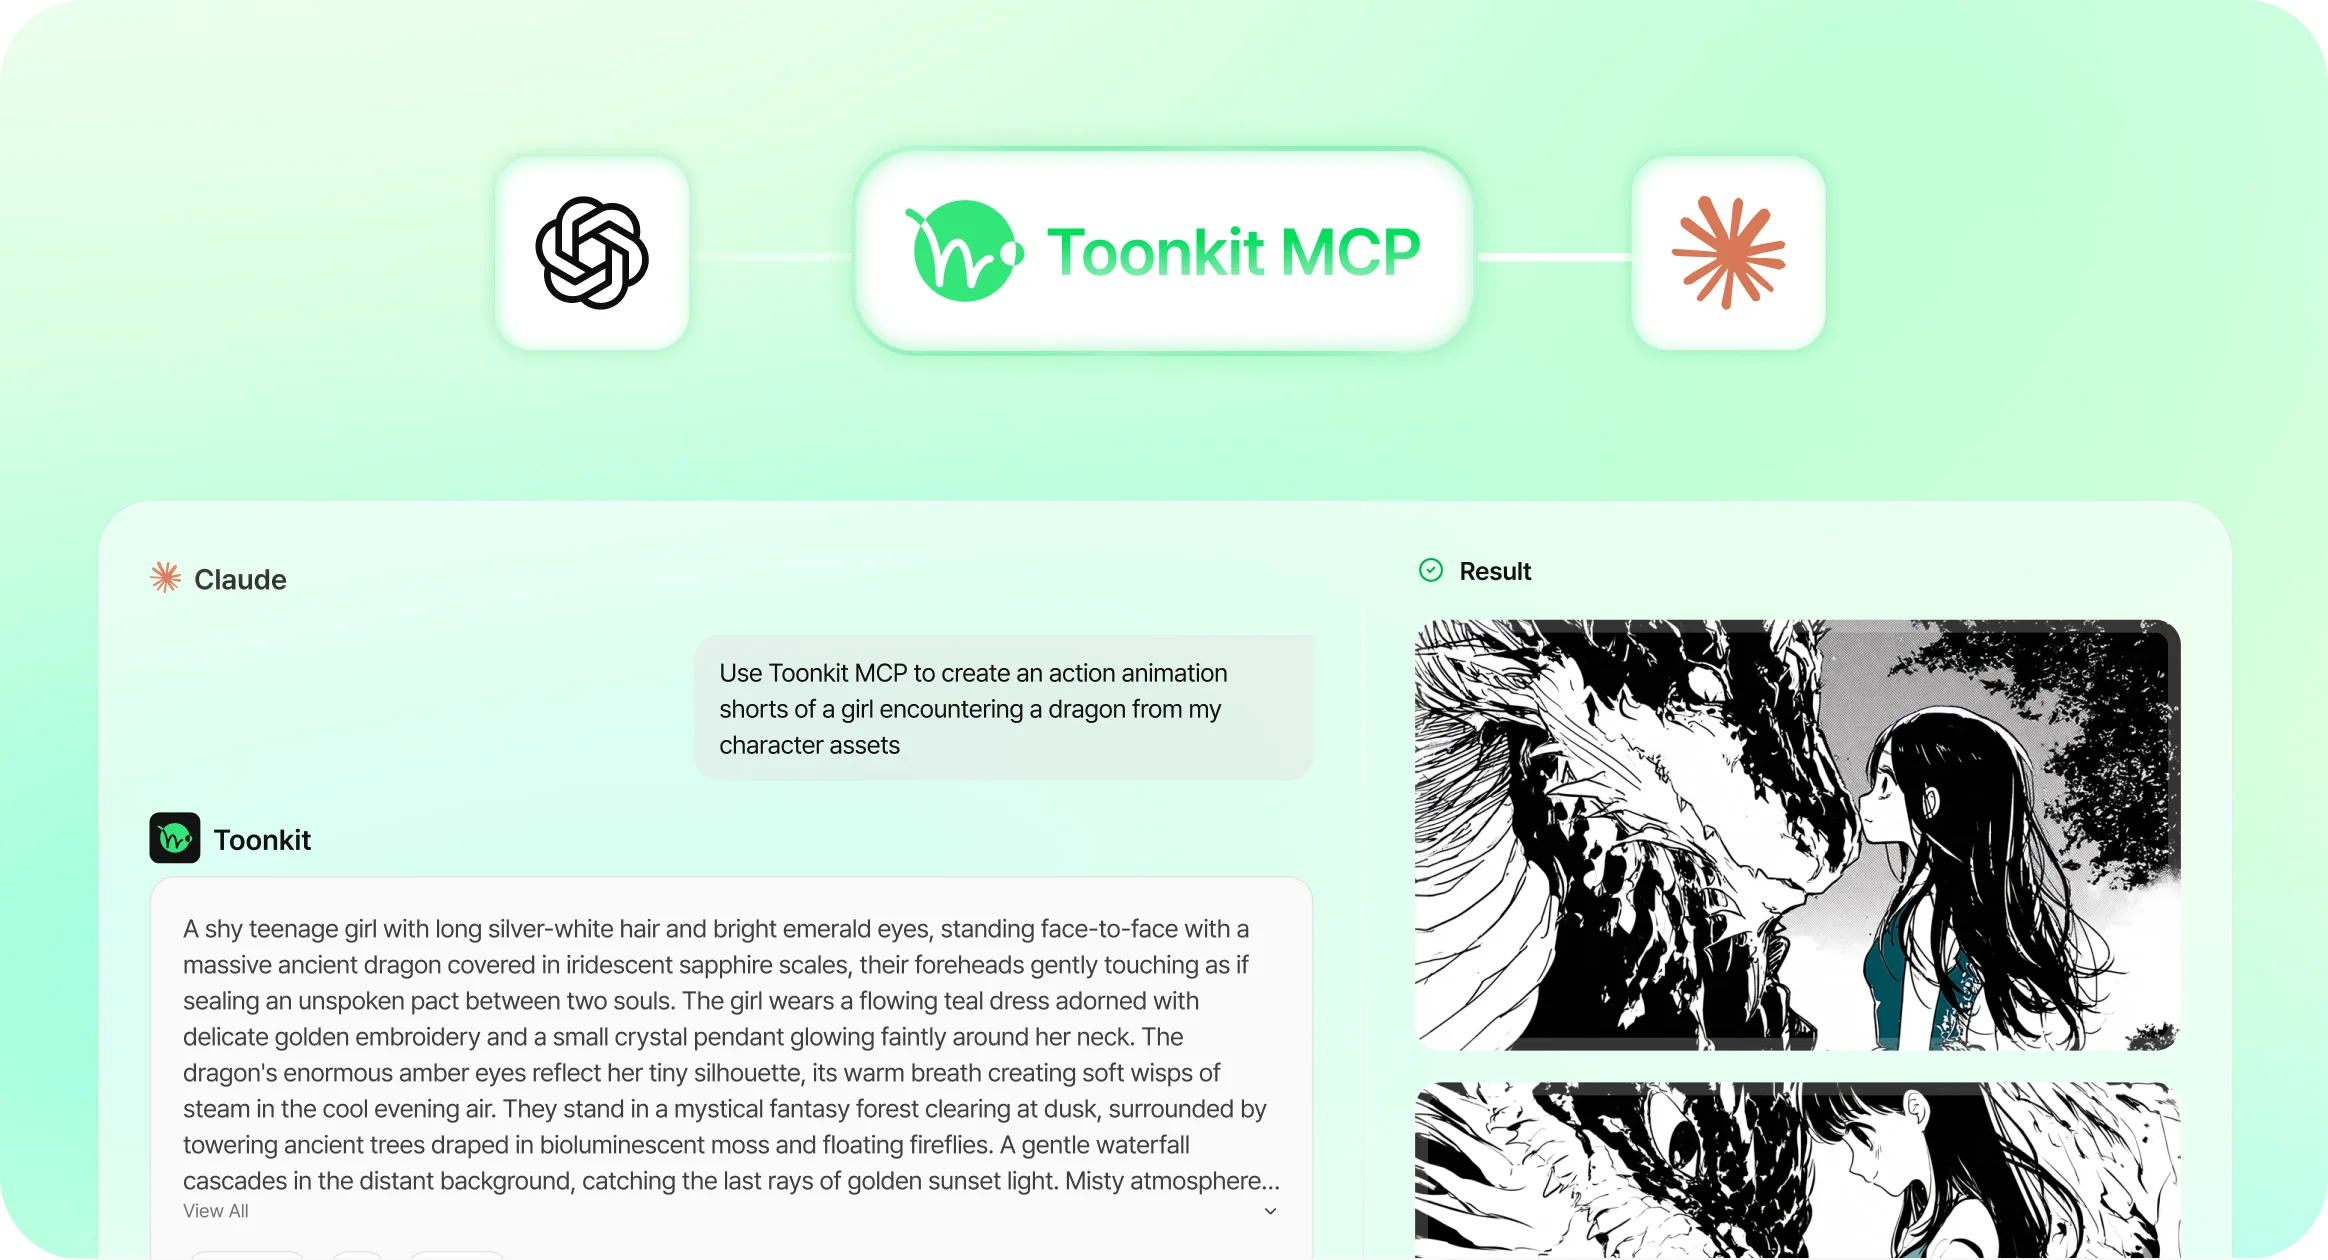
Toonkit MCP

Build with an AI agent, refine on the canvas

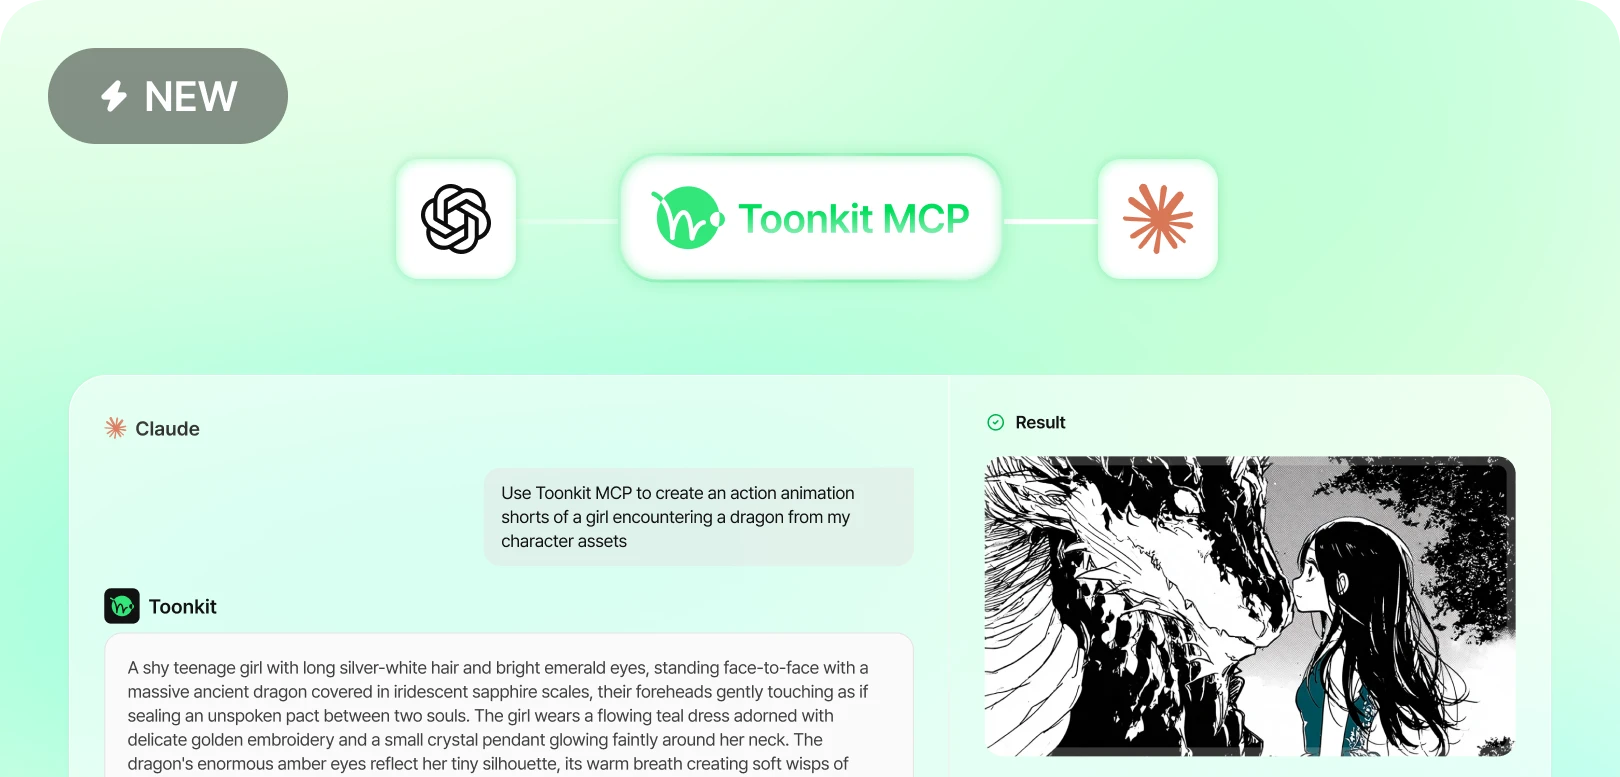
With the canvas open, ask a connected MCP agent to place and connect text, references and generation nodes. Review the applied layout and continue adjusting it directly. Turn an idea from conversation into a visible production workflow, then refine the parts you want by hand.

FAQ

How does an AI creation canvas work?

Toonkit Canvas arranges inputs and generation results as connected nodes. Describe a scene in a text node and connect image, video or voice references supported by your selected model. Keeping references and results together makes it easier to compare variations and reuse outputs. Turn an image into a video or group nodes by scene to build a workflow around your project. Explore related workflows: AI storyboard and text to video.
Do all models accept the same references?

No. Image, video and audio support, counts, duration and resolution vary by model. Check the selected model before connecting inputs. Explore related workflows: image to video and AI character creator.

How is generation charged?

Generation uses Toonkit credits. The amount depends on the model and options. MCP uses the credits in your existing Toonkit account.

Do I send raw 3D files to the generation model?

Prepare the scene in 3D Reference, then use an exported image or video as the reference. Keep the canvas and 3D editor open when using MCP and review the scene.

Explore more Toonkit tools

Toonkit MCP

Toonkit MCP: create images and AI animation through conversation

Describe a scene in Codex or Claude Code. Use Toonkit MCP to generate character images and videos, connect existing assets, and prepare direction in the canvas and 3D Reference editor.

Learn more
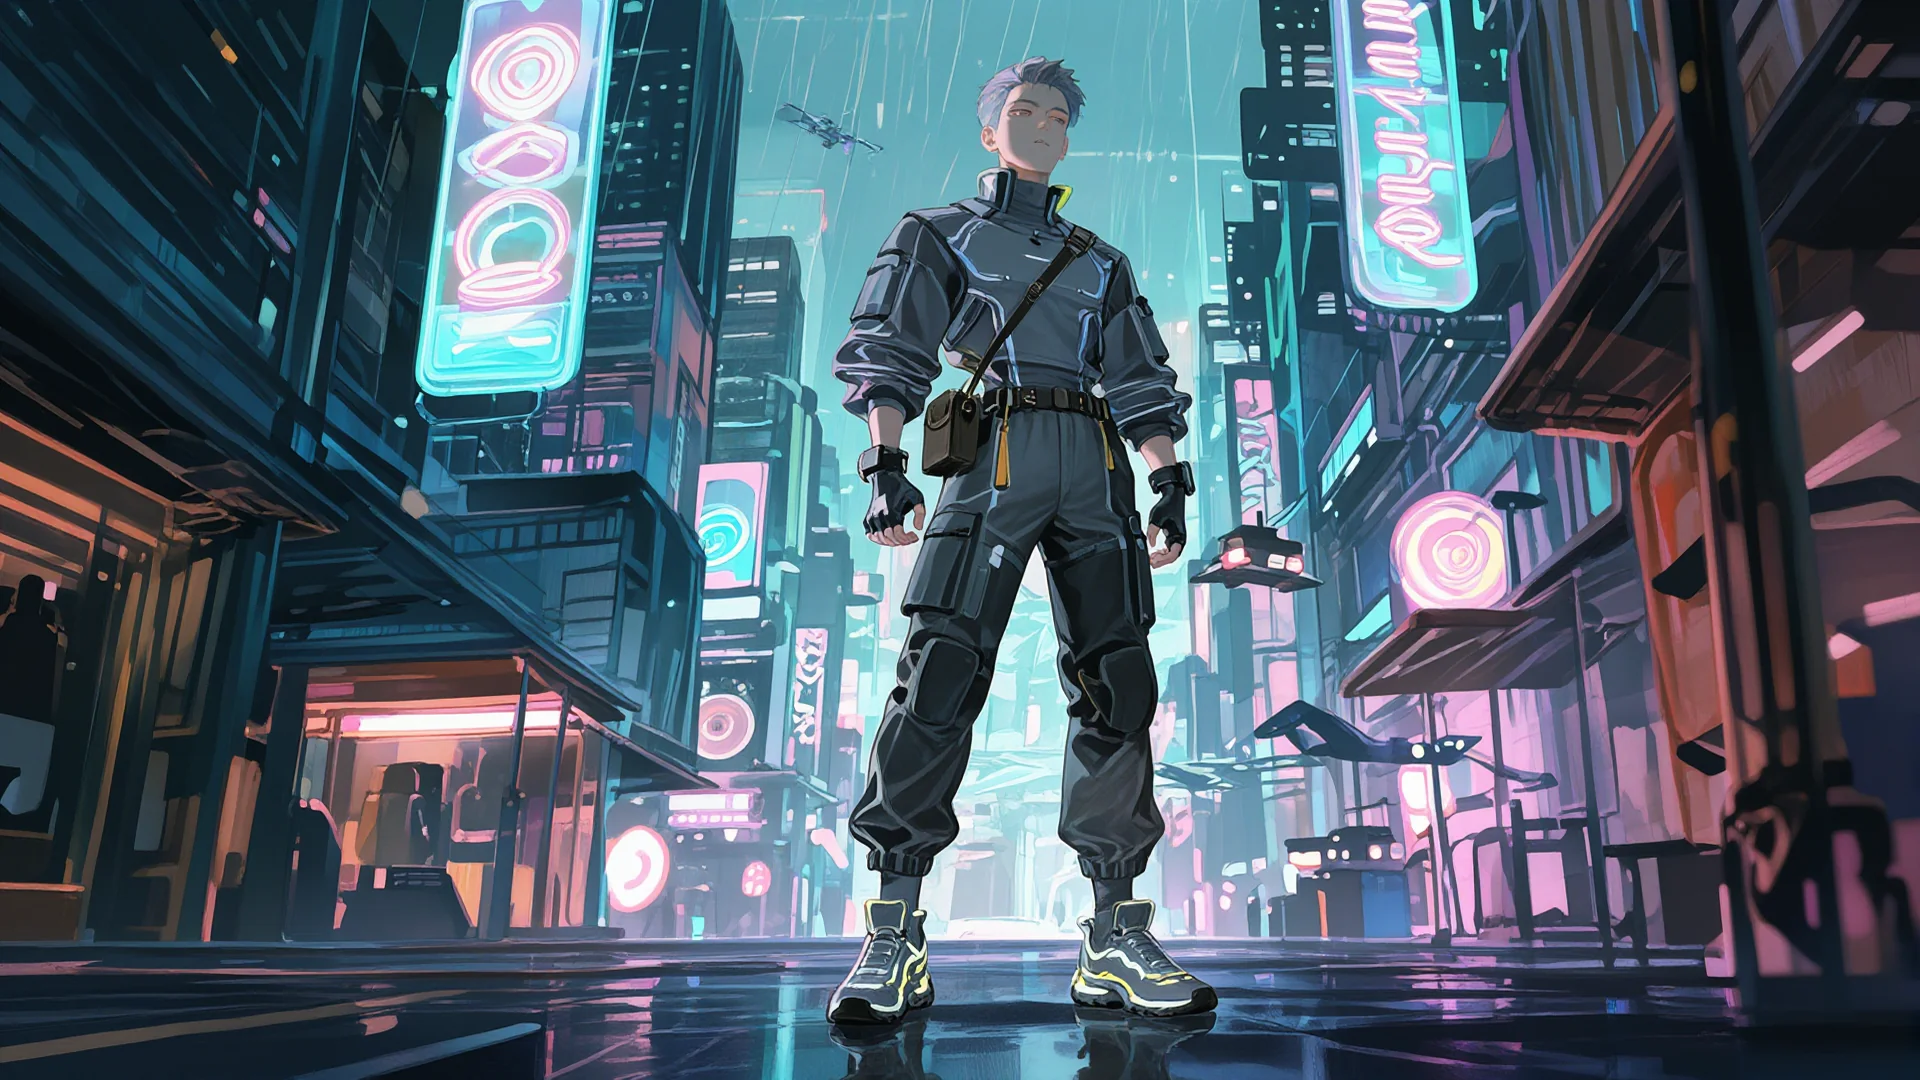
Animated character standing on a neon-lit street

AI Animation Generator

Turn an idea into a scene-by-scene storyboard and prepare characters and backgrounds for AI animation. Develop image shots into video with motion and camera direction, compare results and regenerate the scenes that need work. Edit shot order and duration to bring the story together. Explore related workflows: AI storyboard and text to video.
Learn more
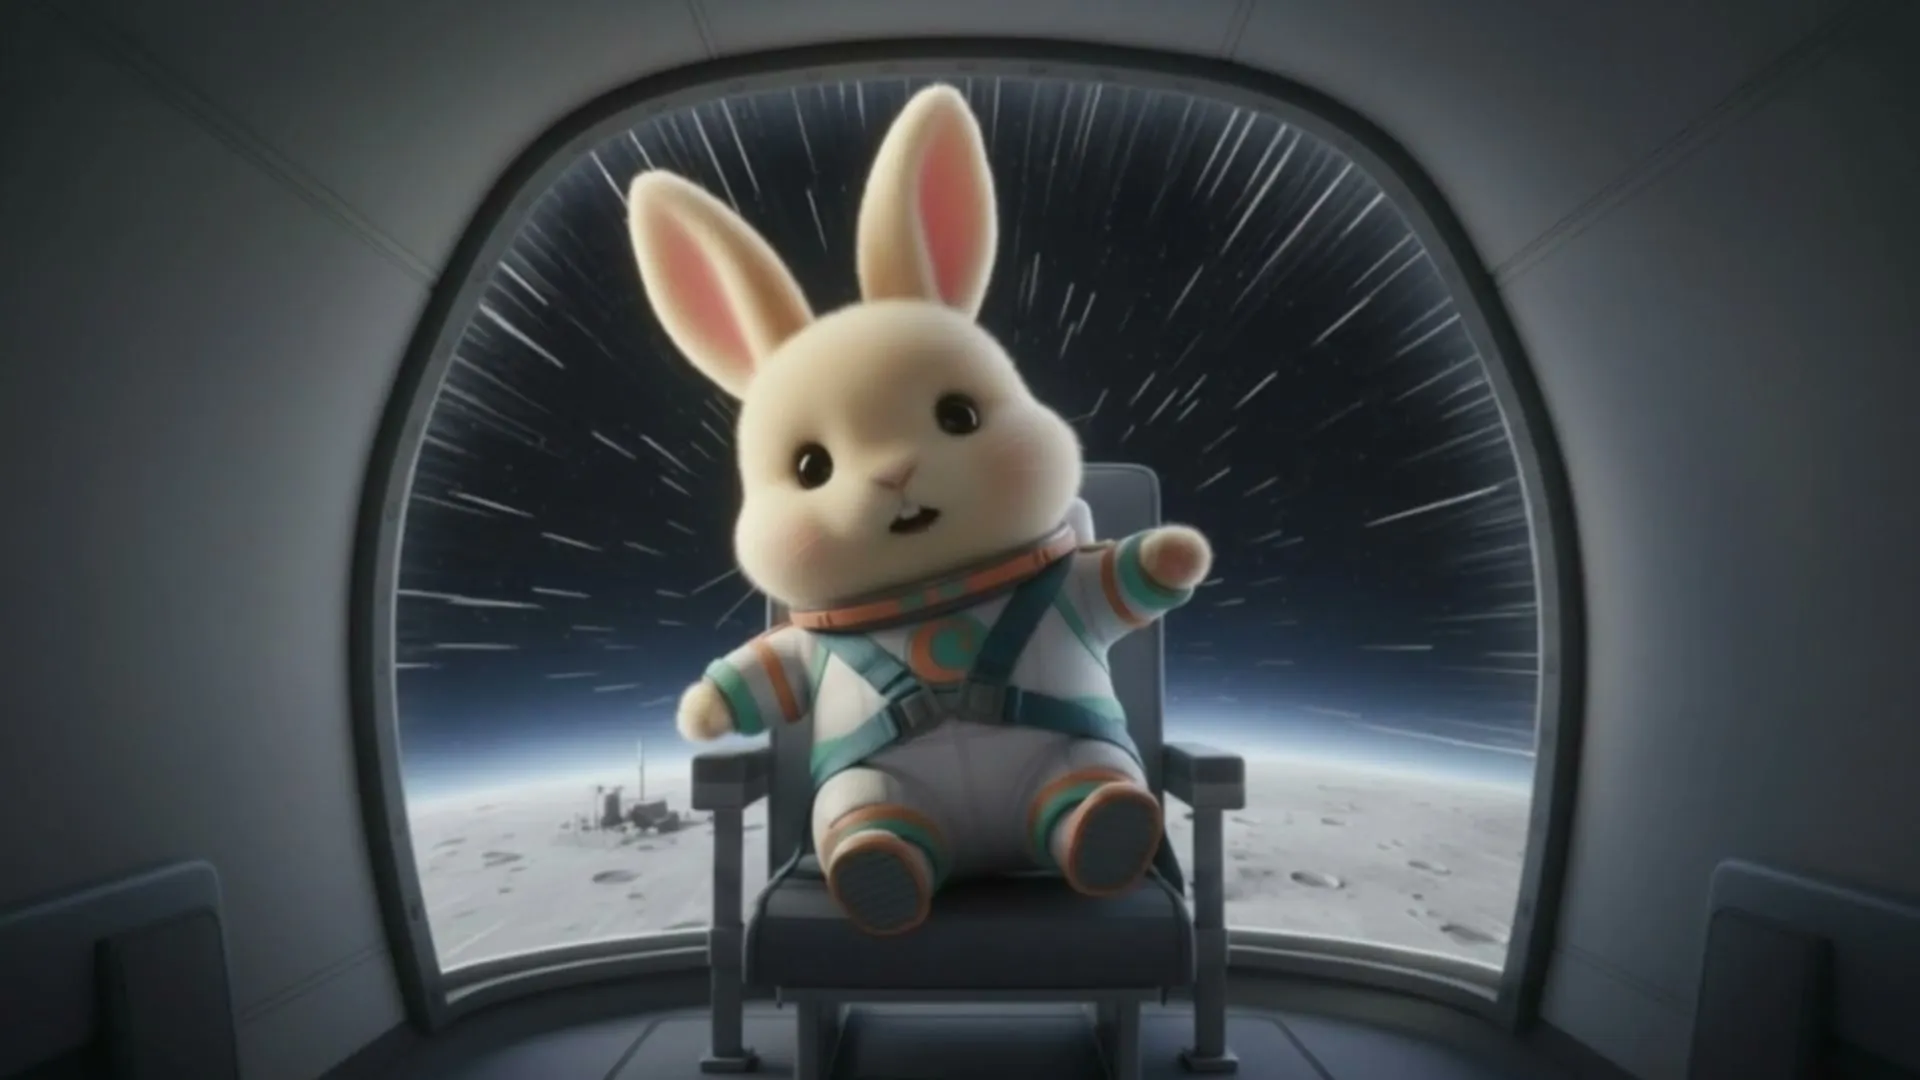
Rabbit character sitting in a spaceship cockpit

AI Character Creator

Describe appearance, clothing, expression and style to create an AI character for your story. Use a selected result to explore poses and scenes, and organize different views in a character sheet. Carry your character images into storyboards and video generation as references. Explore related workflows: AI storyboard and text to video.
Learn more
Snowy city scene and generated video candidates

Text to Video AI

Turn a written scene into footage with Text to video. Describe subjects, location, time of day and motion, then add camera direction to clarify the result you want. Choose a model, duration and aspect ratio, compare outputs and refine the prompt to create shots ready for your next edit. Explore related workflows: AI storyboard and text to video.
Learn more