
Countless AI videos are made on Toonkit every day.
What is the Blender + Seedance workflow?
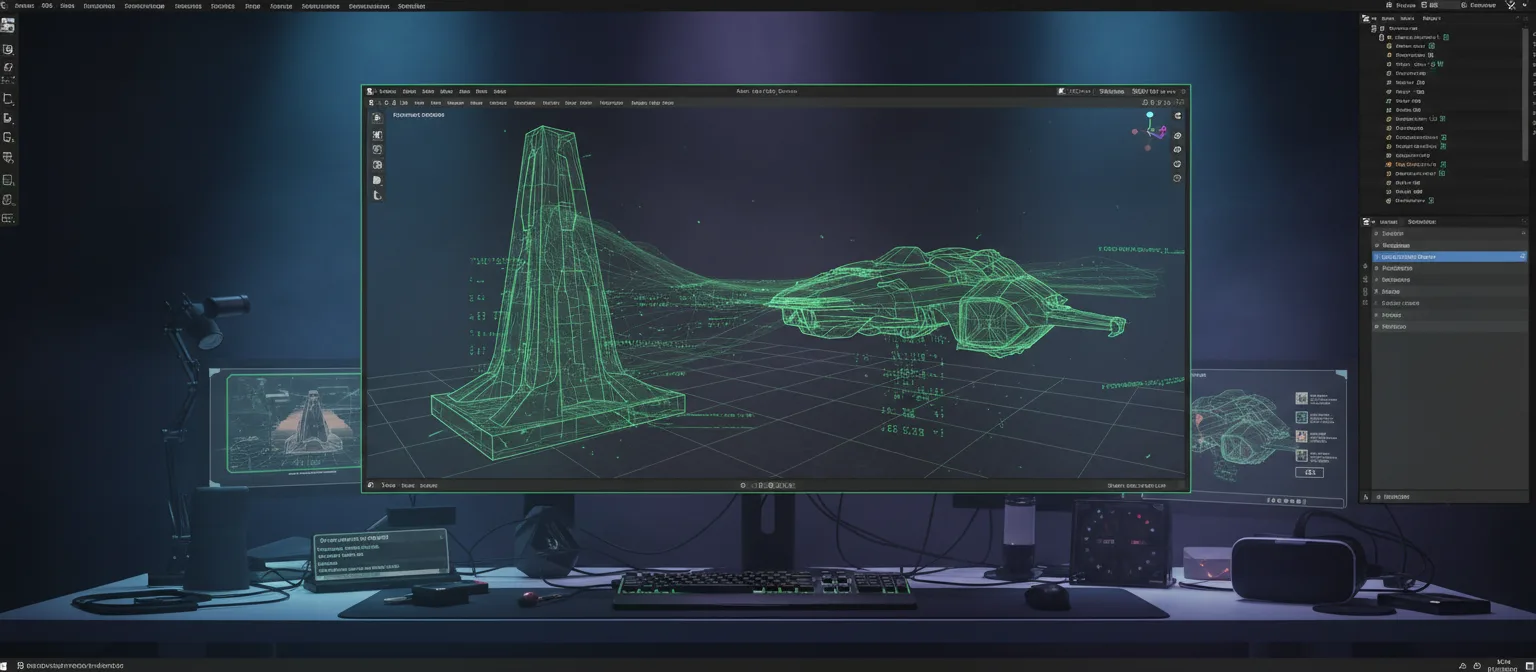
It is a production method: build the scene and camera movement in Blender using nothing but grey shapes, render it, then feed that footage to Seedance as a reference to convert it into a polished video.
The point is control. An AI video made from a prompt alone makes it hard to predict where the camera will go. Fix the camera path in Blender first and hand the result over as a reference, and the model follows that trajectory while reading cubes and primitives as buildings and backdrops, and a 3D dummy or simple human mesh as a character, applying texture and lighting on top. A division of labour: people decide the framing, the AI does the rendering.
It is used most often to turn a 3D previz into an animation style while keeping the camera movement and motion, and in Seedance 2.5 the 3D whitebox is included as a formal reference input.
Try the Blender + Seedance workflow →Why creators use Blender and Seedance together
You draw the camera yourself
Instead of describing it in a prompt, you build the camera path directly in 3D. The result no longer hinges on chance.
Rough shapes become the finished frame
A scene made only of cubes and cylinders turns into detailed space and figures. The precision of your framing goes up.
Reuse the 3D previz as it is
If you already have previz files, there is nothing new to build. Spend your resources efficiently.
Key elements of the Blender + Seedance workflow
Greybox blockout
Place only form and position, no detail. Buildings as cubes, backdrops as primitives, and figures usually as a 3D dummy or a simple human mesh.
Camera path design
Keyframe the camera in Blender to lock the path. Pans, zooms and dolly shots come under full control.
Render the reference clip
Render the blockout scene short and turn it into a video file. A small, low-quality render is plenty.
Style reference image
The blockout also carries the 3D dummy's pose and movement, so the AI reads a figure's position and path more reliably, while the image reference handles "how it looks". Put both in together.
Prompt reinforcement
Explain in sentences what each grey shape actually is. That minimises misread objects.
Motion capture and FBX
Bring existing motion data into Blender and render a clay pass. You get realistic human trajectories.
What can you use Blender + Seedance for?
3D previz → animation conversion
Blender is widely used as a previz tool for planning camera paths and scene composition up front. Combined with Seedance 2.5, it should be possible to build a workflow that generates AI animation from the camera movement and framing designed in Blender.
In particular, keeping a camera move a director or creator designed themselves while developing it into a stylised animation should help with the direction-control problem that has been hard in AI video generation. It should show strong potential on projects needing precise direction — film concept videos, animation previz, game cutscenes.
Precise camera movement scenes
In Blender you can freely design complex camera moves with a virtual camera — dolly, crane, orbit, tracking shots, one-takes. Combined with Seedance 2.5, those paths should extend into more natural AI video while staying intact. Even shots that plain AI video generation struggles with — long one-takes, a camera passing through a tight space, a continuous path from interior to exterior — should come out more reliably. It is likely to be especially strong for film, advertising and game trailers where camera direction carries the work.
Complex action and crowd scenes
Complex action and large crowd scenes are among the hardest things for AI. Because Blender lets you lay out character positions, movement paths and camera viewpoint first, Seedance 2.5 should be able to generate more stable video on that basis. In environments where many figures move at once — battles, festivals, performances, sports — reducing spatial distortion and character collisions matters, and Blender-based previz should help plan around those problems in advance. It may also prove highly useful for large-scale cinematics and game cutscenes down the line.
Blender + Seedance, step by step
- STEP 1
Build the blockout in Blender
Lay out the space with primitives and use a 3D dummy (or a simple human mesh) to set figure position and pose. Go detailed if you need to; if not, plain shapes alone are enough for great direction.
- STEP 2
Keyframe the camera path
Set the camera movement you want with keyframes. Starting with a short, simple 3–5 second move is strongly recommended.
- STEP 3
Render the reference clip
Render fast and light at a low sample count, from the viewport or a basic render. If the motion and the framing of the basic forms read clearly, that's enough.
- STEP 4
Upload references and write the prompt
Upload the rendered clip, the character sheet and a background image if needed, then write the sentences that say what each shape stands for.
- STEP 5
Fine-tune the prompt after generating
If the camera trajectory came through well but the finer direction is thin, add modifiers that push detail in the expression.
- STEP 6
Link scenes into the final sequence
When you need a natural join to the next scene, use the last frame as a reference, or use the clip you produced as a reference, to carry it over smoothly.
Blender + Seedance working tips
- 1
Always include a character sheet and a background image. The likeness and style of a figure and the detail of the backdrop improve a great deal.
- 2
Write clearly in the prompt what each important shape on screen refers to (e.g. "the cylinder in the centre is a robot").
- 3
Always include a style reference image. Style stability is far better than with a video reference alone.
- 4
For physics simulation territory — cloth movement, flying hair, fluids — plan for several repeat generations to land the best result.
- 5
Don't force a blind copy of the reference clip. Leave creative room through the prompt — "more dramatic lighting", for instance.
Frequently asked questions
Is Seedance Blender a separate product?
+−
No. There is no Blender-specific version released by ByteDance. It is simply what creators call the production method of using a Blender 3D blockout as a reference.
Do I need to be good at Blender?
+−
No. You only place primitives and keyframe a camera, so basic object placement and keyframing are enough. Detail is not needed — a scene of cubes and cylinders plus a 3D dummy works.
In what format do I supply the reference?
+−
Render the blockout as a short video file and upload it as a video reference, together with a character sheet and, if needed, a background image. A small, low-quality render is plenty.
Is the camera movement reproduced accurately?
+−
The trajectory is followed well, but it is not a frame-exact copy. Short, simple 3–5 second moves come out most reliably; long or highly complex paths are better split into several generations.
What changes in Seedance 2.5?
+−
The 3D whitebox becomes a formal reference input, and a single generation stretches to about 30 seconds — so a longer camera path can be carried in one pass instead of being split.
Does it convert to an animation style too?
+−
Yes. Turning a 3D previz into an animation style while keeping the camera movement and motion is the most common use of this workflow. Add a style reference image to pin the look you want.
Can I use this workflow on Toonkit?
+−
Yes. In Playground › Video generation you can upload the rendered blockout as a video reference along with a character sheet and background image, and generate from there. Canvas View lets you wire the repeated steps into one workflow.
How do I place people in Blender?
+−
A 3D dummy or a simple human mesh is enough. Because the blockout carries the dummy's pose and movement, the AI reads a figure's position and path more reliably. If you have existing motion capture or FBX data, import it into Blender and render a clay pass for realistic trajectories.
The Blender + Seedance workflow lives on Toonkit.
Decide the framing yourself and leave the rendering to AI. Start reference-based AI animation on Toonkit right now.