Skip to content

Animate illustrations with AI: add blinking, moving hair and camera direction to a still image

Prepare an illustration and specify one movement at a time. Check the face and pose as you try blinking, moving hair or slow camera motion, creating short shots for introductions or AI anime trailers. Explore related workflows: image to video and AI character creator.

By uploading an image or video, you agree to Toonkit’s Terms of Use and Privacy Policy and confirm that you are 18 years of age or older.

Decide what moves and what stays still.

Choose a focal point before adding motion. Start with the face, hair, background or camera, then adjust while comparing with the original image. Explore related workflows: image to video and AI character creator. Connect text, reference images and generation nodes in Toonkit Canvas, and continue your creative workflow through conversation in AI tools connected to Toonkit MCP.

Bring a quiet expression to life with a blink

Use an image with a clear face and request natural blinking and subtle breathing. If eyes or mouth change too much, reduce the motion instructions. Explore related workflows: image to video and AI character creator.

Example prompt
The person keeps facing forward and slowly blinks once. Their mouth stays closed. The camera is fixed.

Let wind move the hair and clothing

Specify only hair or fabric motion and ask to preserve the body's pose. Use one wind direction and strength to make results easier to compare. Explore related workflows: image to video and AI character creator.

Example prompt
A light breeze slowly moves the ends of the hair and jacket hem. Keep the person's pose unchanged, with the background and camera fixed.

Change the presentation through camera motion

A slow push-in can change the impression without large character movements. Specify what to reveal, such as a close-up of the face or the surrounding background. Explore related workflows: image to video and AI character creator.

Example prompt
The person remains standing. The camera slowly moves forward, changing from a full-body shot to an upper-body shot.
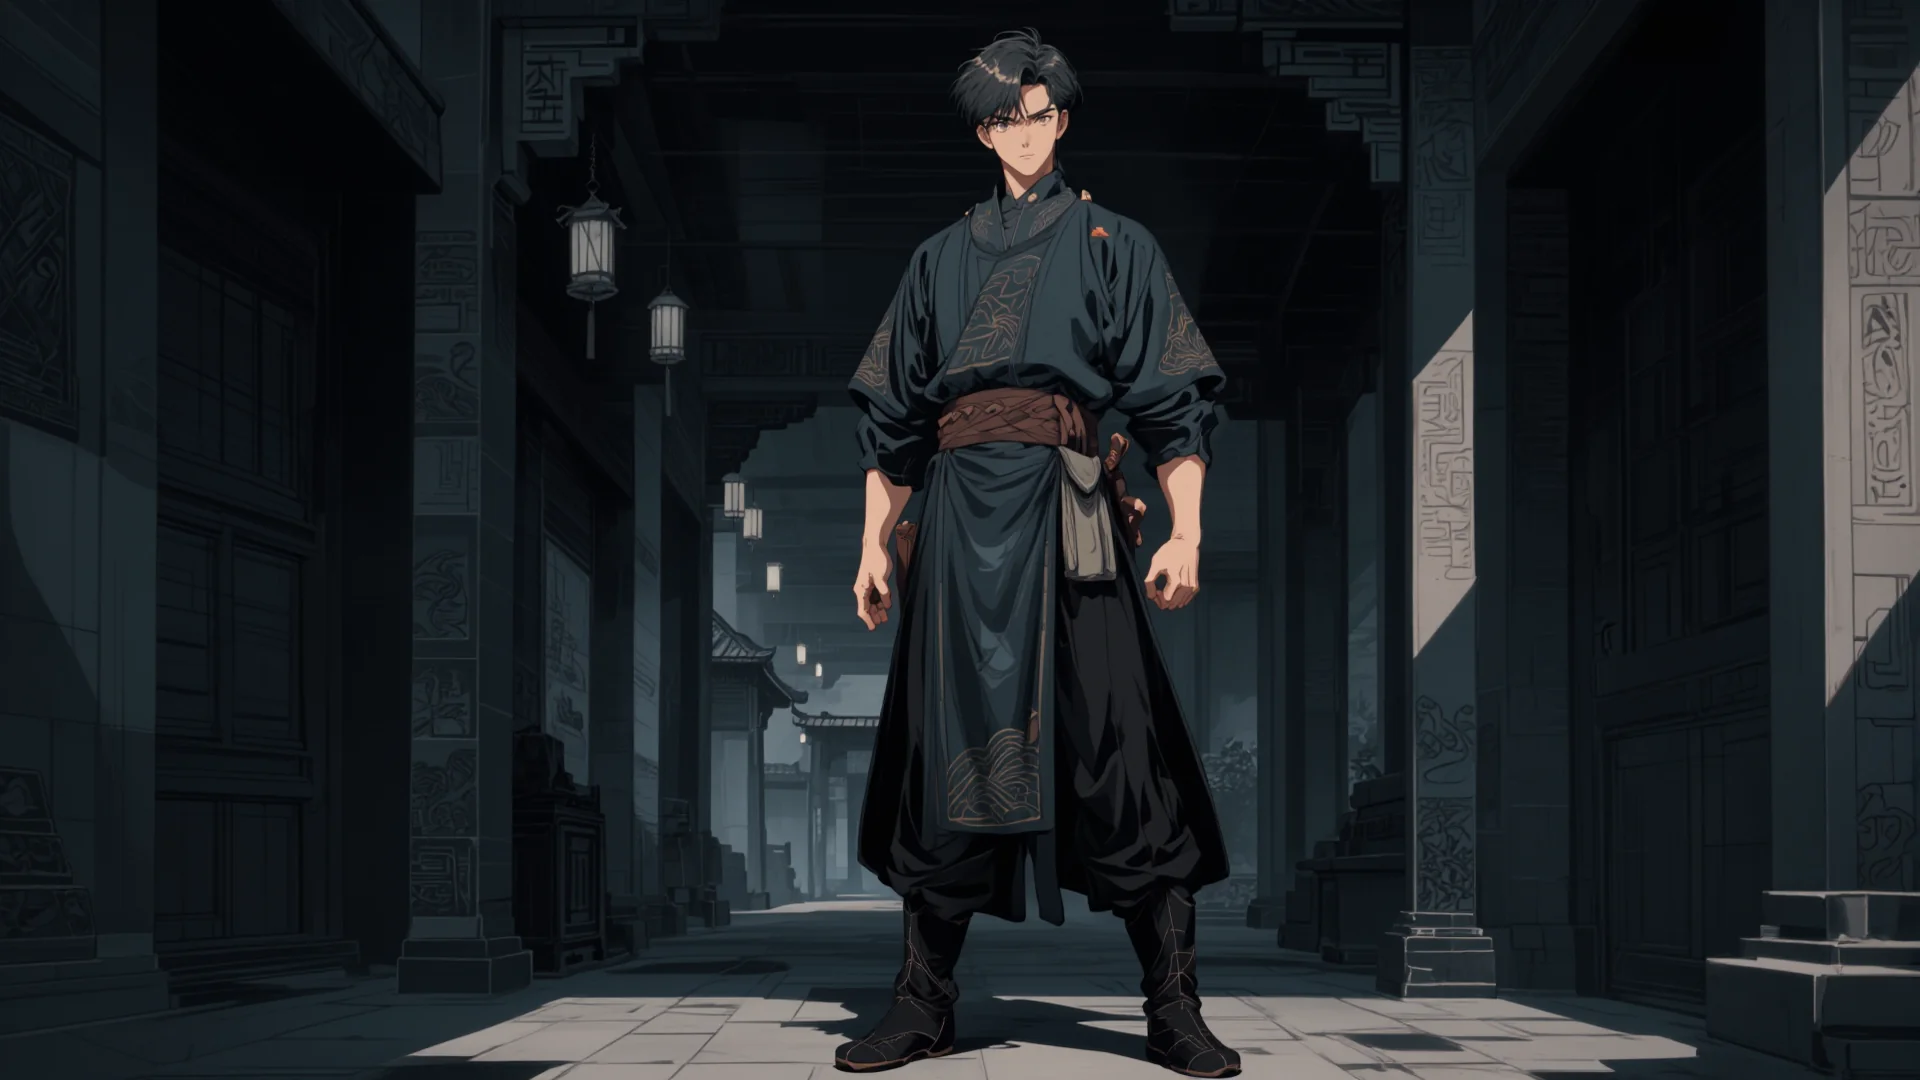
AI anime scene with a swordsman in a dark building

Compare with the original and refine motion

Compare facial features, lines, colors and background. If changes are too large, reduce motion and adjust one instruction at a time. Explore related workflows: image to video and AI character creator.

Revise the scenes that need it

How to animate illustrations: blinking, hair and camera motion — 3 steps

STEP 1

Choose the illustration and what to animate

Prepare a clear image and choose one effect: blinking, hair or camera. Identify the parts you do not want to change too. Explore related workflows: image to video and AI character creator.

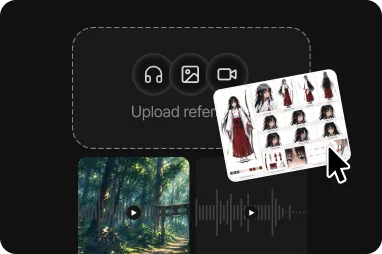
Upload references
STEP 2

Generate video from the image

Select a model that accepts images and specify motion direction and speed. Use examples as starting points, adapting them to your character and composition. Explore related workflows: image to video and AI character creator.

Generate scenes
STEP 3

Compare results and export

Watch the video from start to finish for unnatural face or background changes. Trim the chosen clip and export it for your intended use. Explore related workflows: image to video and AI character creator.

Export the completed AI film

Why use Toonkit for animating illustrations with AI?

Preserving the illustration's appeal starts with deciding what should stay unchanged. Compare input and output to check that character and composition still match your intent. Explore related workflows: image to video and AI character creator.

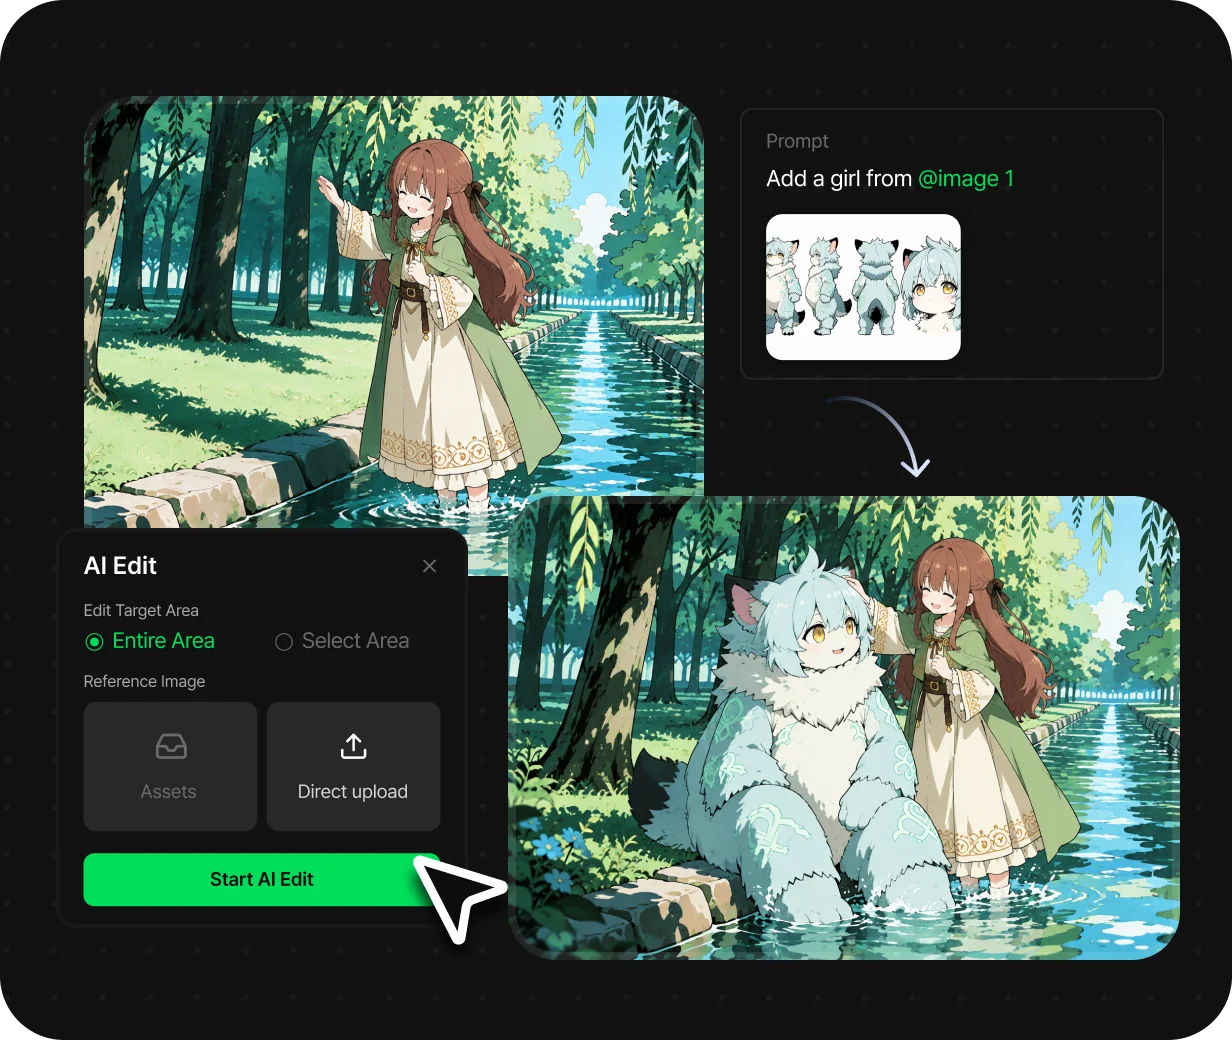
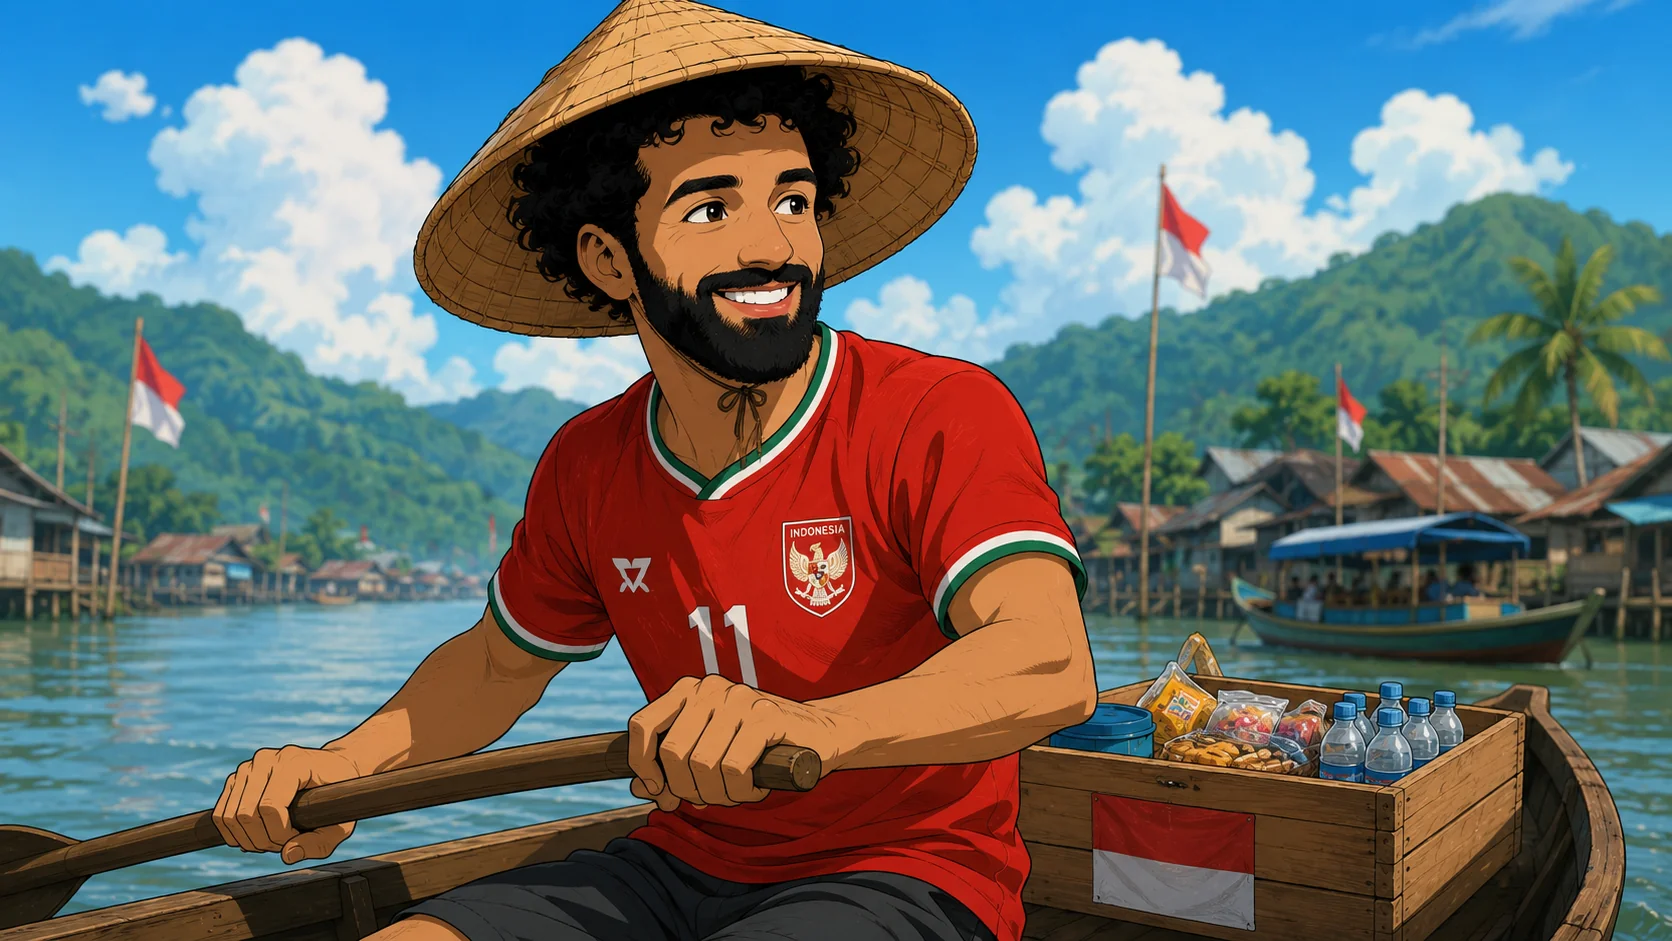
Illustration of a person in a boat

Start with an illustration you already have

Choose an illustration with clear characters and backgrounds and identify what to animate. Try existing artwork before drawing something new to find suitable motion. Explore related workflows: image to video and AI character creator.

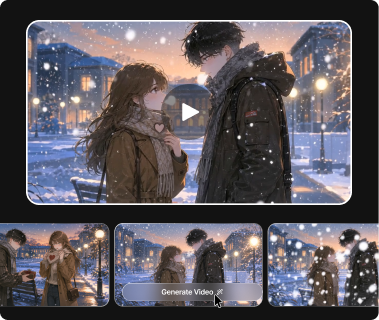
Snowy city scene and generated video candidates

Compare one movement at a time

Start with a single motion such as blinking or moving hair. Small changes to instructions make their effect on the face and pose easier to compare. Explore related workflows: image to video and AI character creator.

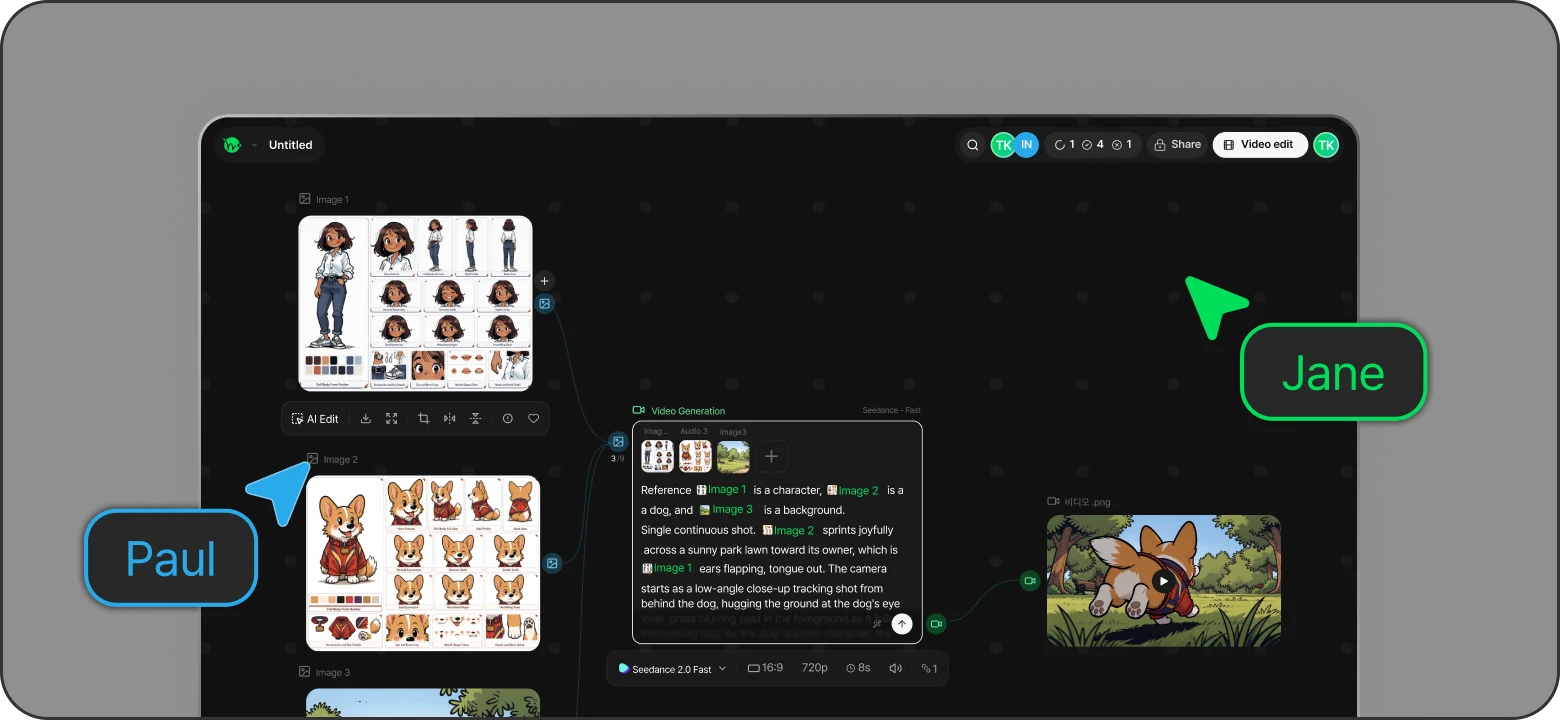
Canvas connecting reference images and generation nodes

Connect references and generation in your workflow

Organize the image-to-video flow on the canvas and add instructions. Consider character and camera movement separately, then choose the direction you want.

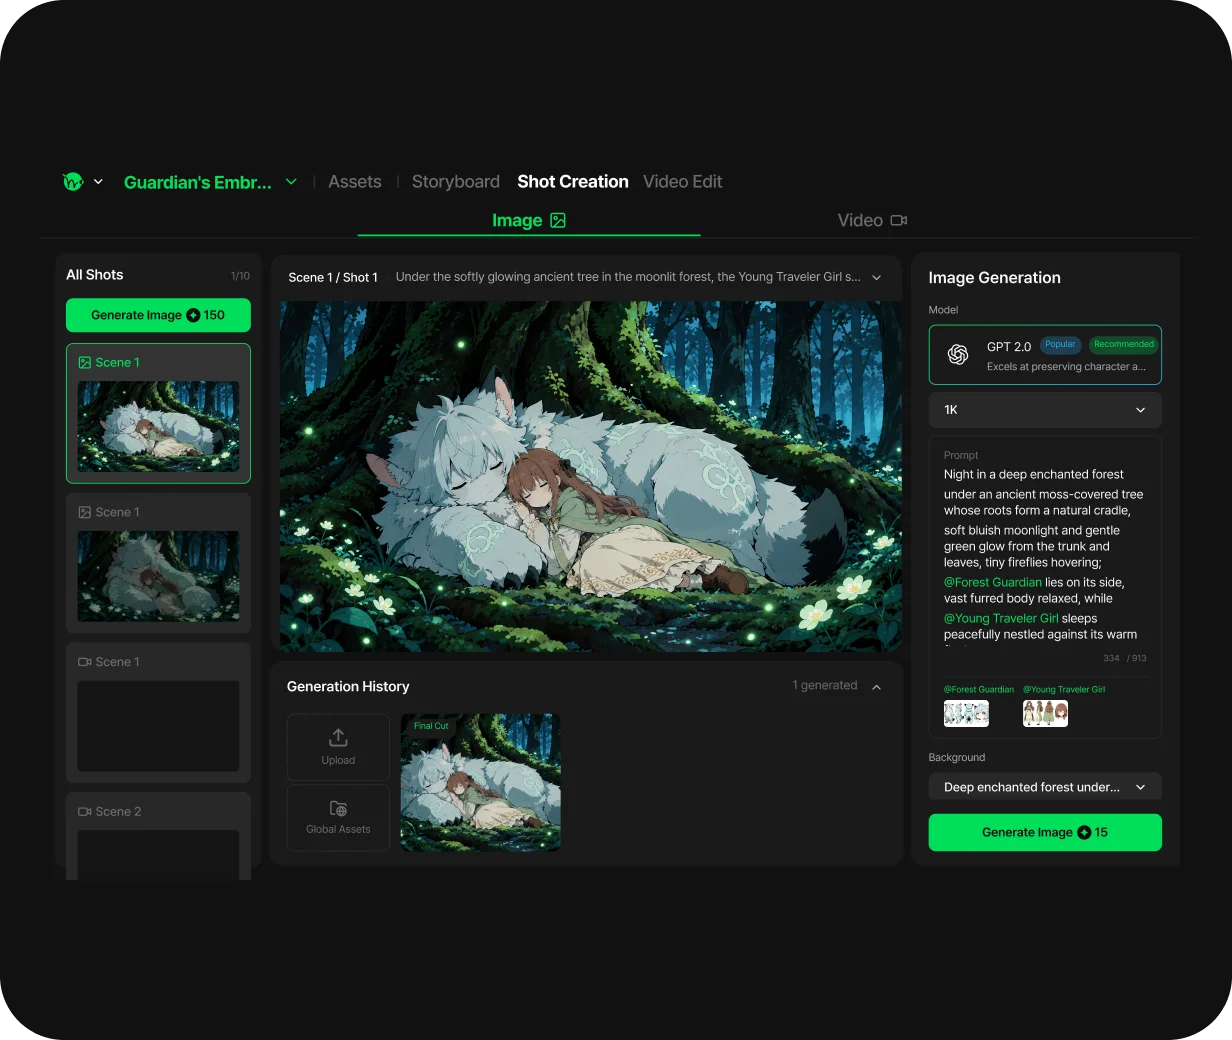
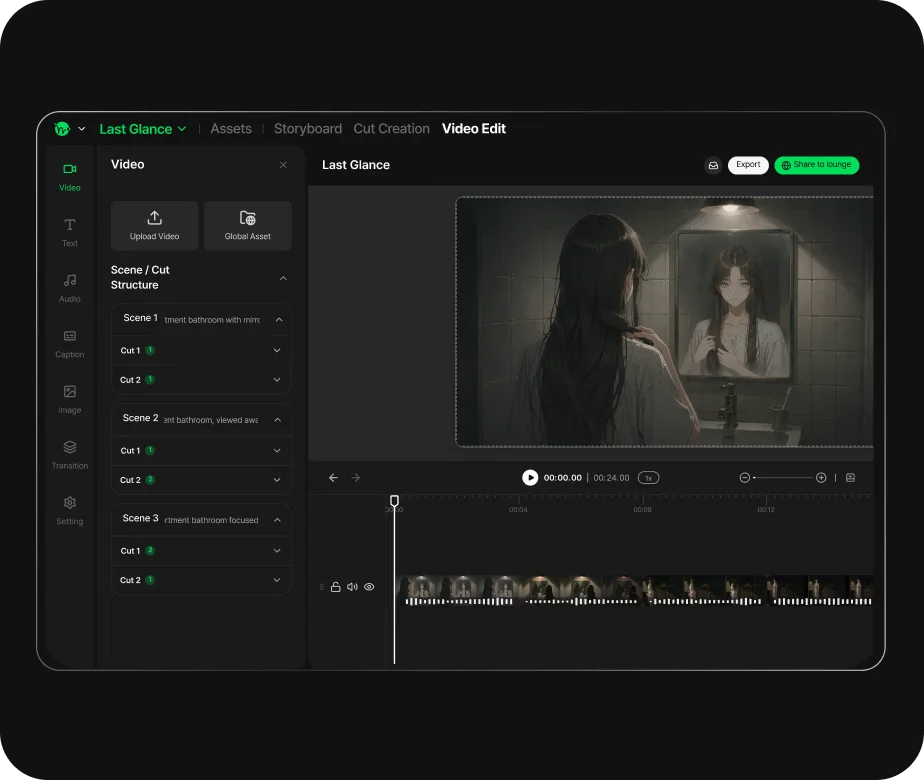
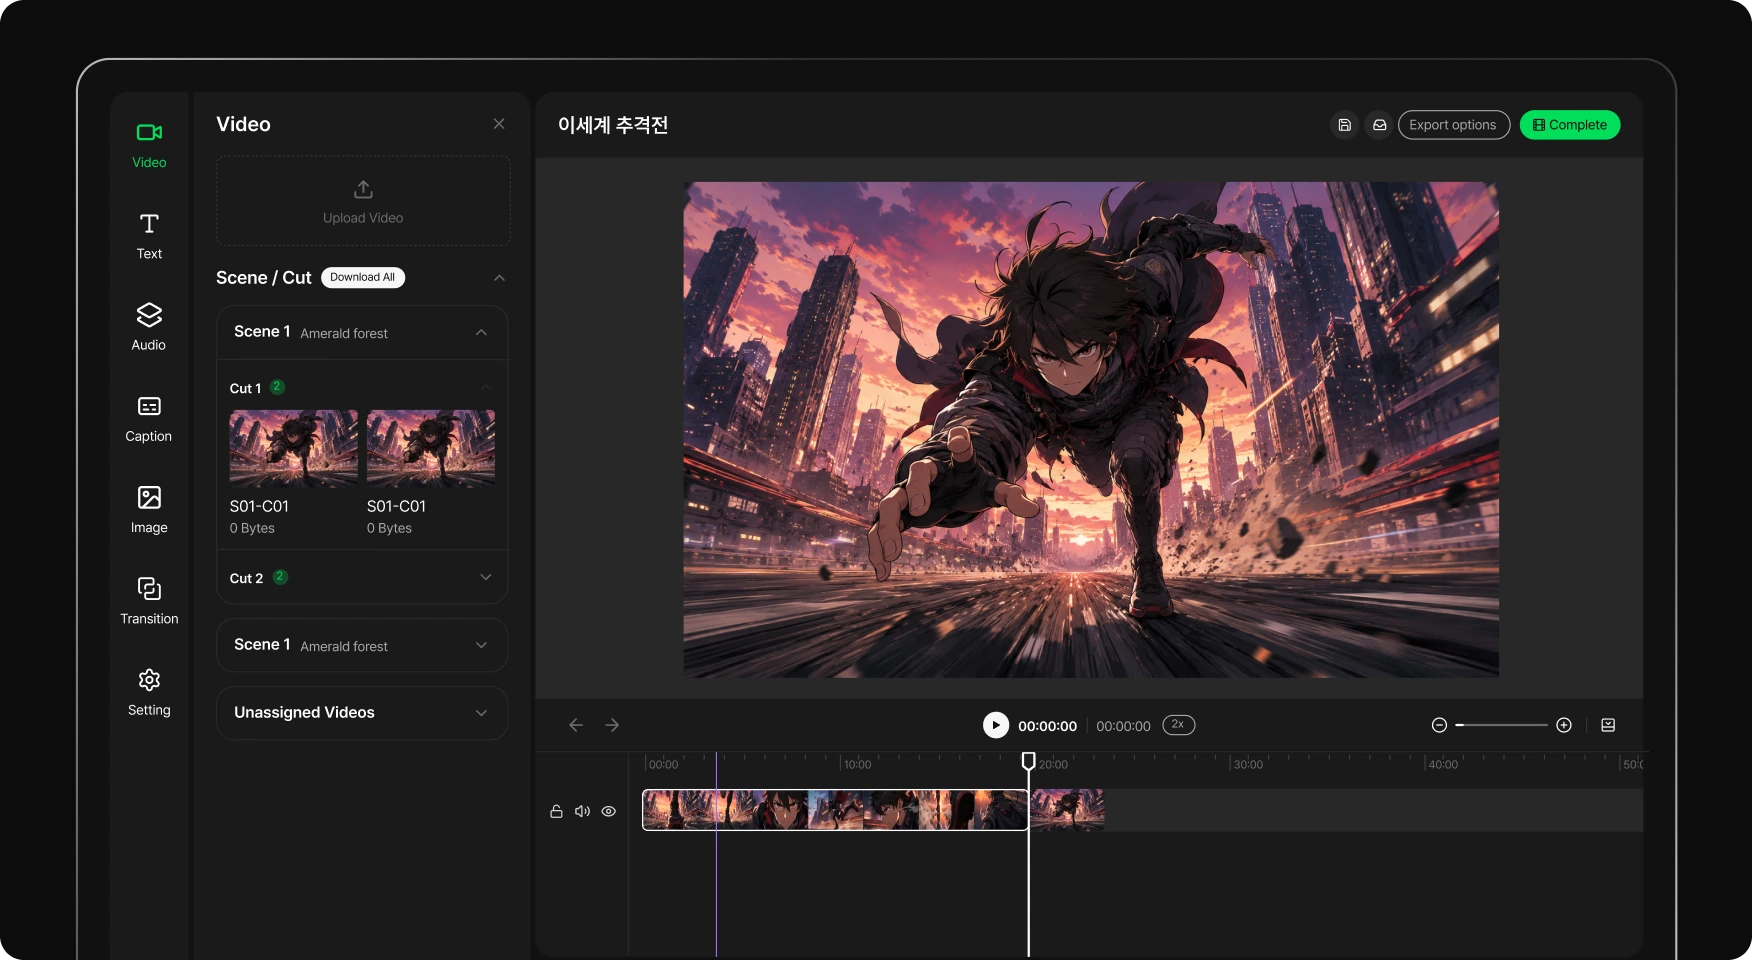
Editing interface for arranging shots and video flow

Edit into a short video asset

Choose your favorite shots, adjust duration and order, and add them to a presentation. Start with a standalone clip and later expand into a trailer with several scenes. Explore related workflows: AI storyboard and text to video.

Frequently asked questions

Can I use an image without separate layers?

Image-to-video generation can start with a flattened image. Motion is not guaranteed to stay within the requested area, so check changes across the entire frame. Explore related workflows: image to video and AI character creator.

Can I move only the hair?

Try asking for moving hair while preserving face and body. Other parts may still change, so compare results while keeping the motion subtle. Explore related workflows: image to video and AI character creator.

Can it automatically create a seamless loop?

A natural loop requires checking the start and end states. Rather than simply repeating the generated clip, adjust the join in editing when needed. Explore related workflows: image to video and AI character creator.

Does this create a Live2D model?

This page produces video. It does not describe separating Live2D parts or creating a rigged model. Explore related workflows: image to video and AI character creator.

Will I get the same result as the example prompt?

Results depend on the input image, model and generation settings. Treat examples as starting points and adjust after reviewing motion and appearance. Explore related workflows: image to video and AI character creator.

Explore more Toonkit tools