
Open with the world of your story
Start with a shot that establishes setting and atmosphere. Harmonize backgrounds, art direction and lighting to introduce the genre and mood. Explore related workflows: image to video and AI character creator.
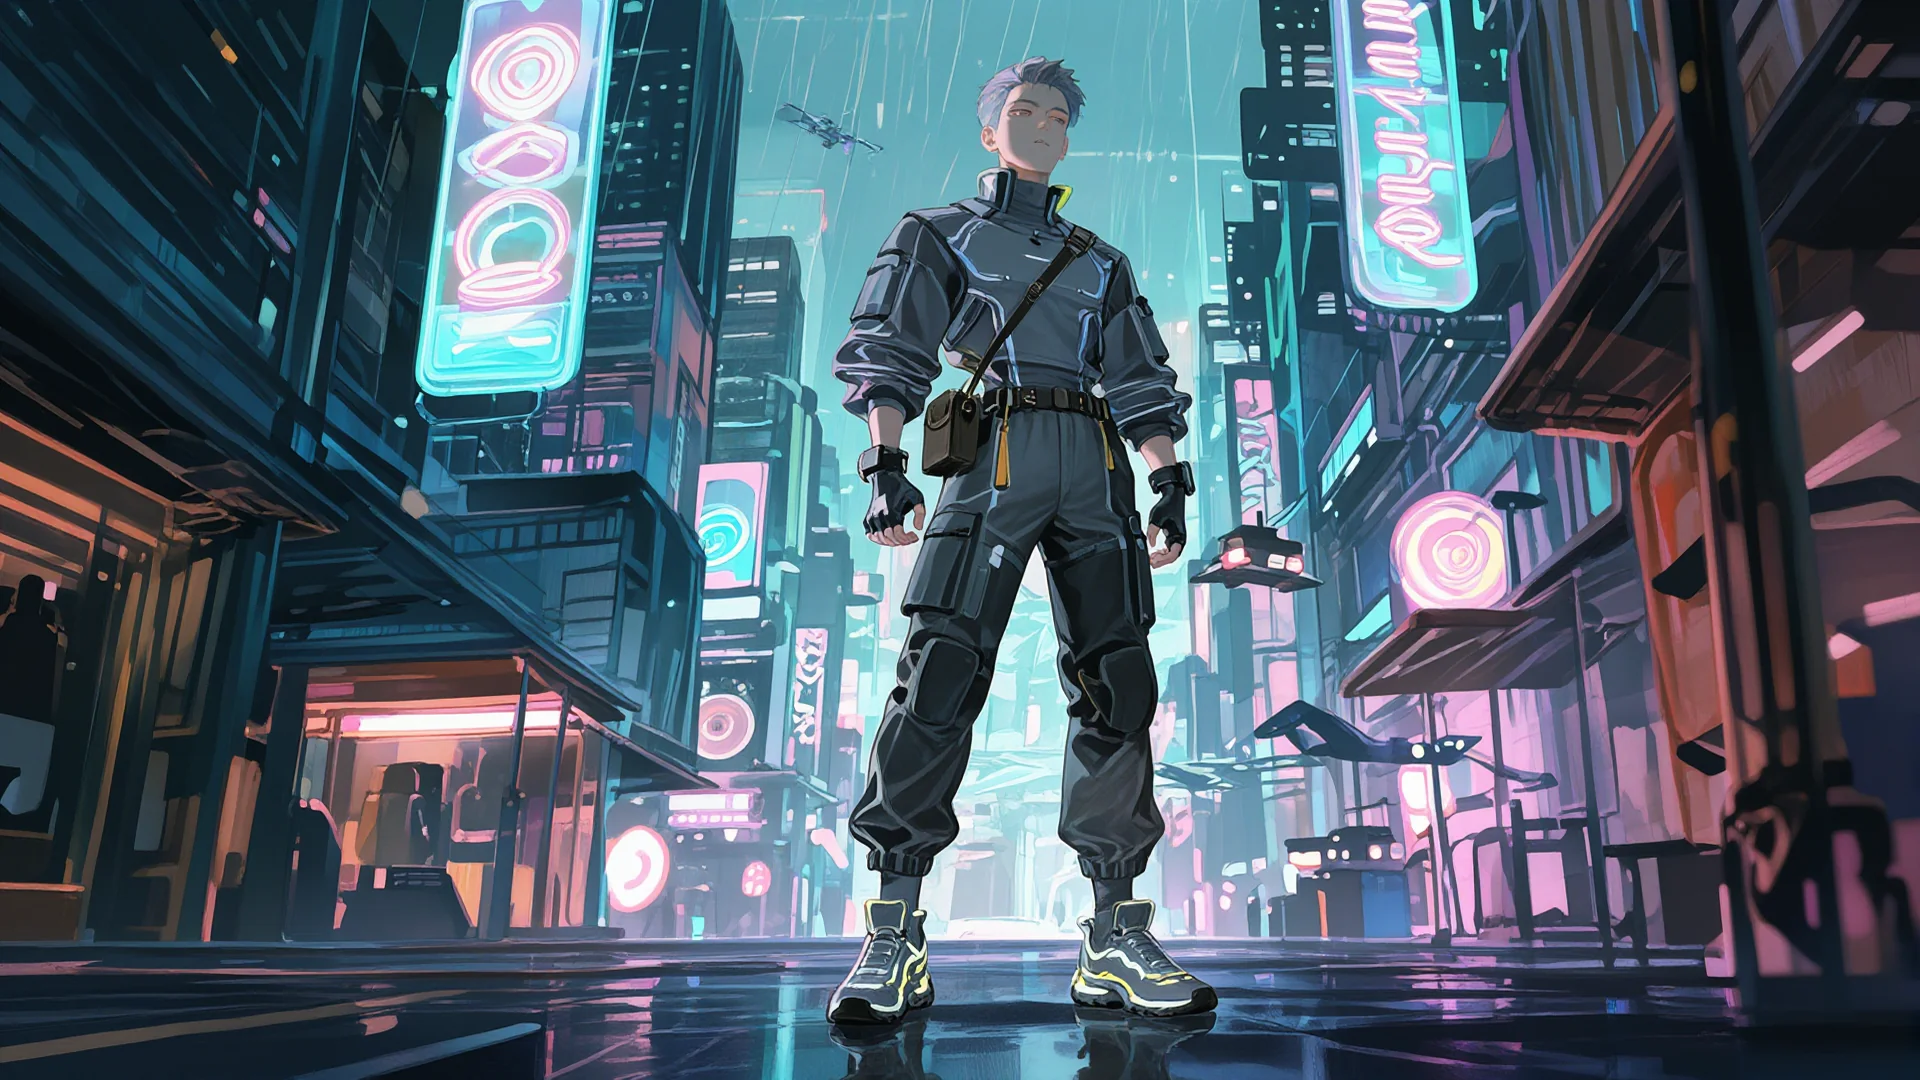
Create a short AI anime trailer to introduce your game, manga or novel. Define the characters and world to show, then arrange an opening, highlights and an announcement, including the title and release details. Explore related workflows: image to video and AI character creator.
By uploading an image or video, you agree to Toonkit’s Terms of Use and Privacy Policy and confirm that you are 18 years of age or older.
A trailer is more than a summary. Decide who should feel what, then connect the opening, highlights and title. Test the intended impression with a few shots first. Explore related workflows: image to video and AI character creator. Connect text, reference images and generation nodes in Toonkit Canvas, and continue your creative workflow through conversation in AI tools connected to Toonkit MCP.
Start with a shot that establishes setting and atmosphere. Harmonize backgrounds, art direction and lighting to introduce the genre and mood. Explore related workflows: image to video and AI character creator.
Show personality through expressions and actions instead of lengthy explanations. Use your existing character images as references for the scenes in the trailer. Explore related workflows: AI storyboard and text to video.
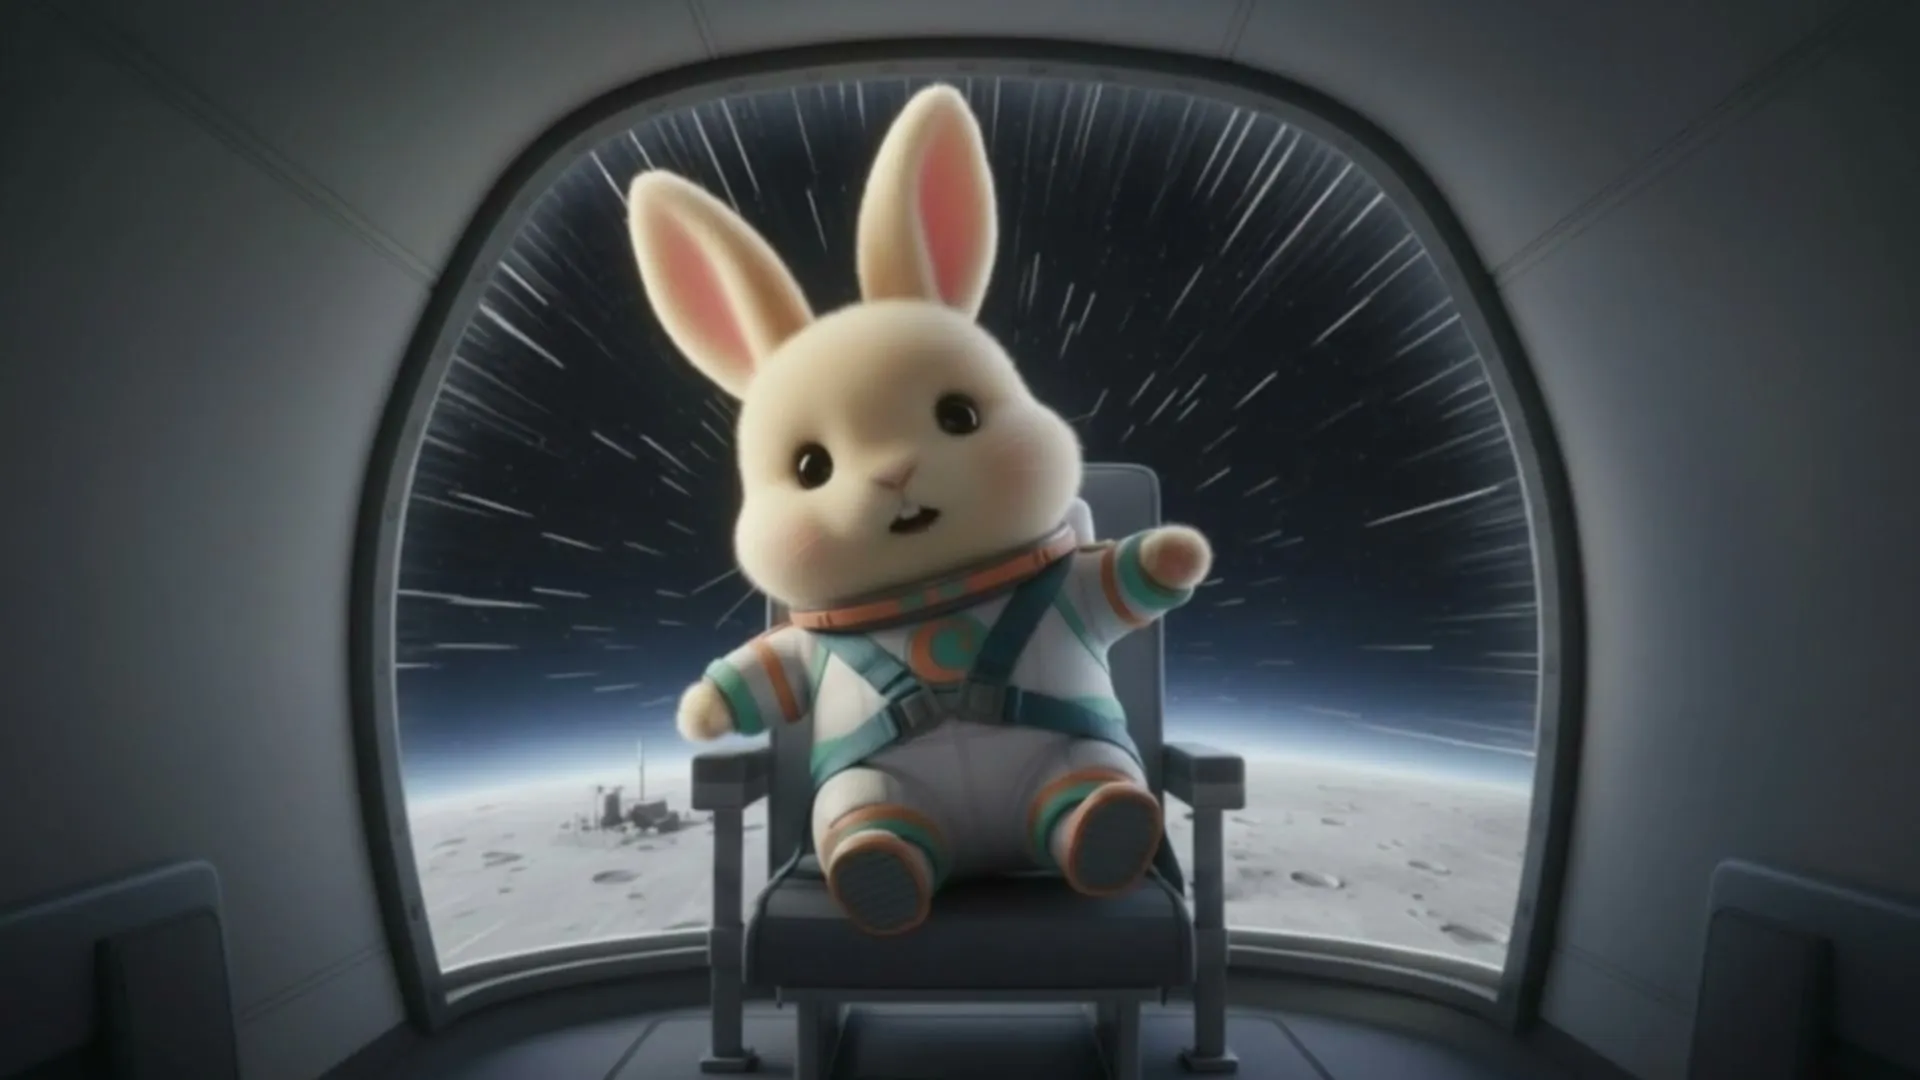
For a 15-second concept, give the opening, highlights and announcement distinct roles. Avoid crowding in shots and leave time to read the title. Explore related workflows: image to video and AI character creator.
Place the title, release plans and destination at the end. Add logos and text during editing and check their readability over the video. Explore related workflows: AI storyboard and text to video.
Prepare characters, backgrounds and a logo, then choose one purpose for the trailer. Write down what first-time viewers should remember. Explore related workflows: image to video and AI character creator.
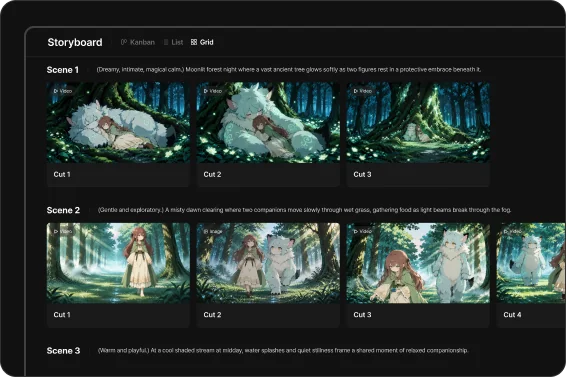
Plan shot order in the storyboard and generate the footage needed. If combining existing assets with generated video, check differences in art style and brightness. Explore related workflows: AI storyboard and text to video.
Connect the chosen footage and add music, sound effects and titles. Choose an aspect ratio for the destination and check that text is readable on a phone. Explore related workflows: image to video and AI character creator.
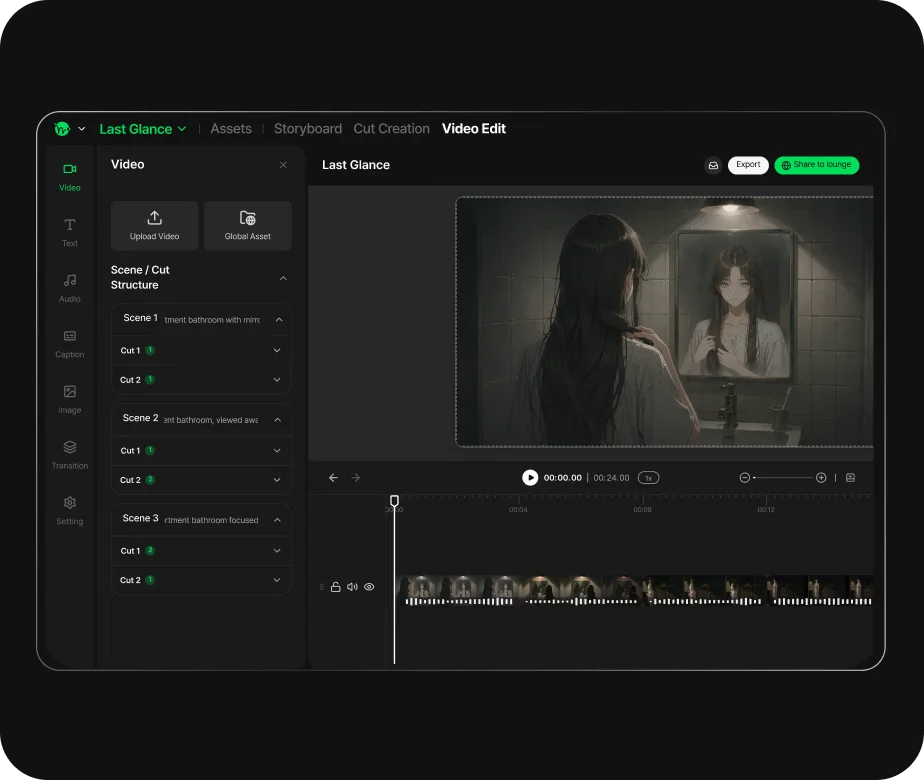
Decide what viewers should remember rather than explaining the whole work. Use existing design references to prepare shots, then edit the information and visual flow. Explore related workflows: image to video and AI character creator.
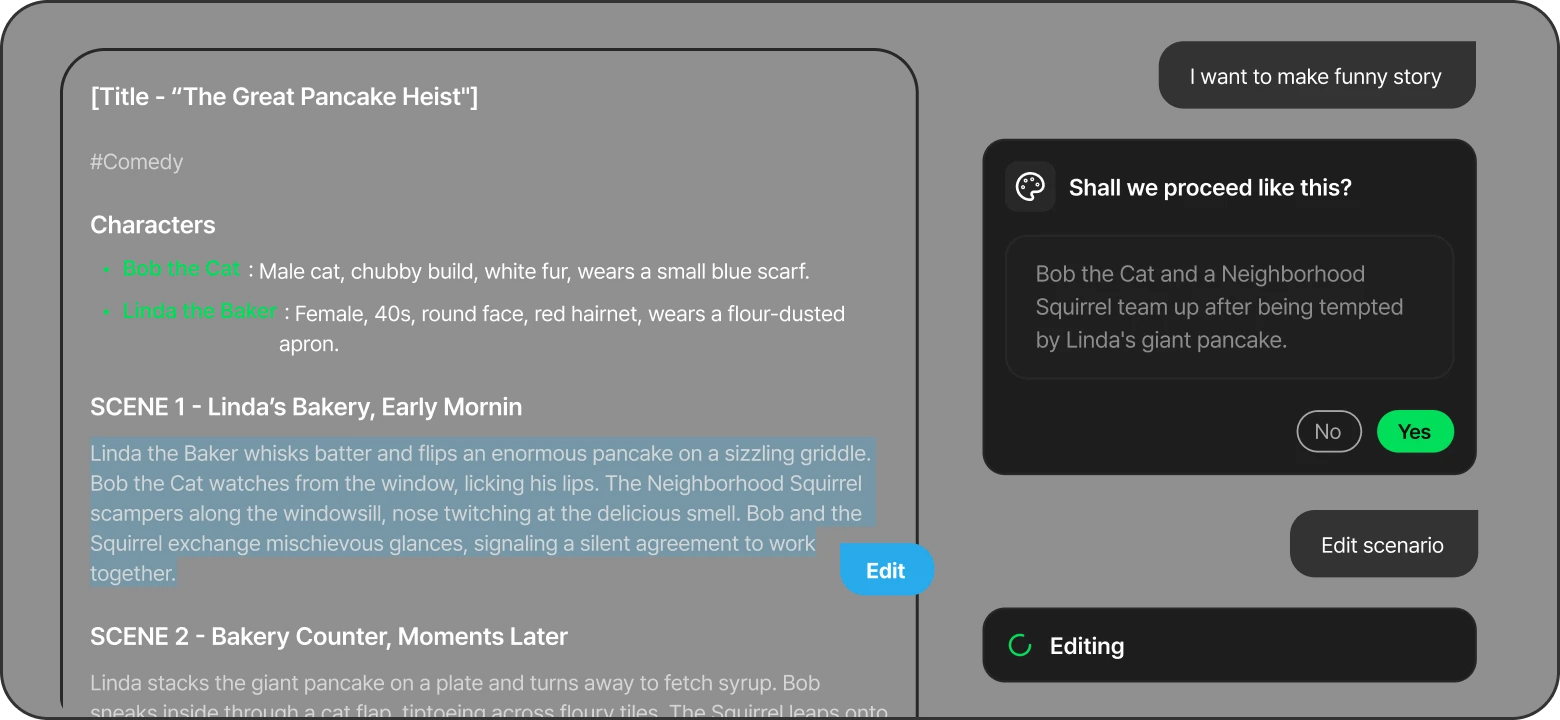
Organize characters, setting and highlights, then define the trailer's purpose. Narrowing the script helps separate scenes to reveal from developments to keep hidden. Explore related workflows: AI storyboard and text to video.
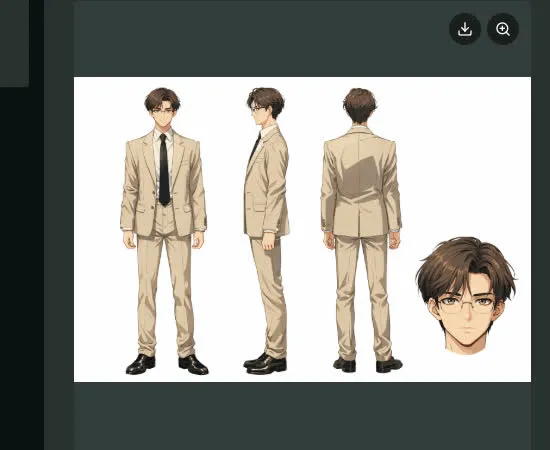
Consult character sheets to identify appearances and outfits to preserve. Existing documents make the traits to compare in new scenes clearer. Explore related workflows: AI storyboard and text to video.
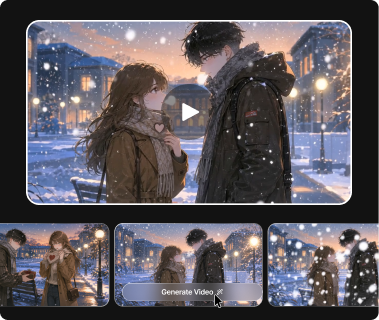
Compare generated shots and choose expressions and movements that fit the work. Test openings and highlights separately to find the direction that conveys it best. Explore related workflows: image to video and AI character creator.
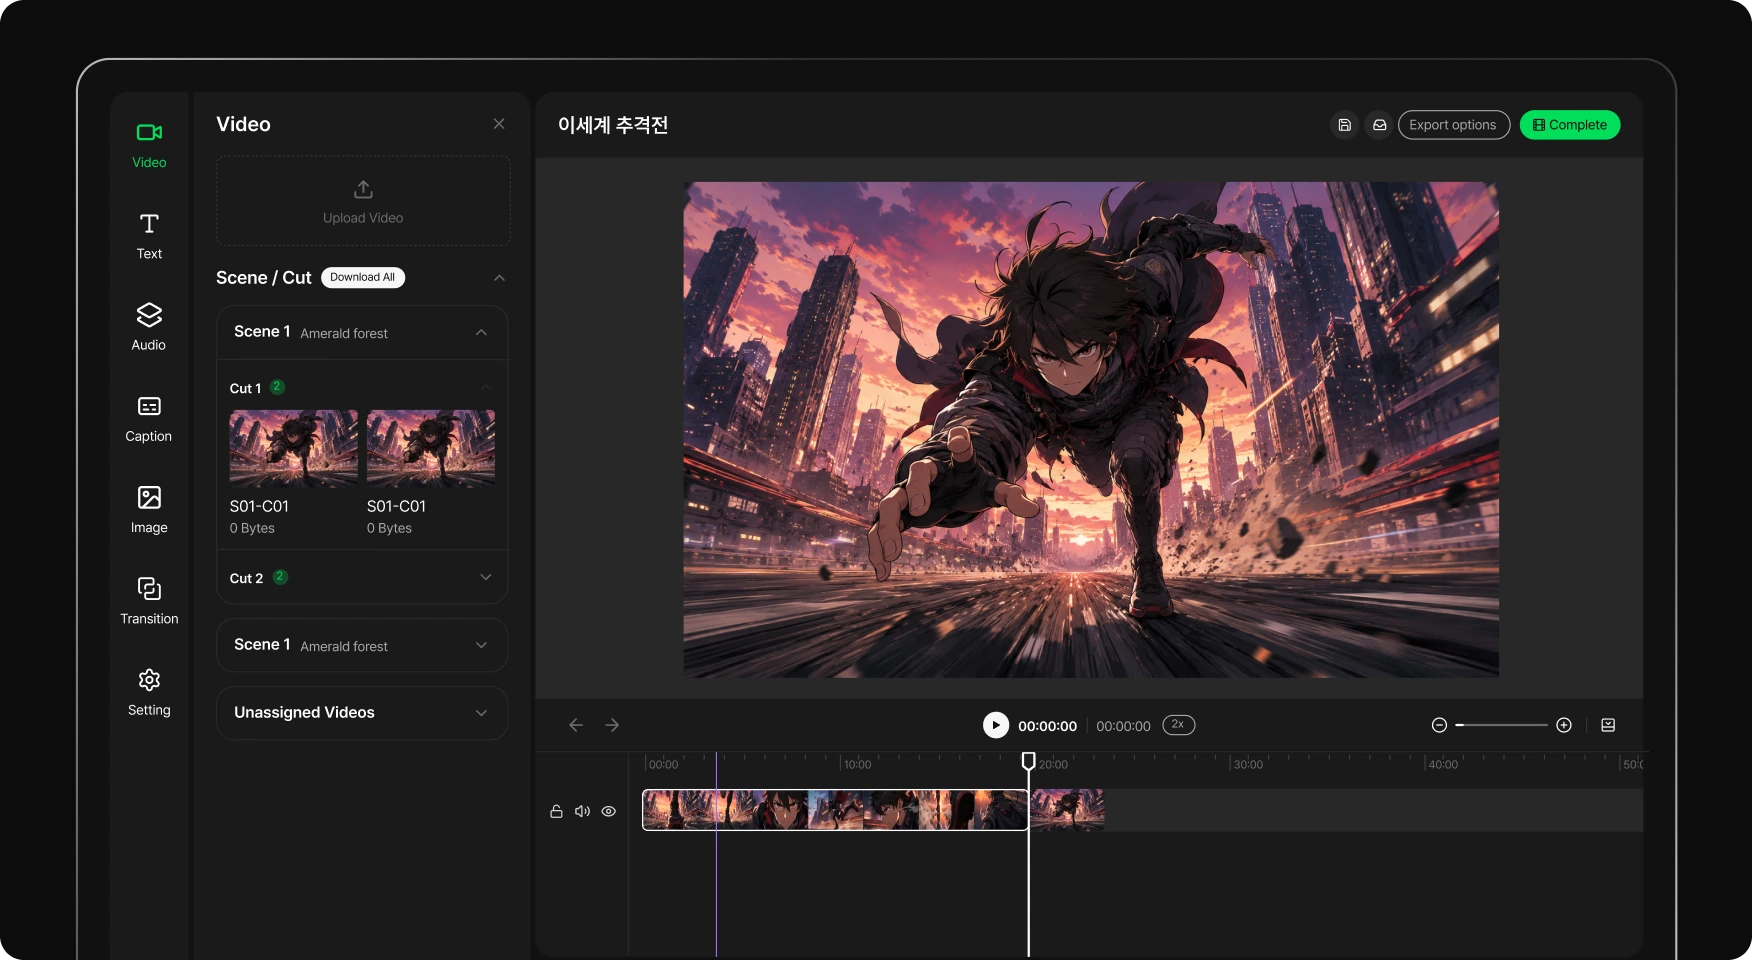
Adjust shot order and duration, then add the title and release information at the end. Balance the video's final impression with a readable announcement. Explore related workflows: image to video and AI character creator.
This page covers AI animation assets for presenting your work. Use recorded gameplay when showing the actual game and give it a distinct role from generated footage in editing. Explore related workflows: image to video and AI character creator.
A 15–30 second concept is a useful way to test an opening, highlights and announcement. This is a planning guideline, not a guarantee that one generation produces that length. Explore related workflows: AI storyboard and text to video.
Use a workflow that supports reference images. Compare the generated shots with those images and check that the character remains recognizable throughout the trailer. Explore related workflows: image to video and AI character creator.
Adding text and logos separately during editing makes wording, placement and display time easier to adjust. Check readability on small screens too. Explore related workflows: image to video and AI character creator.
Yes. For a novel, adapt a memorable scene; for manga, animate panels. Arrange the resulting assets into a short introduction to the work. Explore related workflows: AI storyboard and text to video.