Make AI videos with the same character

Take your character beyond a single scene and into new settings and stories. Add a character image as a reference in Toonkit and describe the action and framing to create AI video shots guided by the same visual identity. Compare the scenes in your storyboard and refine the shots that need attention, building from a character introduction to an animation with a story to tell.

Key benefits

One shared reference

Define the face, outfit and silhouette before creating more scenes. Include the hairstyle, colors and clothing details in your reference and describe them consistently. This gives you a clear standard for reviewing character continuity in a new setting.

New scenes at your pace

Change the setting and action while reusing your character references. Reuse the reference and specify a different action or camera framing for each shot. Supported reference inputs let you explore introductions, dialogue scenes and changes of location.

Focused revisions

Review each result and refine the shots that drift from your visual direction. Compare faces, clothes and props across storyboard shots before regenerating a result. Keep the clips you have already selected and replace the parts that break the sequence.

Define your character before the first shot

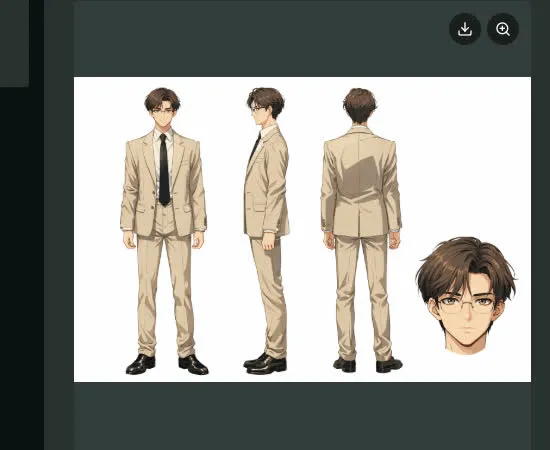
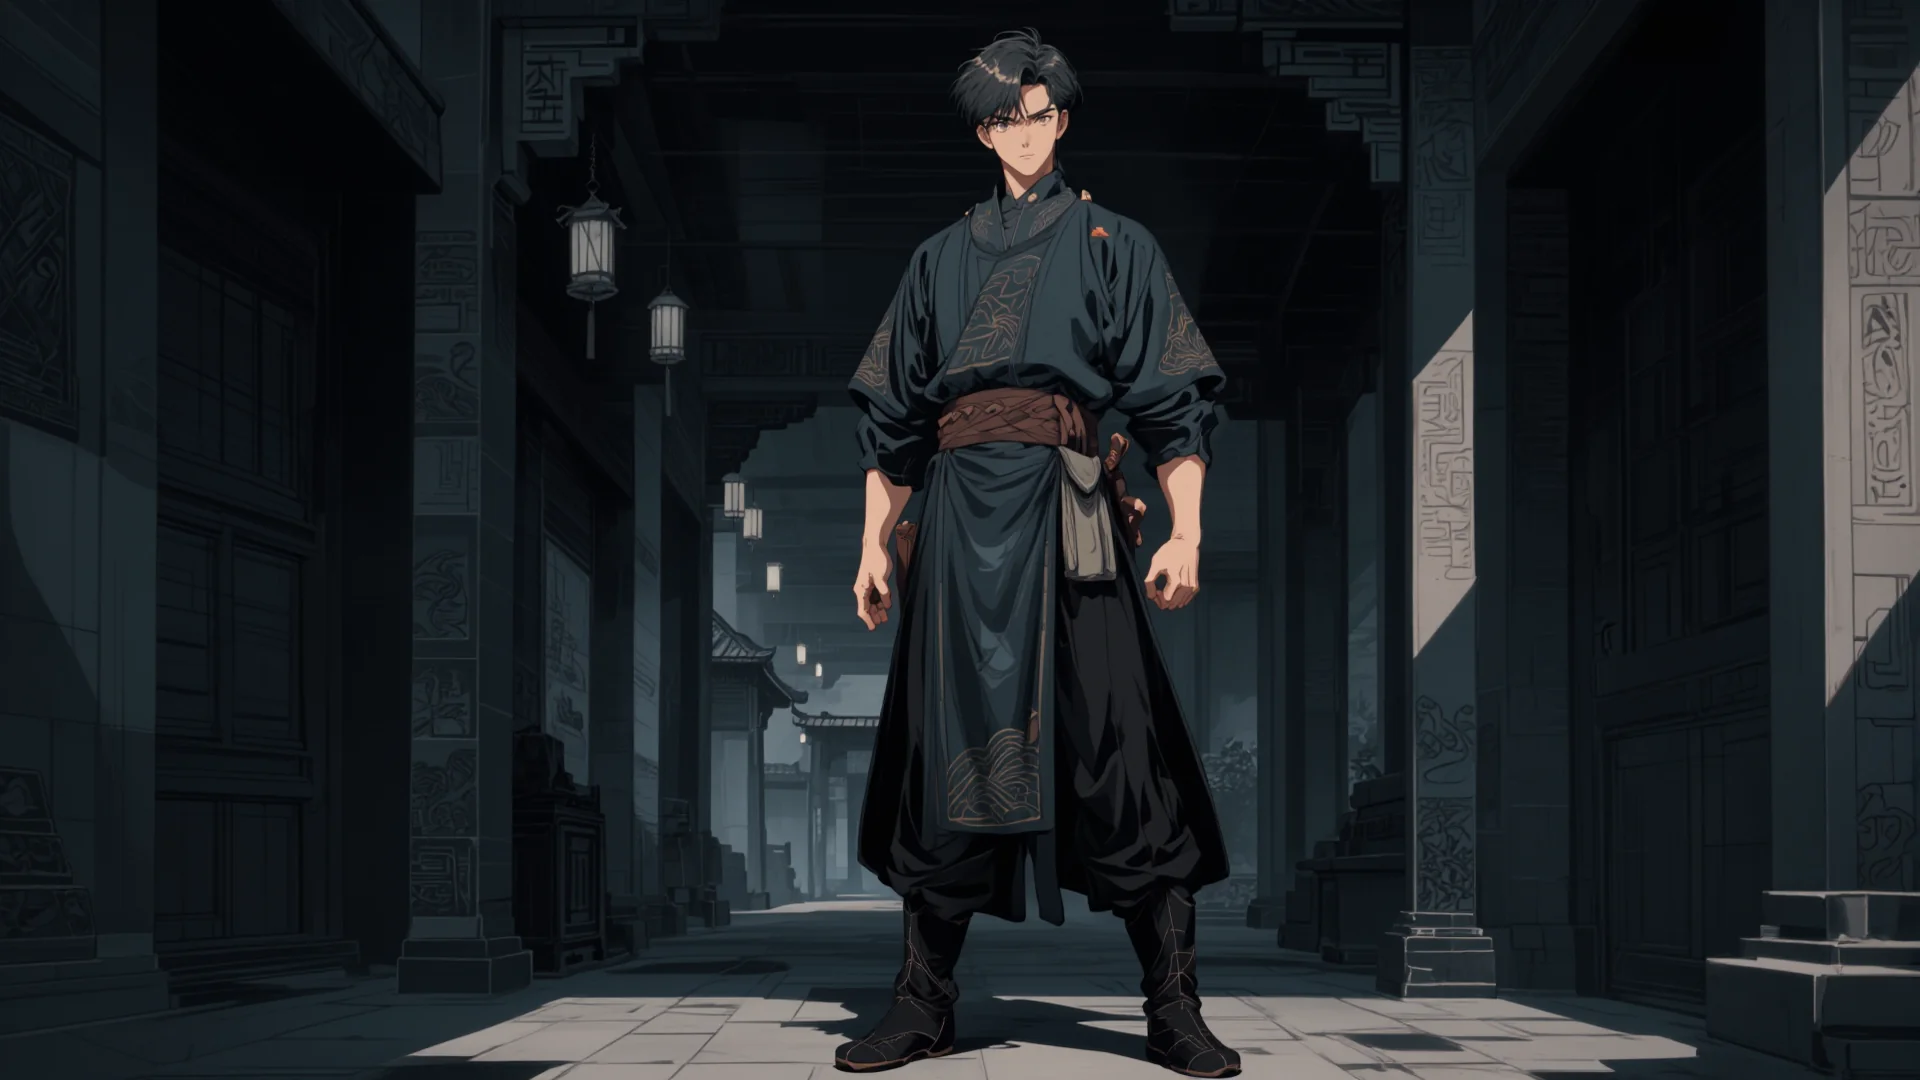
Choose a clear reference and any useful additional views. Keep the hairstyle, outfit and proportions consistent in your character sheet. Use Toonkit’s character sheet generation or upload an existing image to establish that reference. Comparing front and side views makes differences between shots easier to spot.

Character sheet preparation in Toonkit

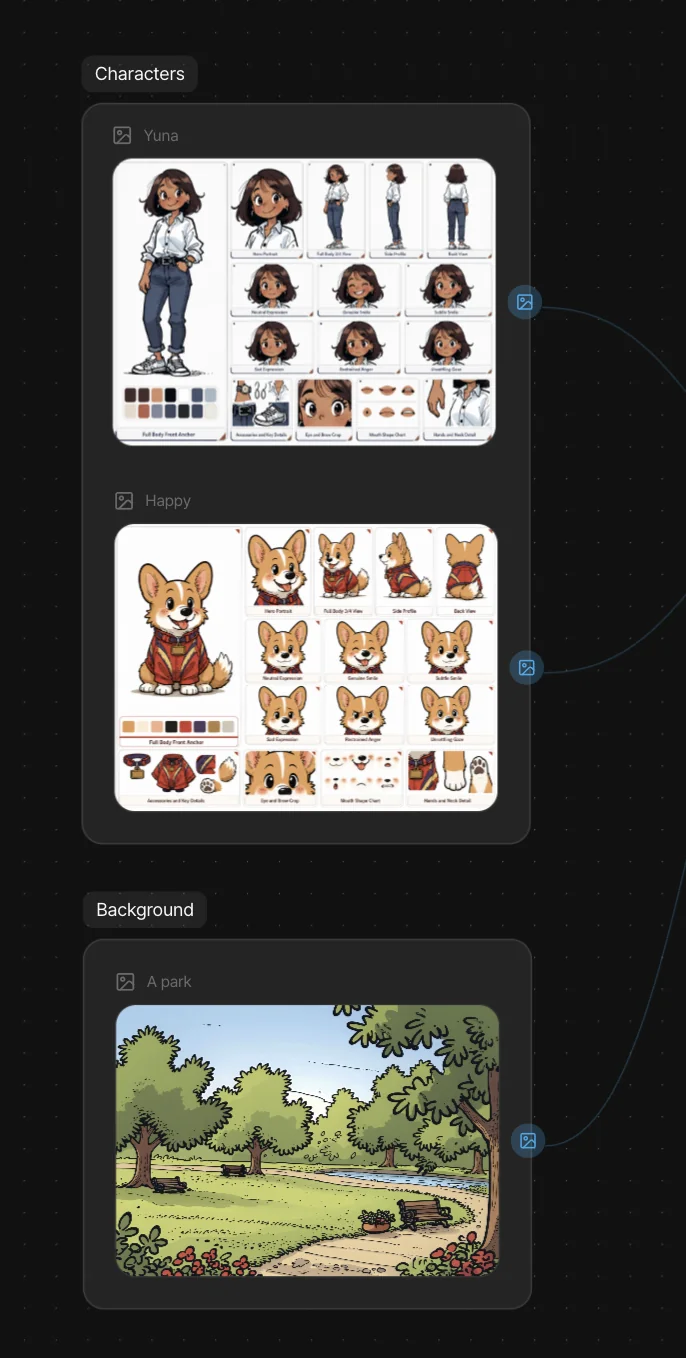
Reuse references from scene to scene

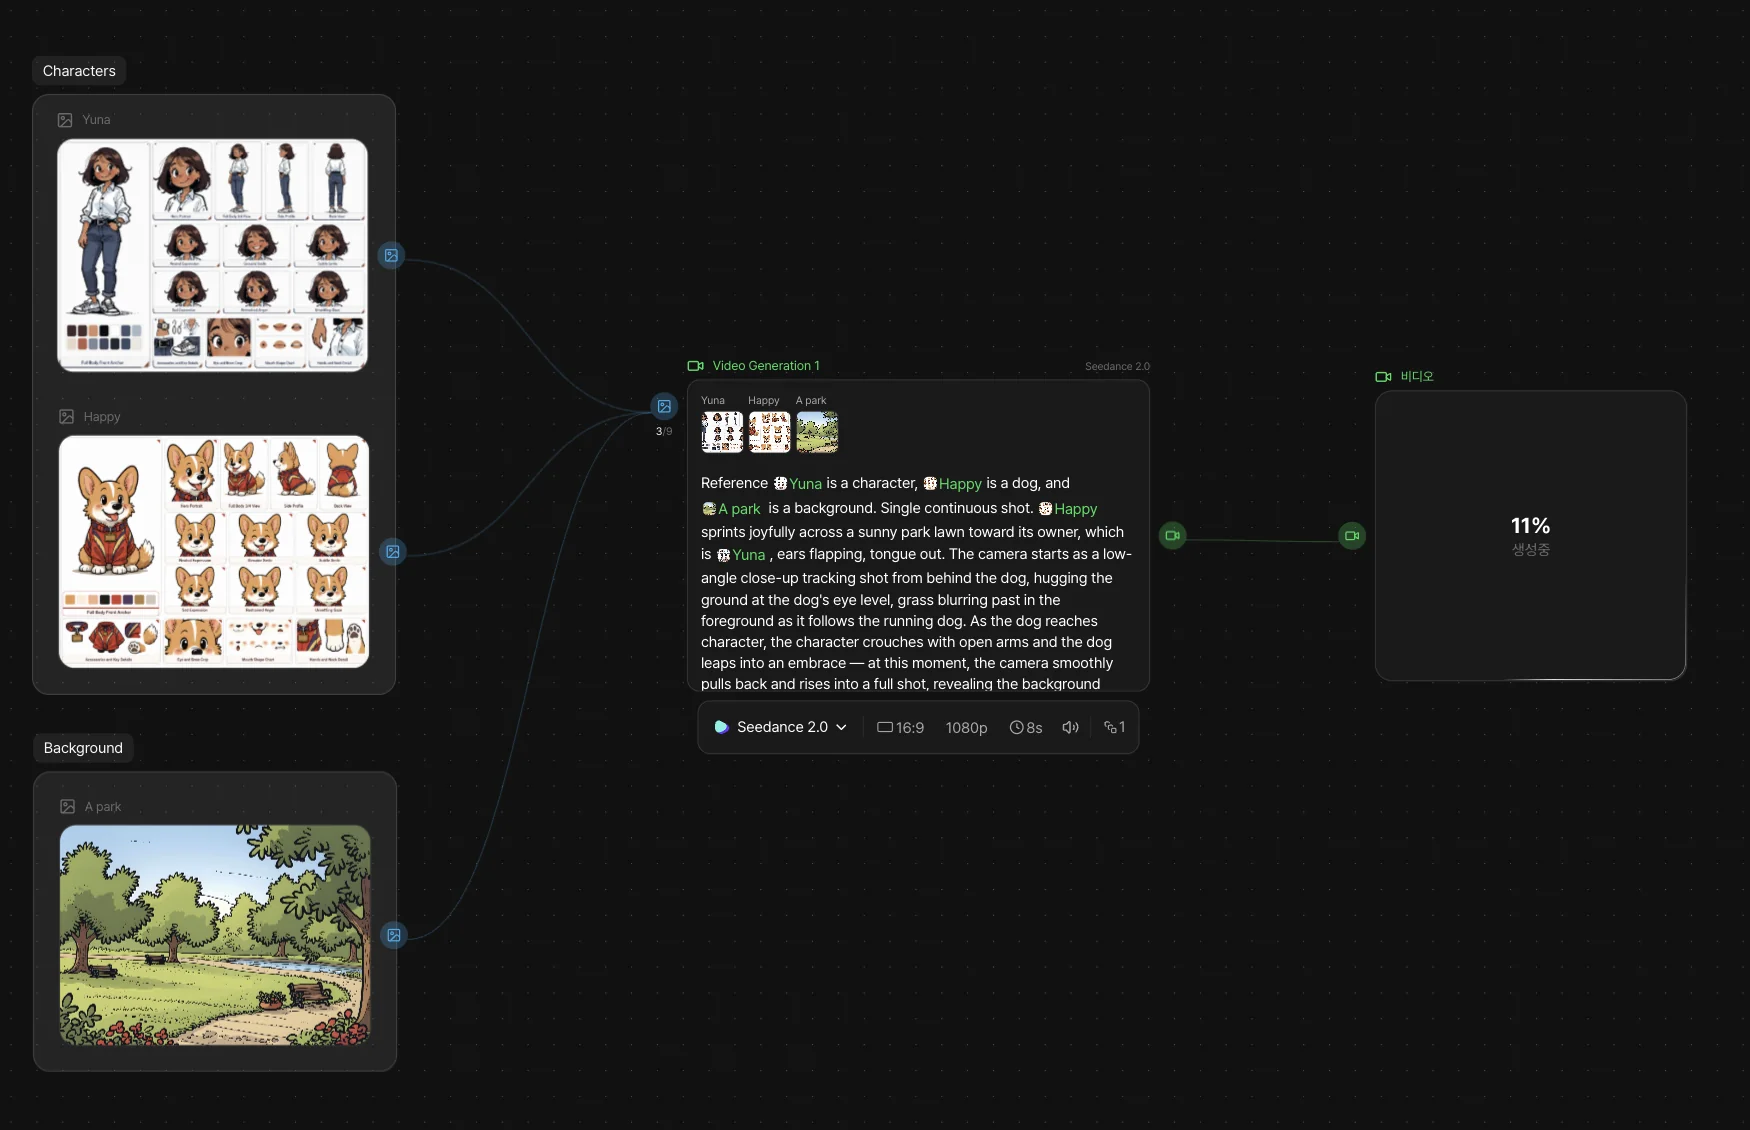
Add references to your chosen model, then describe the action, setting and framing. Supported reference types and limits vary by model; check the available options before generating. Separate the action and setting you want to change from the character details you want to retain. Play the generated clip and check the appearance at both the beginning and the end.

Explore reference-to-video
Adding reference images for video generation

Check continuity across several shots

Compare the face, clothes and accessories between takes. References help preserve identity, but a new angle or complex action may need several attempts. Review adjacent storyboard shots together to catch changes in color or accessories that are easy to miss in isolation. Apply the same visual criteria to close-ups and full-body shots.

Revise the shot that breaks continuity

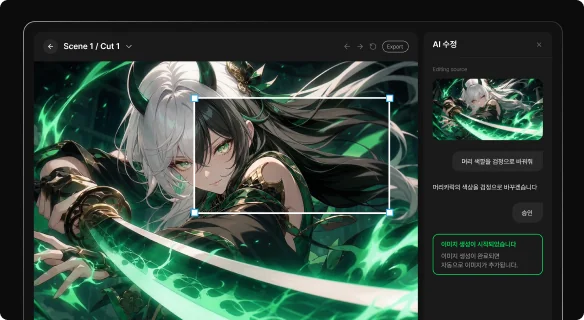
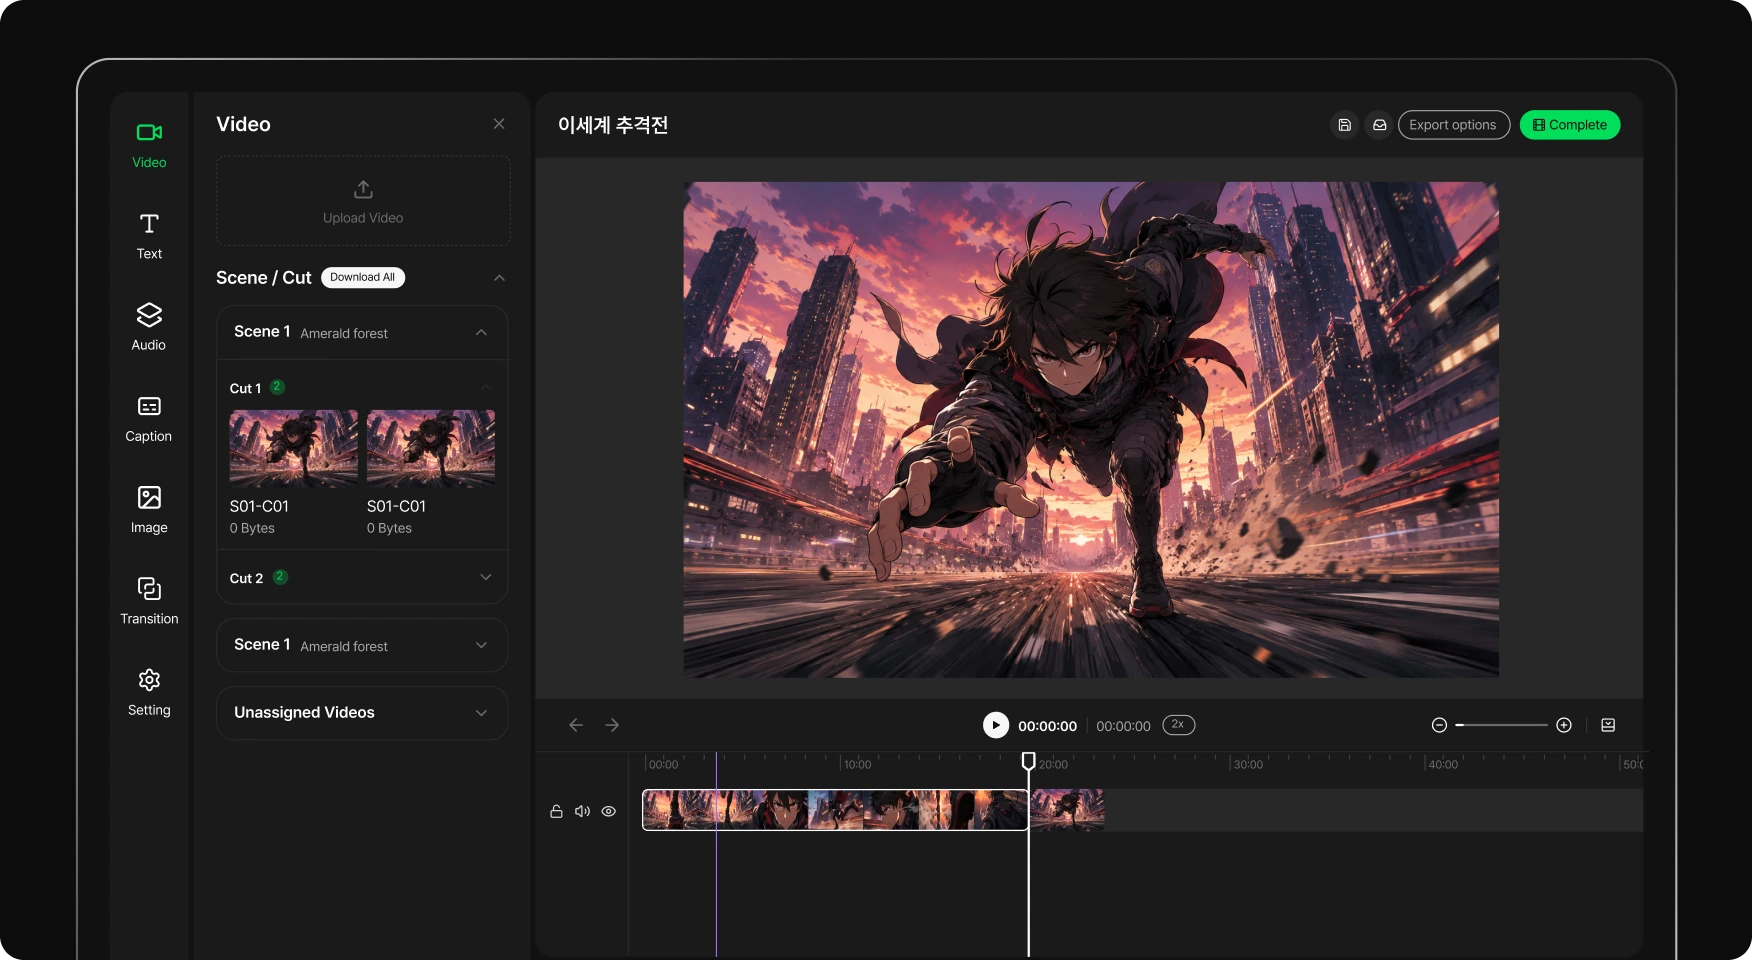
Return to the source image, simplify the movement or regenerate the affected shot. Assemble the selected takes in the editor and check how they flow together. Adjust clip order and the sections used in the editor, checking how the movements connect. Focus new generations on the awkward transition instead of remaking every selected shot.

Reviewing and editing generated anime shots

Your character, from one scene to the next

  1. Preparing a character reference sheet
    01

    Prepare your references

    Choose images that define the face, outfit and visual style. Upload a prepared image or generate a character sheet to define the appearance. Choose references that clearly show the face and clothing, and keep them ready for subsequent shots.

  2. Generating a video from references
    02

    Generate the first shot

    Load the references, describe a simple action and check the model settings. Describe one action, its setting and the camera framing, then check duration options and displayed credits. Watch the first result to review the face, outfit and movement.

  3. Reviewing shots in the video editor
    03

    Review and continue

    Approve the appearance, then reuse the references for the next shot. Compare adjacent shots in the storyboard and regenerate results that break continuity. Arrange the selected videos in the editor, review the sequence and export it.

Frequently asked questions

How do I keep the same character with AI?
Use stable visual references and a precise description of the character. Review each shot and correct differences before adding it to the edit.
Is an identical face guaranteed in every shot?
No. Results depend on the model, references and scene. Unusual poses, changing light or fast movement may require revisions.
Can I start with my own character?
Yes. Use your character images in the formats and reference limits supported by the selected model.
How many reference images should I prepare?
Start with one clear image. Add useful views if the model supports them, and check its limits in the generation interface.
Can I change the setting while keeping the character?
Describe the new setting and action while retaining the character references. Check the face and outfit in the result.
Do additional attempts use credits?
New generations may use credits according to the model and settings. Check the displayed cost before each attempt.

Give your character another scene.

Start with a reference and a first shot, then build your story.

ToonkitToonkit

© 2026 Toonkit. All rights reserved.

Innerverz Inc. | CEO : Junghyuk Im | Business Registration : 615-88-01959 | Mail-order Sales Registration : 2023-Daejeon Yuseong-1774

Address : 3212, 13-8, Eungubinnam-ro 33beon-gil, Yuseong-gu, Daejeon, Korea | Tel : 070-4102-3345 | CS : cs@toonkit.io