How to make AI animation: plan, create characters and shots, then edit your story
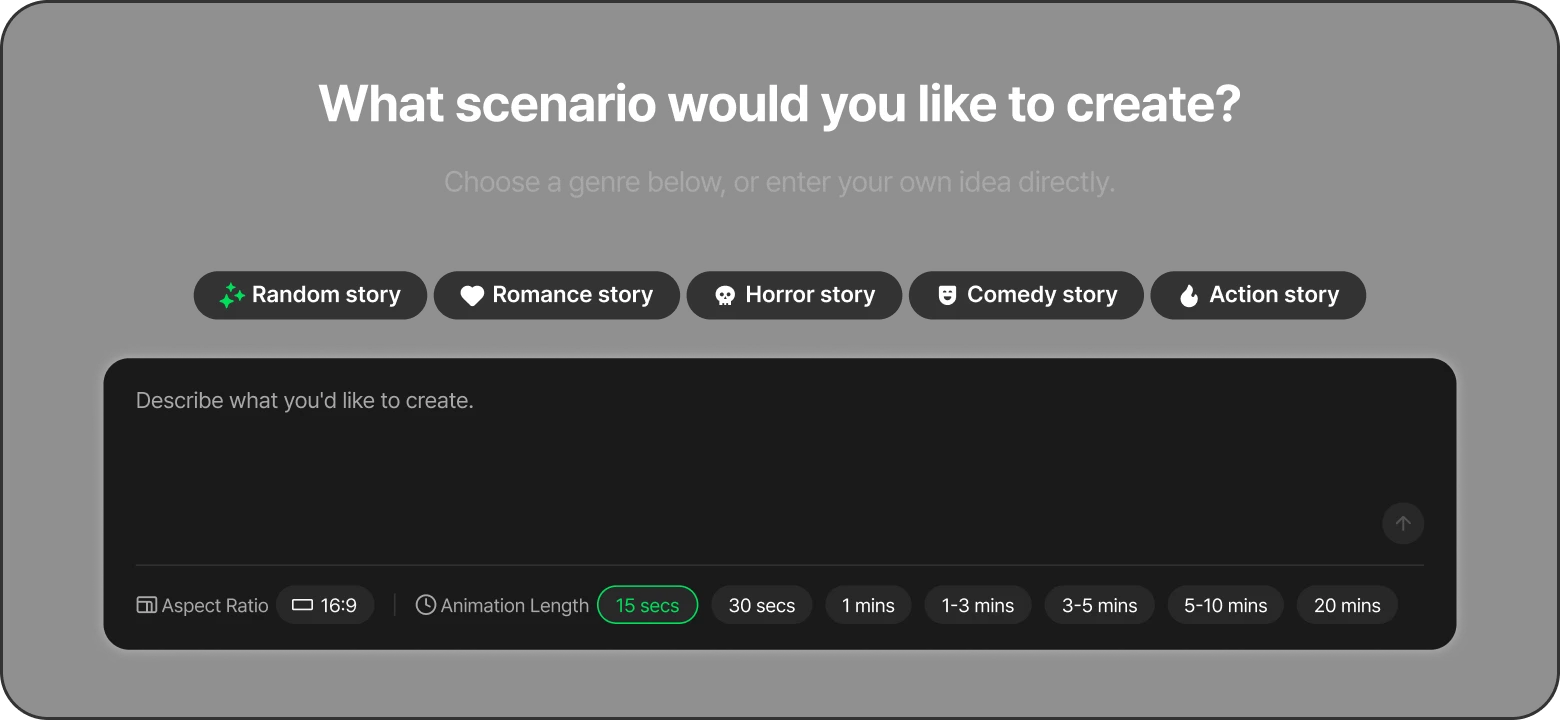
For your first AI animation, start with a short work with few characters and locations. Organize your idea into a storyboard in Toonkit, generate characters and scenes, and revise shots as you assemble the video. Explore related workflows: AI storyboard and text to video.
By uploading an image or video, you agree to Toonkit’s Terms of Use and Privacy Policy and confirm that you are 18 years of age or older.
Start with one protagonist and one event.
Before tackling a large project, learn the workflow with a short work in a limited setting. Separating planning, assets, video and editing makes each stage clearer. Explore related workflows: AI storyboard and text to video. Connect text, reference images and generation nodes in Toonkit Canvas, and continue your creative workflow through conversation in AI tools connected to Toonkit MCP.
Plan your idea in three shots
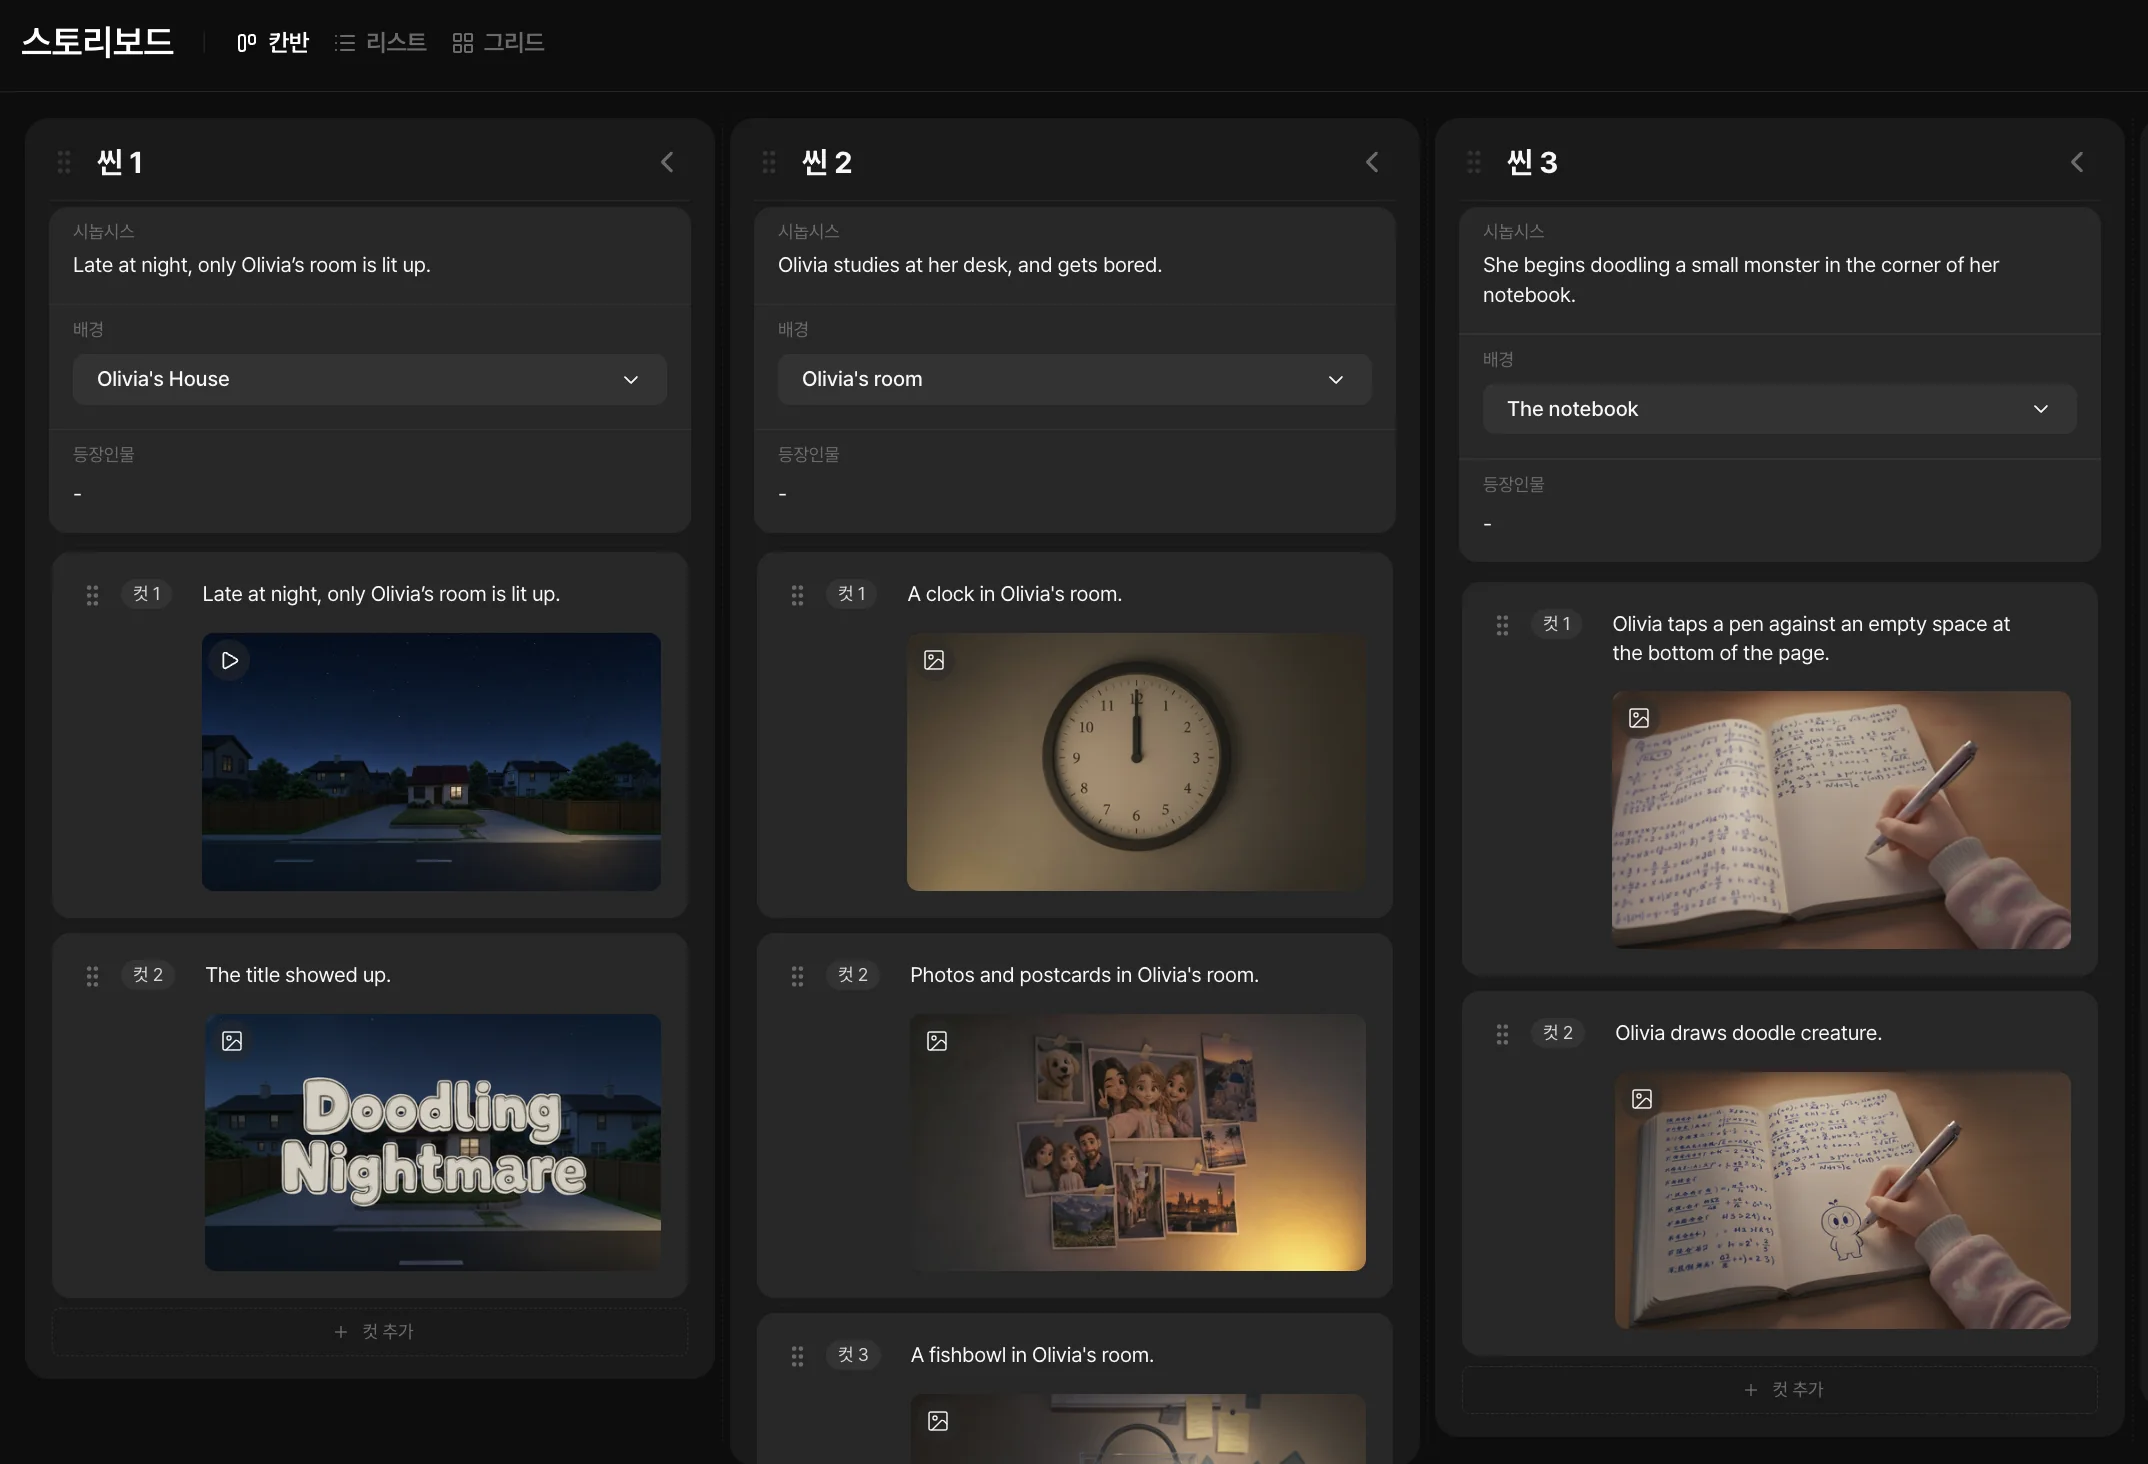
Choose a beginning, change and ending, such as arriving in the city, looking up and walking away. Focus on one event and write the purpose of each shot. Explore related workflows: image to video and AI character creator.
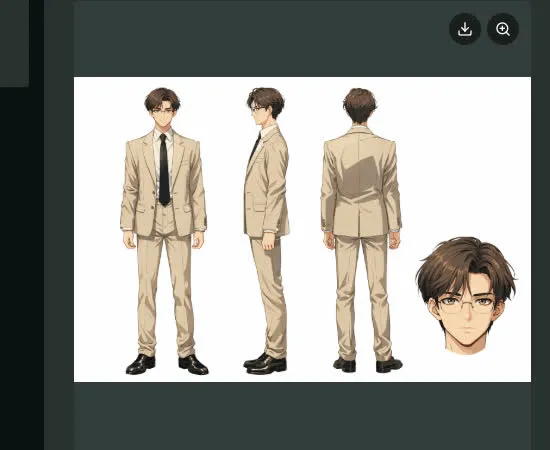
Prepare characters and backgrounds
Define the protagonist's appearance and the setting's mood, then prepare reference images. Align art style and clothing before generating individual scenes. Explore related workflows: AI storyboard and text to video.
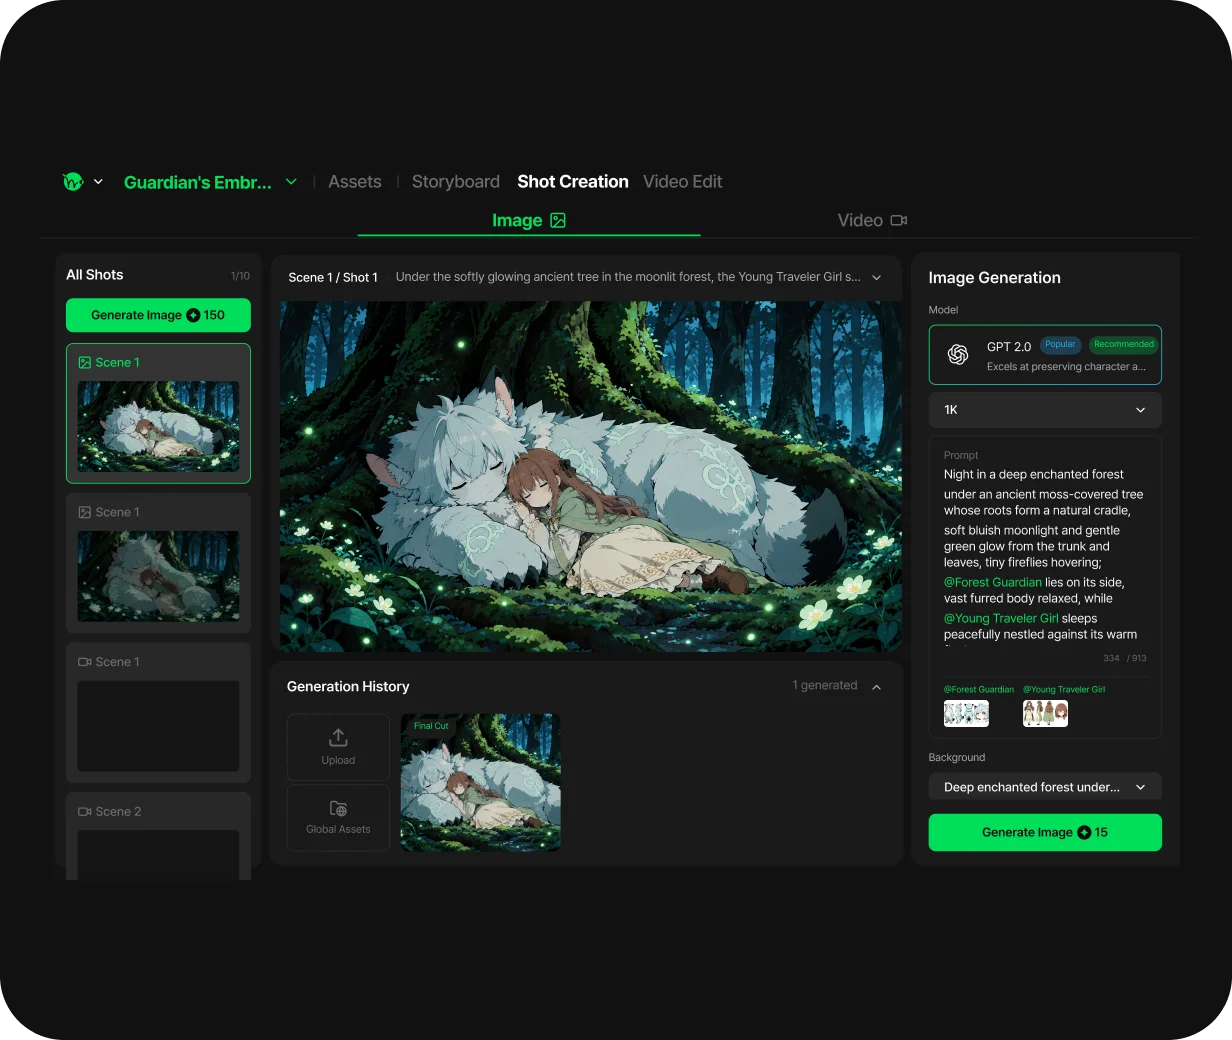
Create moving shots one at a time
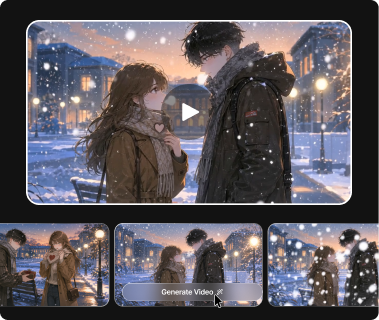
Follow the storyboard to specify character and camera motion. Test a short action first, and move on only when motion and expression fit your intent. Explore related workflows: AI storyboard and text to video.
Edit the footage into a finished work
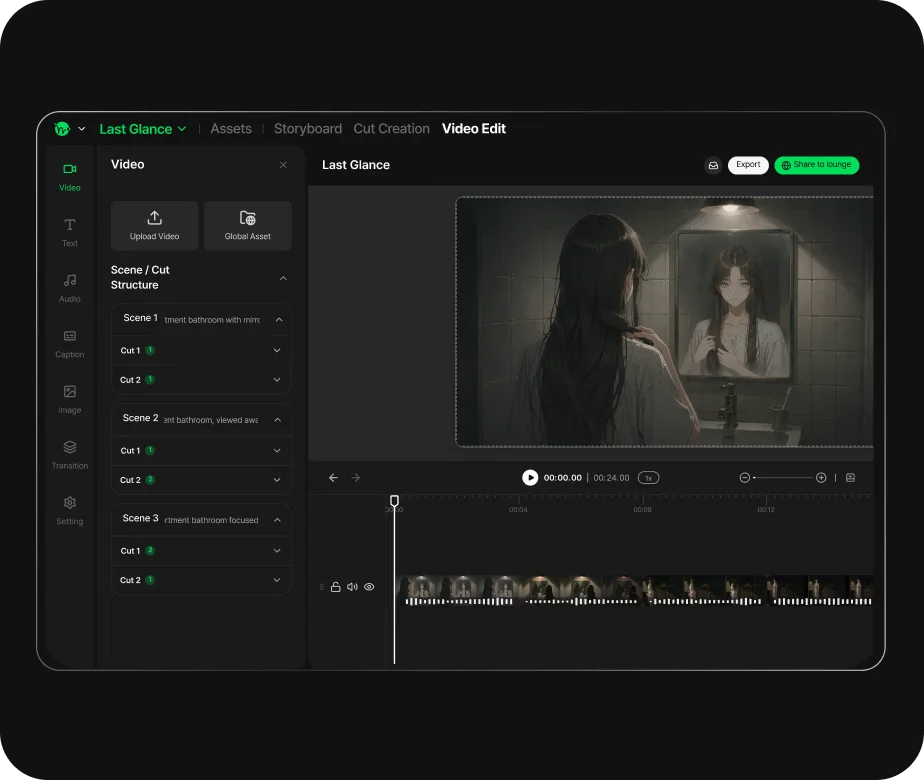
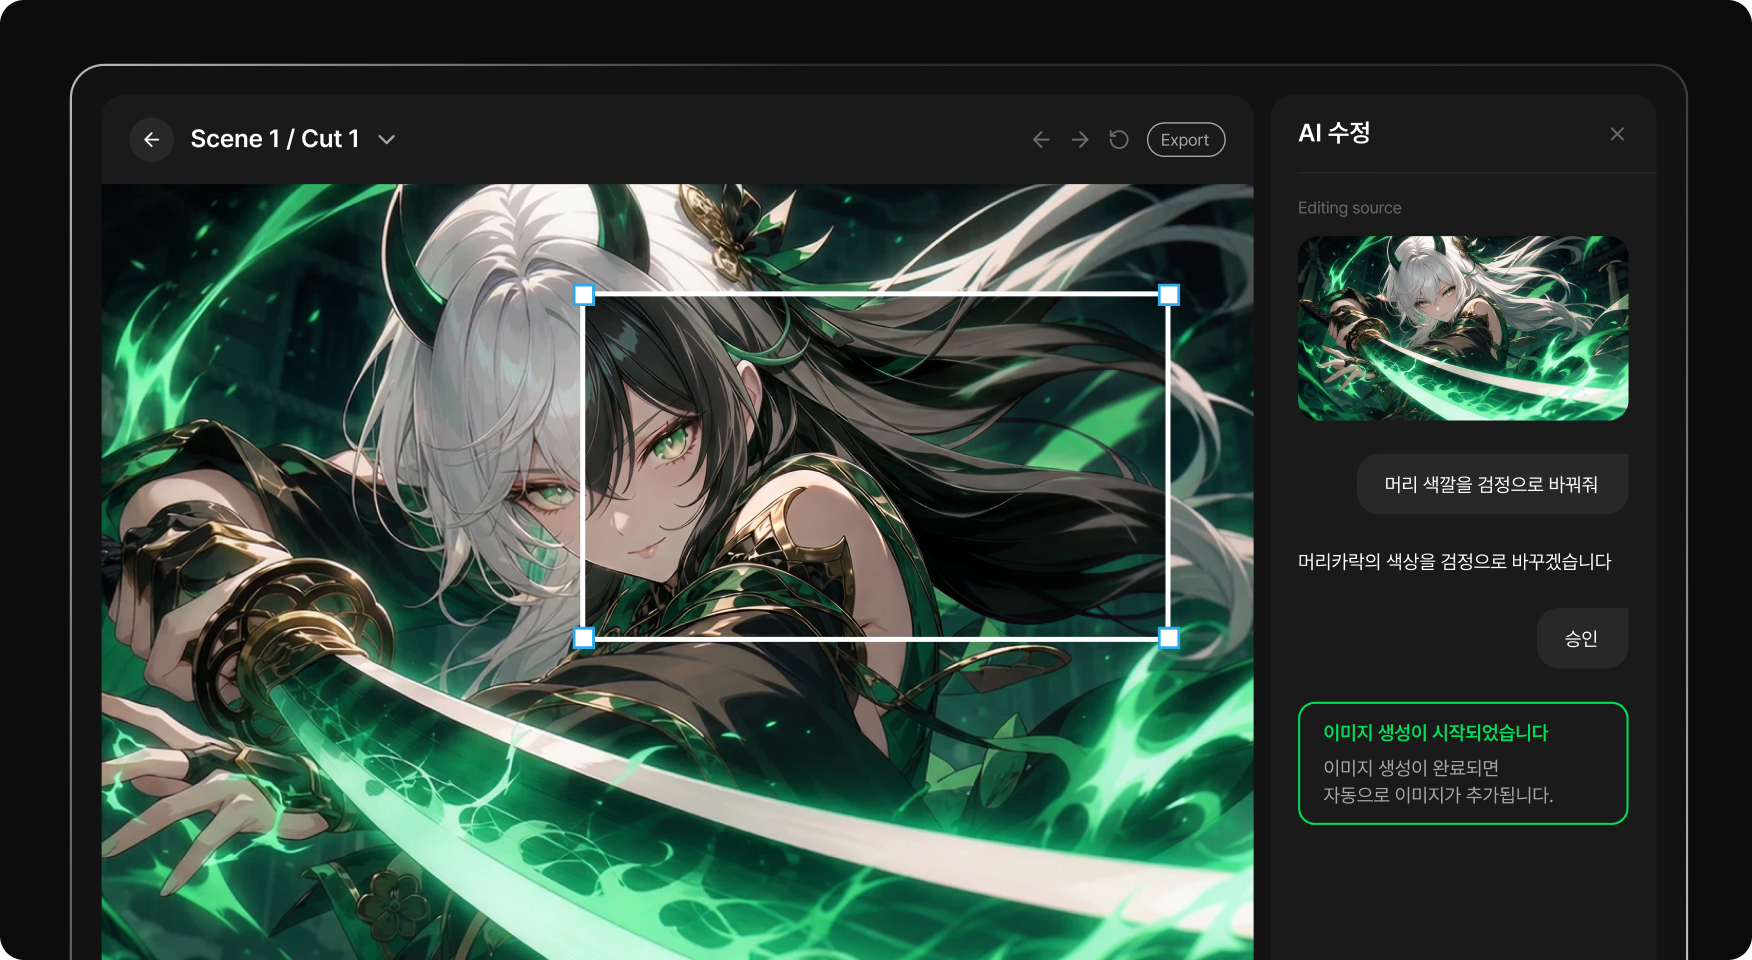
Arrange the videos, trim unnecessary parts and adjust transitions. Add the audio and text you need, review the whole work, then export. Explore related workflows: image to video and AI character creator.
How to make AI animation: from planning to the finished video — 3 steps
STEP 1
Prepare the plan and assets
Decide who does what and where. Divide this into three shots and prepare references for the protagonist and location to form your first production plan. Explore related workflows: AI storyboard and text to video.
STEP 2
Generate and select shots
Specify one action per shot and review the result. Separate shots to keep from those to revise, then reconsider the settings that did not work. Explore related workflows: image to video and AI character creator.
STEP 3
Refine transitions, sound and text
Adjust shot lengths and add audio or titles as needed. Check aspect ratio, sound levels and text readability before finishing. Explore related workflows: image to video and AI character creator.
Why use Toonkit for getting started with AI animation?
Separate planning, assets, generation and editing instead of trying to finish a long work at once. Review each stage before moving on to identify what needs improvement. Explore related workflows: AI storyboard and text to video.
See what to work on next
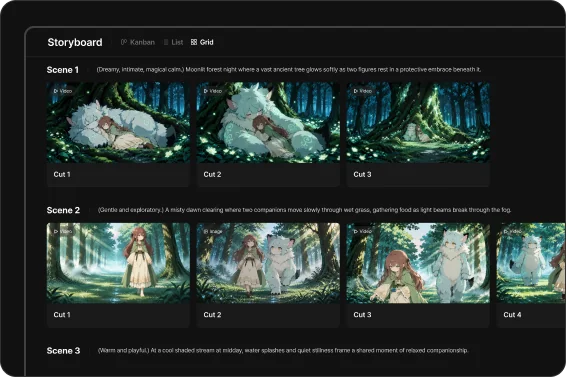
Arrange scenes and shots in the storyboard to check needed assets and production order. Compare finished and unstarted scenes to decide your next task. Explore related workflows: AI storyboard and text to video.
Learn by creating a short scene
Check generation results with a few shots and compare motion and composition. Try the complete process in a small work before expanding to other scenes. Explore related workflows: AI storyboard and text to video.
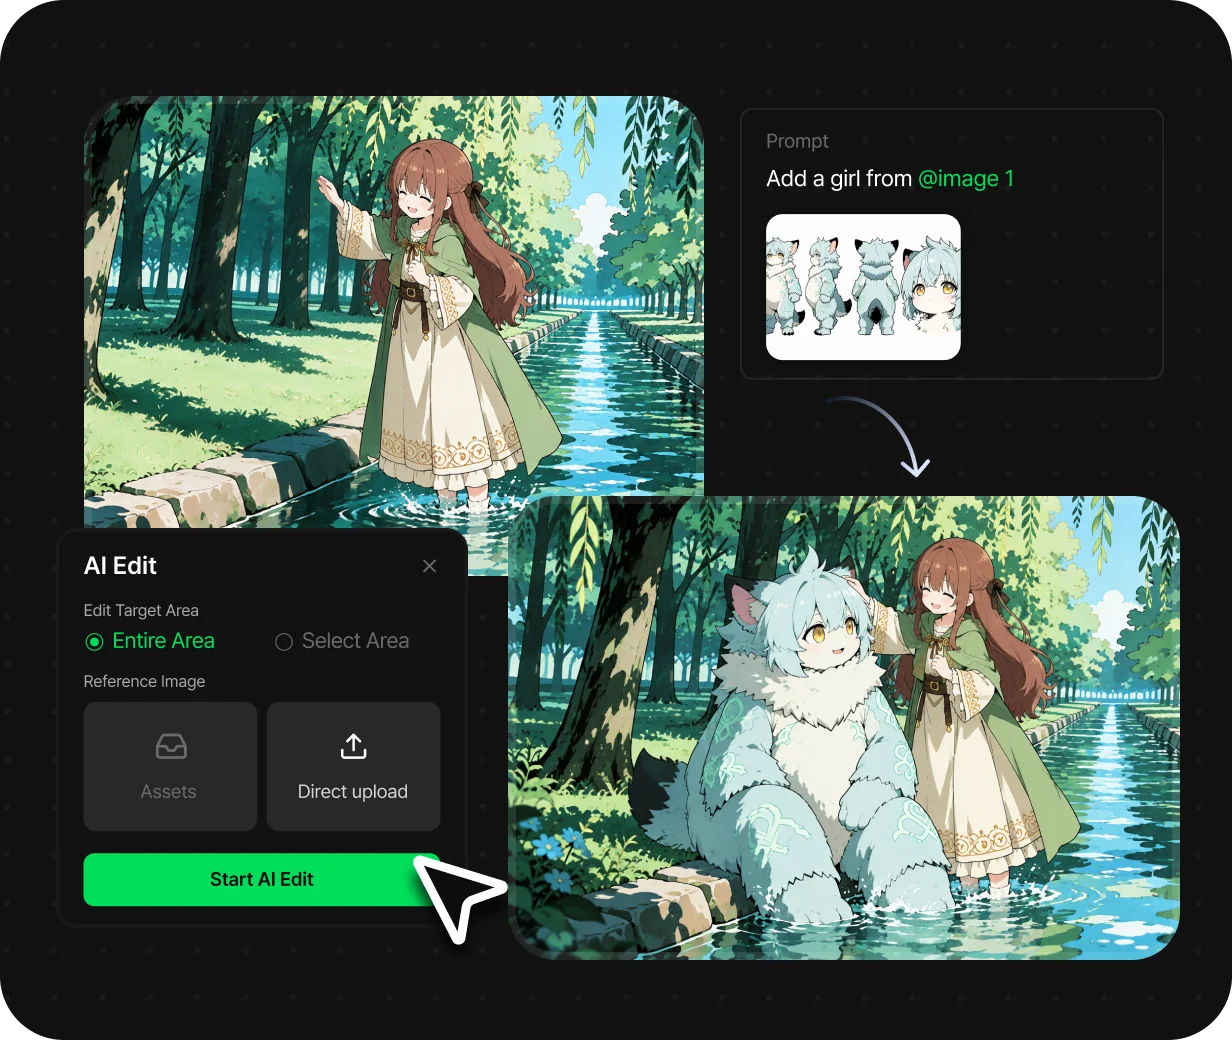
Understand why a shot needs revision
Review problematic faces, backgrounds and movements separately. Limit the conditions you change so you can see their effect in the next result. Explore related workflows: image to video and AI character creator.
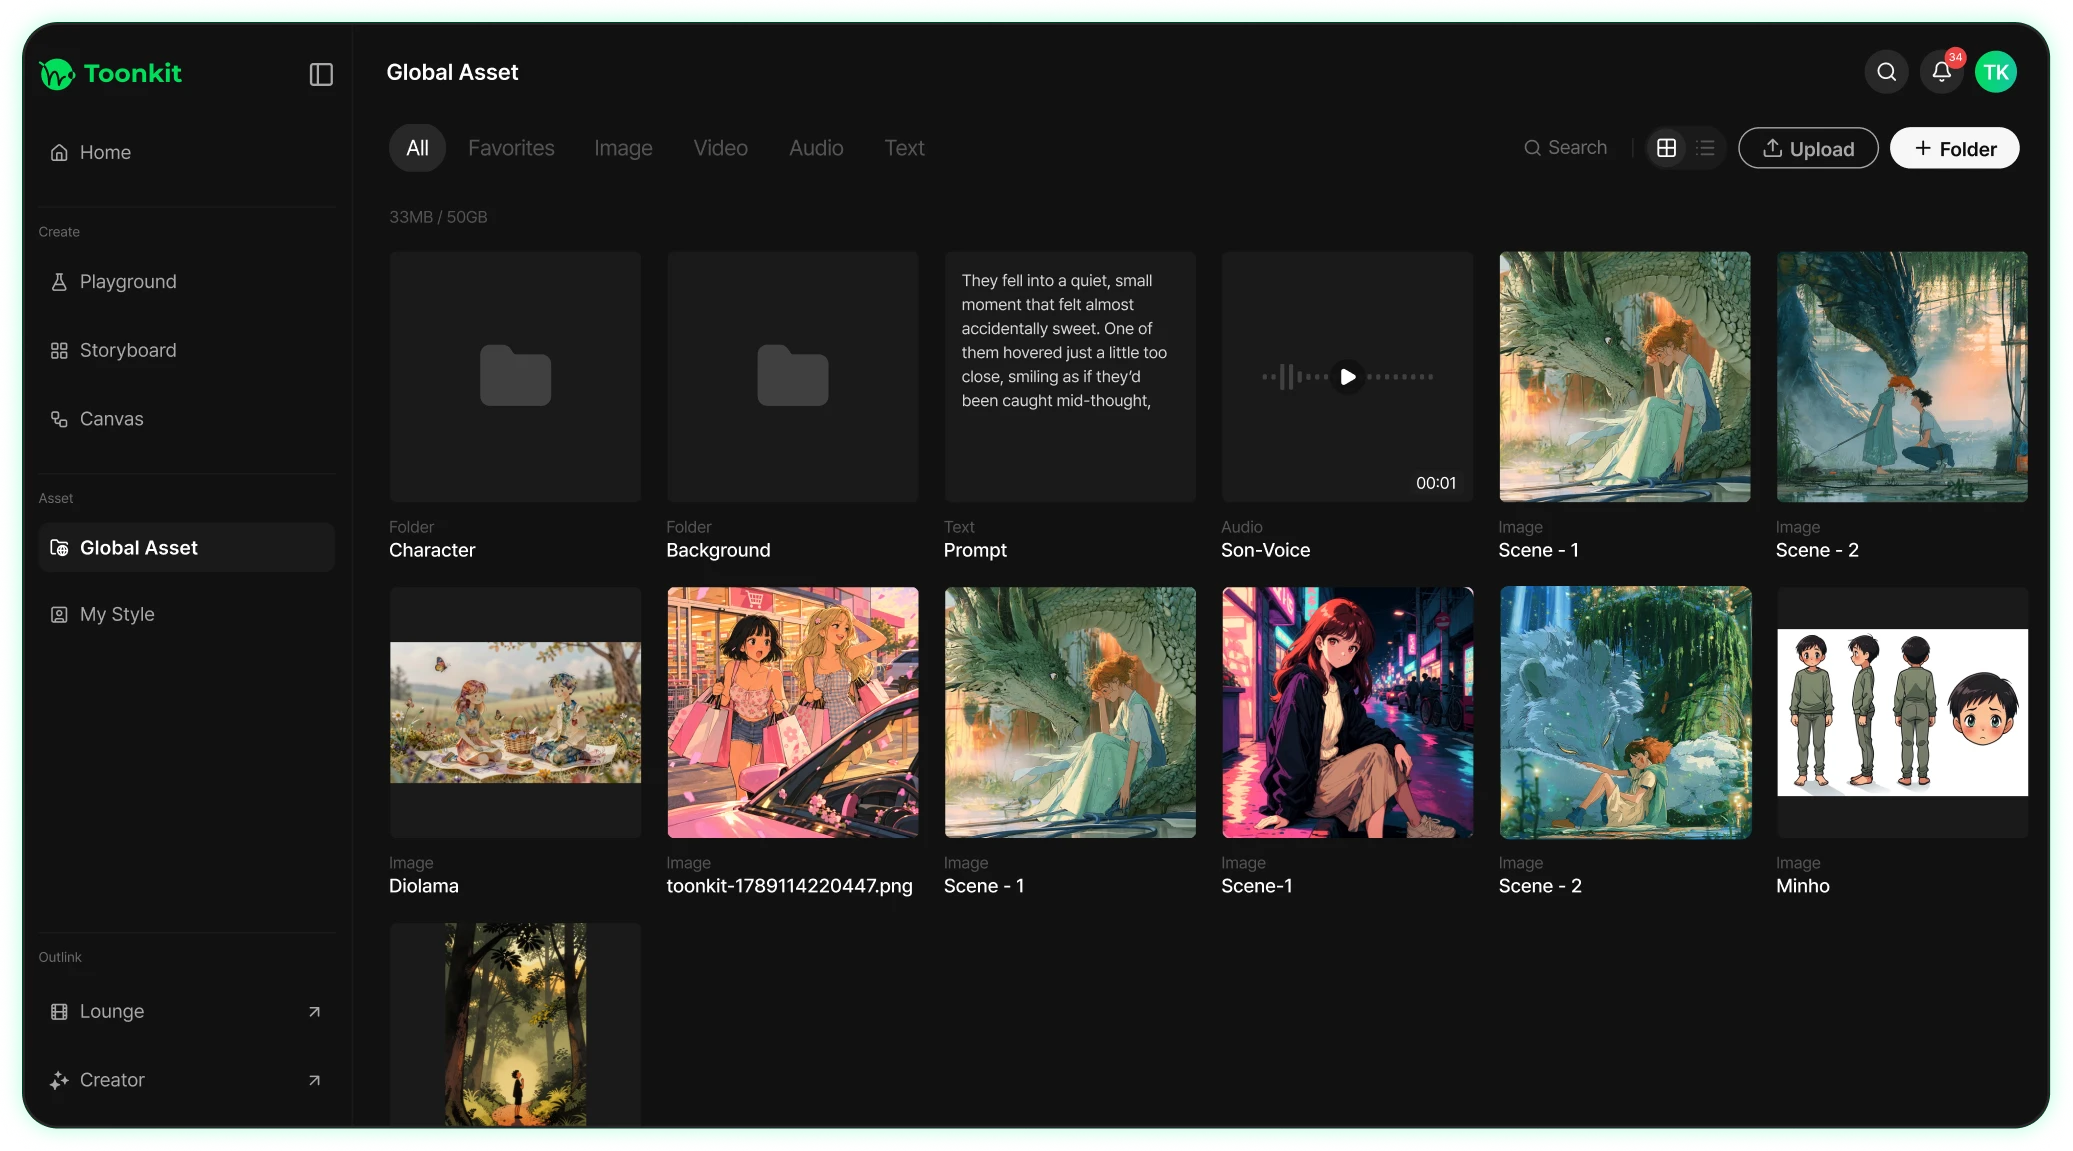
Reuse your assets in the next work
Save approved characters and backgrounds in your asset library. Start new short films or trailers by referring to materials you have already prepared. Explore related workflows: image to video and AI character creator.
You can create character and scene images from text, or start with images you already have. Try one scene first to learn the production workflow. Explore related workflows: AI storyboard and text to video.
What should I prepare first?
Describe the protagonist, place and event in one sentence, then divide it into short shots. Character or style references make it easier to check appearance across shots. Explore related workflows: image to video and AI character creator.
How much time and money will production take?
It depends on model, duration, regeneration count and editing work. Check the displayed credit cost before generating, test one shot, then decide the production scope. Explore related workflows: image to video and AI character creator.
Will AI finish all the editing for me?
You still need to select footage, connect shots and review sound and text timing. This guide includes those editing tasks as part of production. Explore related workflows: image to video and AI character creator.
How do I expand to a longer work?
Validate character settings and workflow in a short work, then add scenes gradually. Use character consistency and the storyboard to organize reviews.