Skip to content

Turn your novel or script into AI animation: bring its world to life with characters and video

Choose a scene from a novel or original script to show on screen. Prepare characters and backgrounds in Toonkit, then work through storyboarding, shot generation and editing to create a short film or a preview of your work. Explore related workflows: AI storyboard and text to video.

By uploading an image or video, you agree to Toonkit’s Terms of Use and Privacy Policy and confirm that you are 18 years of age or older.

Turn the appeal of your writing into visual storytelling.

Instead of animating prose literally, clarify who does what and where. Separate dialogue, expressions and backgrounds to turn your manuscript into producible shots. Explore related workflows: AI storyboard and text to video. Connect text, reference images and generation nodes in Toonkit Canvas, and continue your creative workflow through conversation in AI tools connected to Toonkit MCP.

Start with one scene you want to show

Choose a memorable meeting, conflict or ending instead of adapting the entire novel at once. Extract actions and scenery from the prose and decide what the video should convey. Explore related workflows: AI storyboard and text to video.
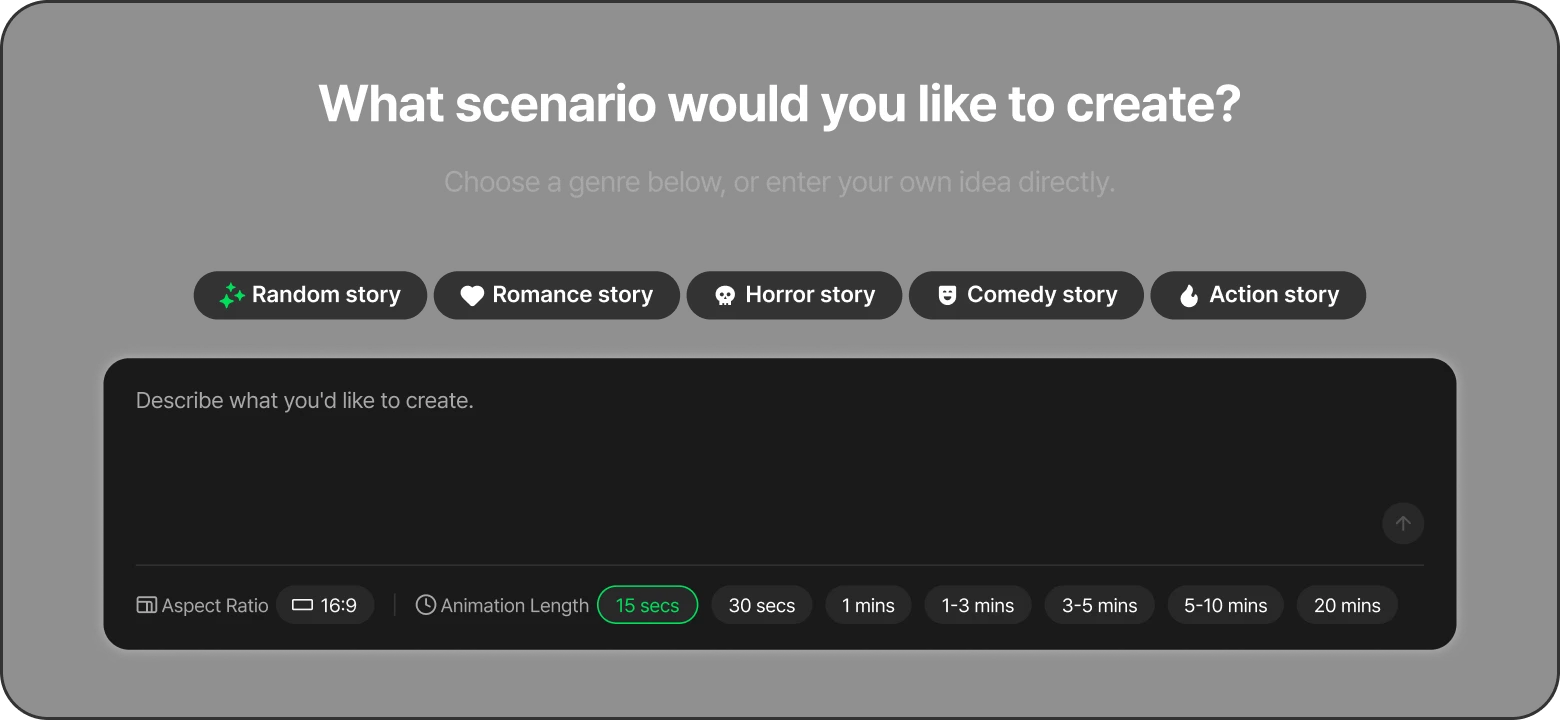
Interface for selecting a genre and entering a script

Break the script into shots

Use a wide shot to establish the place and a close-up to show emotion. Build your scene with script-based creation, then review the storyboard against your manuscript's intent.

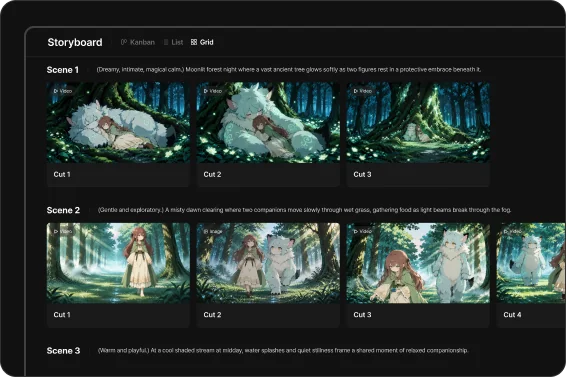
AI storyboard board showing shot structure and scene images

Keep characters and the setting consistent

Define appearance, clothing and the atmosphere of your setting. Prepare reference images and shared descriptions to keep settings consistent between scenes. Explore related workflows: AI storyboard and text to video.
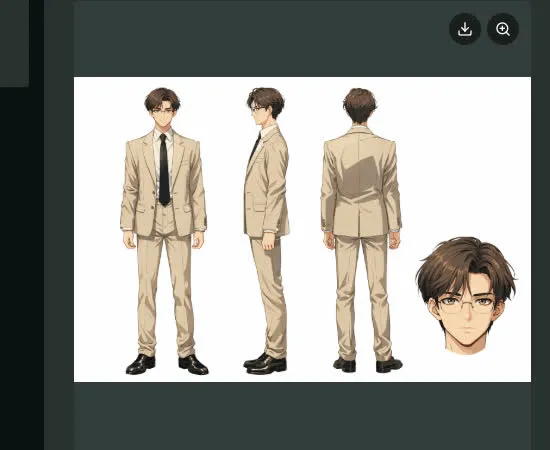
Character sheet with front, side, back and facial views

Tell the story through timing and sequence

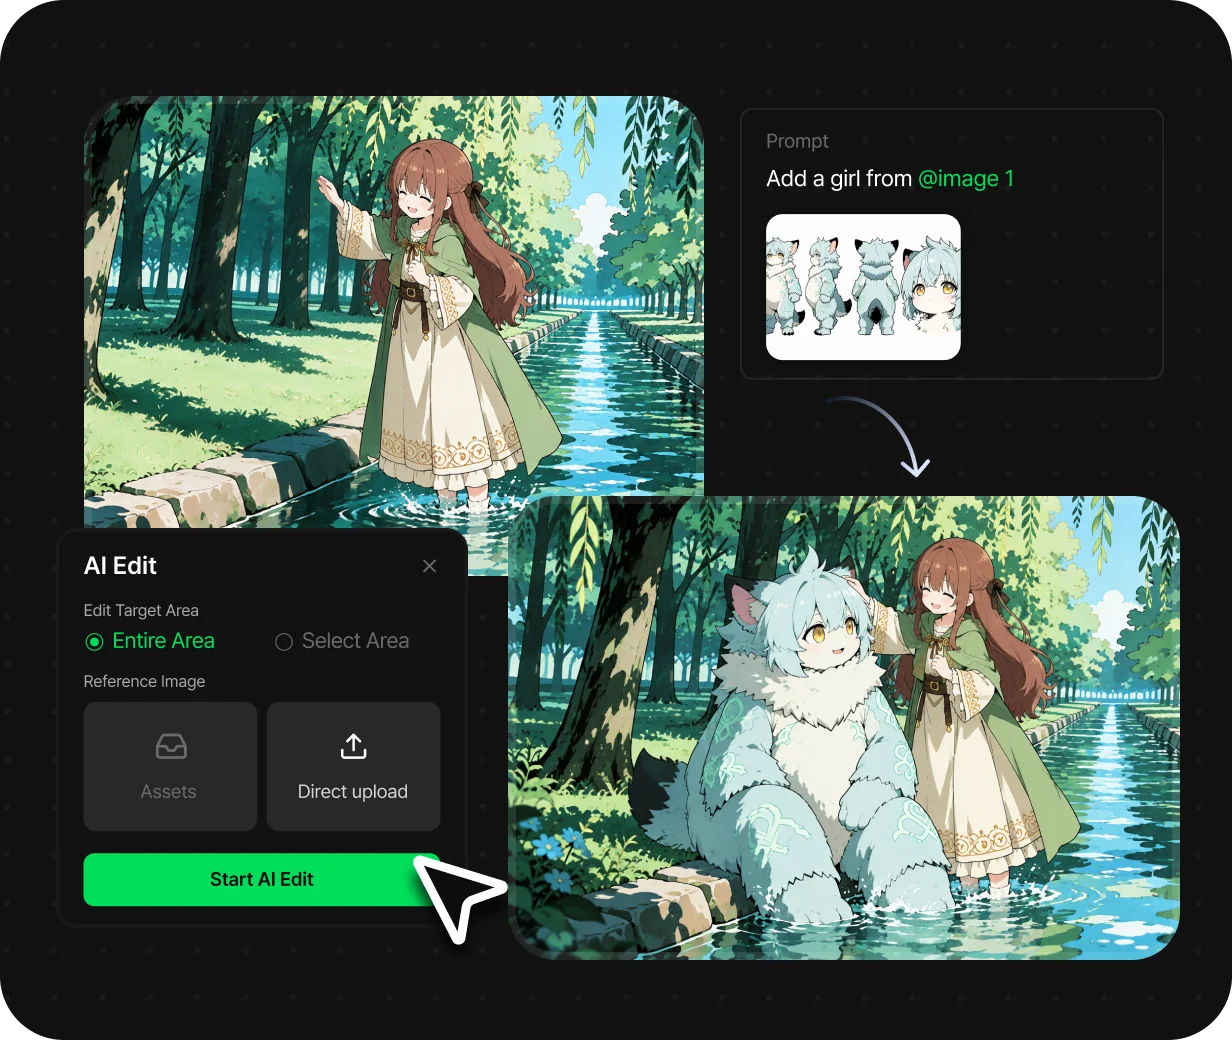
Connect shots and adjust time for expressions and pauses in dialogue. Check that movements and glances omitted in prose also connect naturally on screen. Explore related workflows: image to video and AI character creator.

Revise the scenes that need it

Turn novels and scripts into AI animation — 3 steps

STEP 1

Choose one scene from the manuscript

Identify the characters, place and event. For two people reuniting on a rooftop, consider their arrival, the moment their eyes meet and their conversation as separate beats. Explore related workflows: image to video and AI character creator.

Interface for selecting a genre and entering a script
STEP 2

Prepare the storyboard and characters

Use the script workflow to plan shots and review characters and backgrounds. Correct scenes that misinterpret the manuscript before generating video. Explore related workflows: AI storyboard and text to video.
AI storyboard board showing shot structure and scene images
STEP 3

Generate video and finish the story

Generate video for shots that need motion, then edit order and duration. Before adding dialogue or sound, check that the images alone communicate the situation. Explore related workflows: image to video and AI character creator.

Export the completed AI film

Why use Toonkit for turning novels and scripts into AI animation?

Start by deciding which characters and scenes to show, rather than turning every line into video. Move between script and storyboard to gradually give visual form to the world in your writing. Explore related workflows: AI storyboard and text to video.
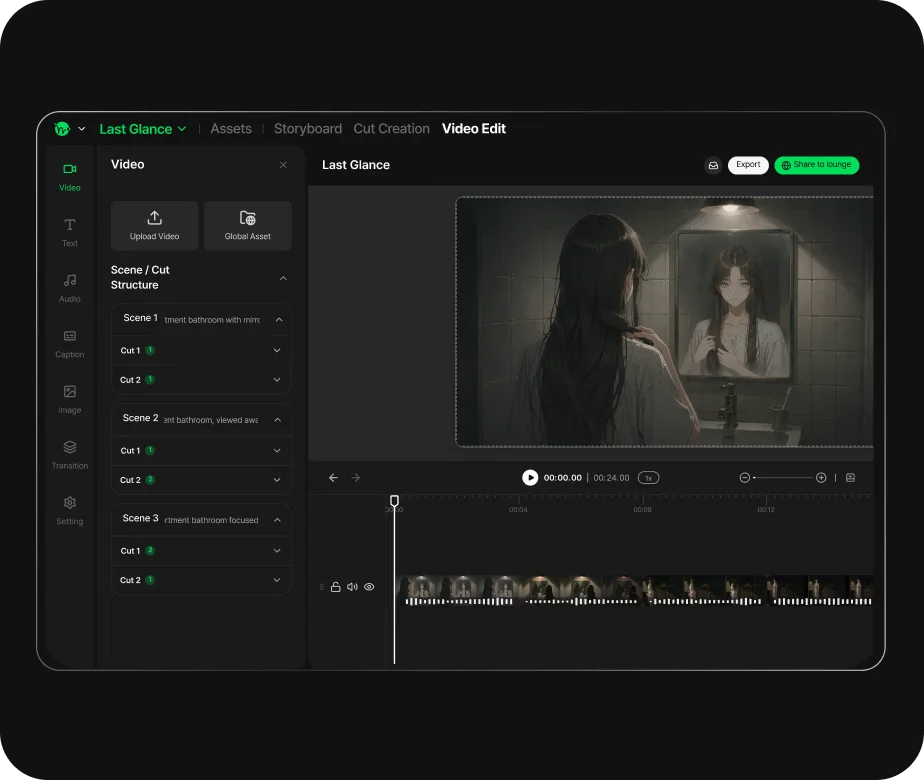
Interface for selecting a genre and entering a script

Select the scene you want to show

Organize characters, places and events into a script and choose the scope of your adaptation. Starting with one scene makes assets and shots concrete even for a long work. Explore related workflows: AI storyboard and text to video.
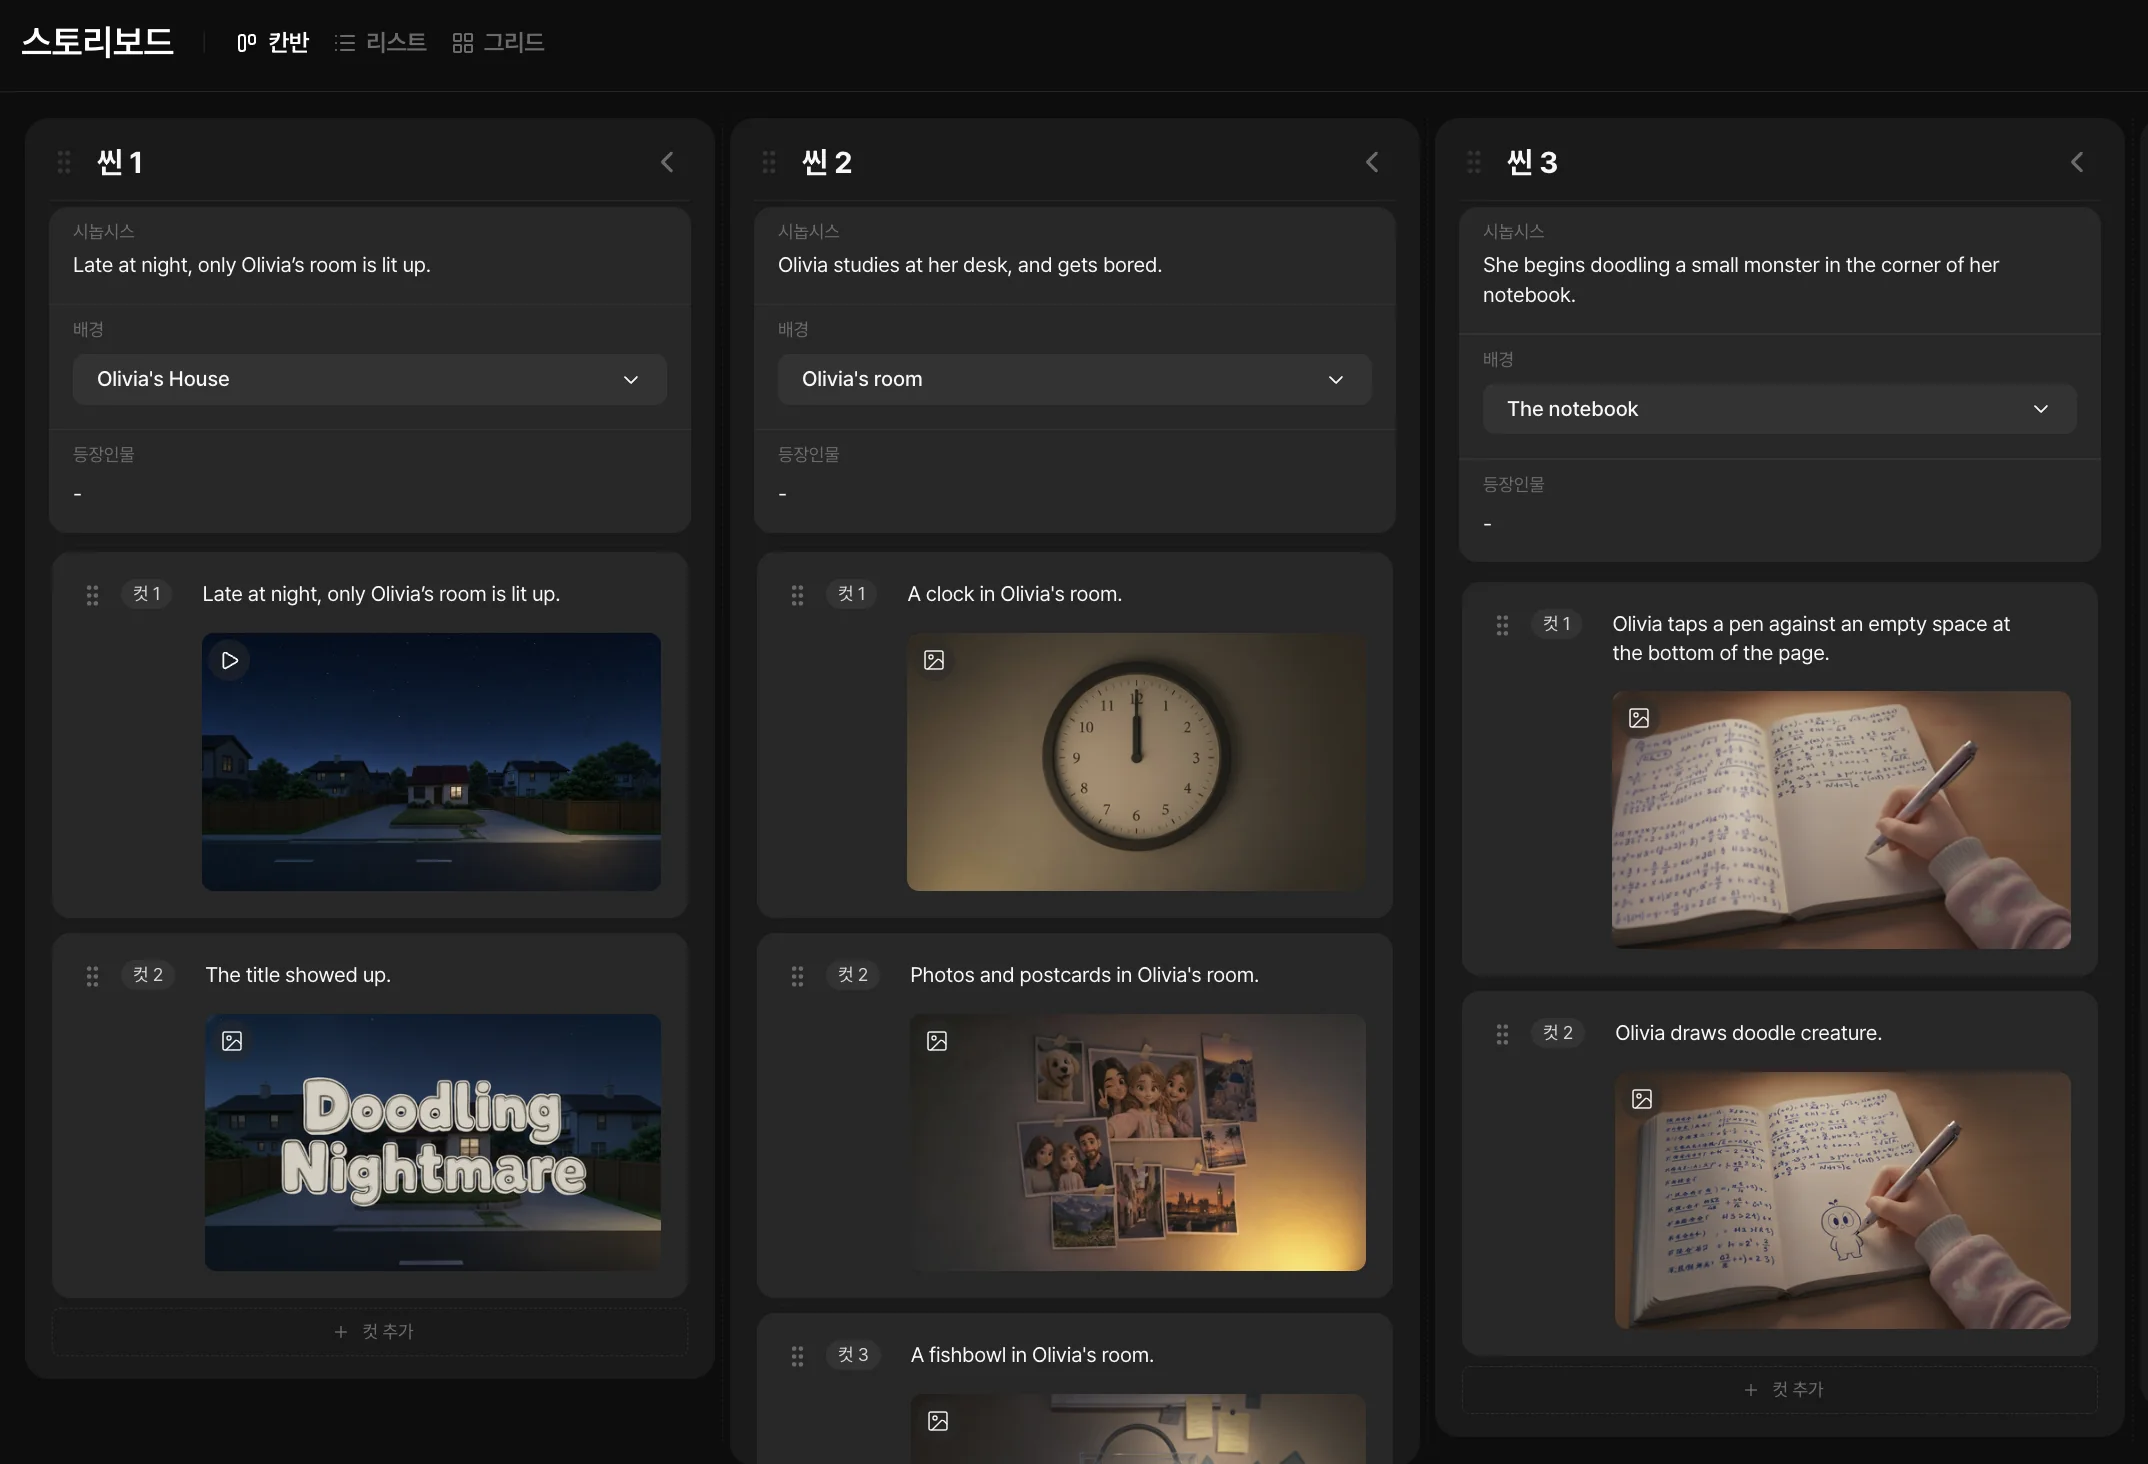
Storyboard with descriptions and images arranged by shot

Review the structure before generation

Arrange scenes in the storyboard and check that key content is included. Decide shot order and purpose before generating video to shape the flow of your work. Explore related workflows: AI storyboard and text to video.
Character sheet with front, side, back and facial views

Turn written characters into visual designs

Visualize appearance, clothing and atmosphere, then compare them with the character you imagined in the manuscript. Use a character sheet to track traits across scenes. Explore related workflows: AI storyboard and text to video.

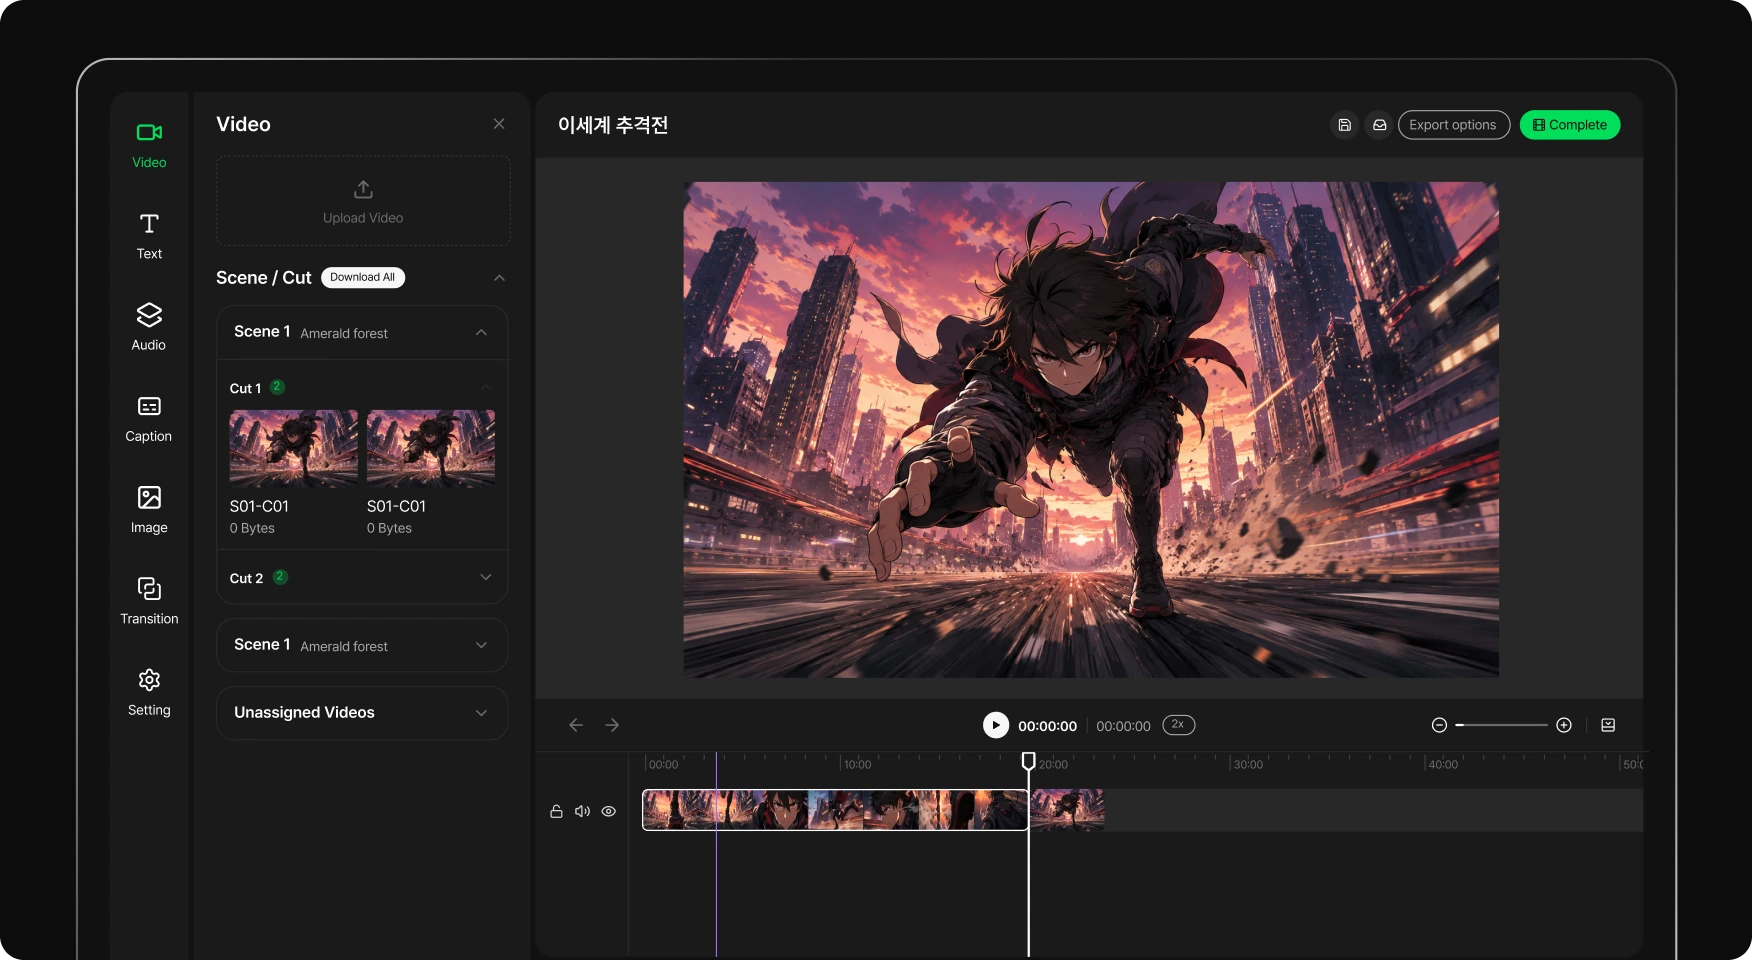
Editing interface for arranging shots and video flow

Finish as a short film or trailer

Choose generated shots and adjust their order and duration into one video. Test your direction in a short scene without waiting to finish the entire work. Explore related workflows: AI storyboard and text to video.

Frequently asked questions

Can I animate an entire novel at once?

This guide explains production scene by scene and shot by shot. Do not assume an entire novel will be completed automatically; start with one scene to check structure and results. Explore related workflows: AI storyboard and text to video.

How should I handle dialogue and narration?

Keep dialogue as conversation and translate prose into expressions, actions and backgrounds. During editing, consider voice-over or captions for information the images cannot convey. Explore related workflows: image to video and AI character creator.

Can I start with text alone?

You can build the structure from a script. If you already have character images, use them as references to keep appearance consistent. Explore related workflows: AI storyboard and text to video.

Can I change the manuscript later?

Revise while reviewing the structure and individual shots. Finalizing scene order and character settings before generating many videos reduces the scope of revisions. Explore related workflows: AI storyboard and text to video.

Can I make a short promotional video?

Yes. Try a short sequence with an opening, a memorable scene and the title. See AI anime promotional videos for guidance.

Explore more Toonkit tools