Reimagine live-action footage as AI anime: rebuild style and movement from reference frames
Extract useful frames from your footage, create anime-style images, then develop them into video. Use the original composition and pose as references, choose a style, and specify character and camera motion for each new scene. Explore related workflows: AI storyboard and text to video.
By uploading an image or video, you agree to Toonkit’s Terms of Use and Privacy Policy and confirm that you are 18 years of age or older.
Rebuild the video using live-action references.
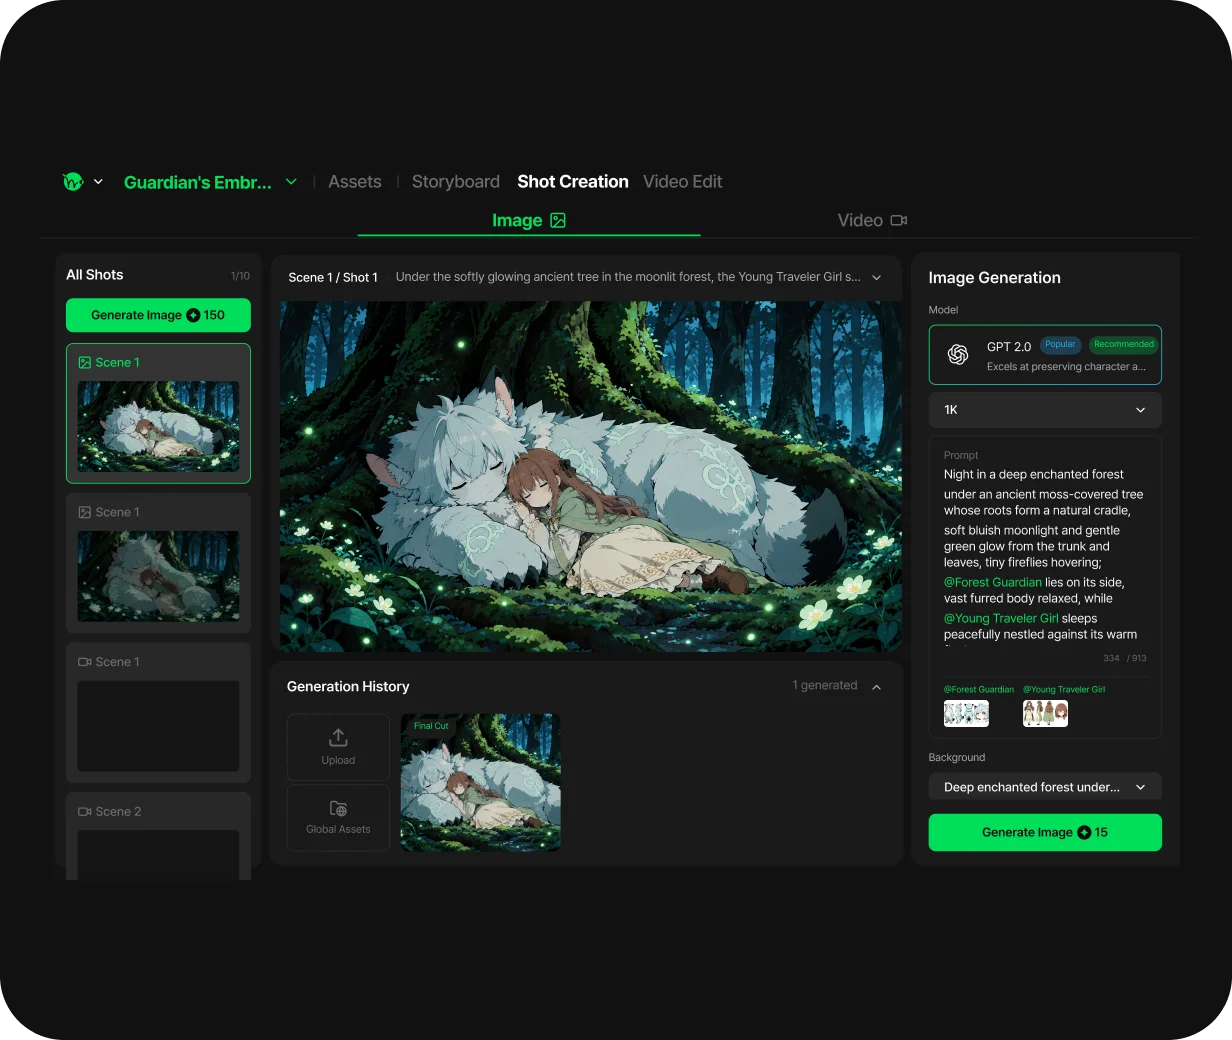
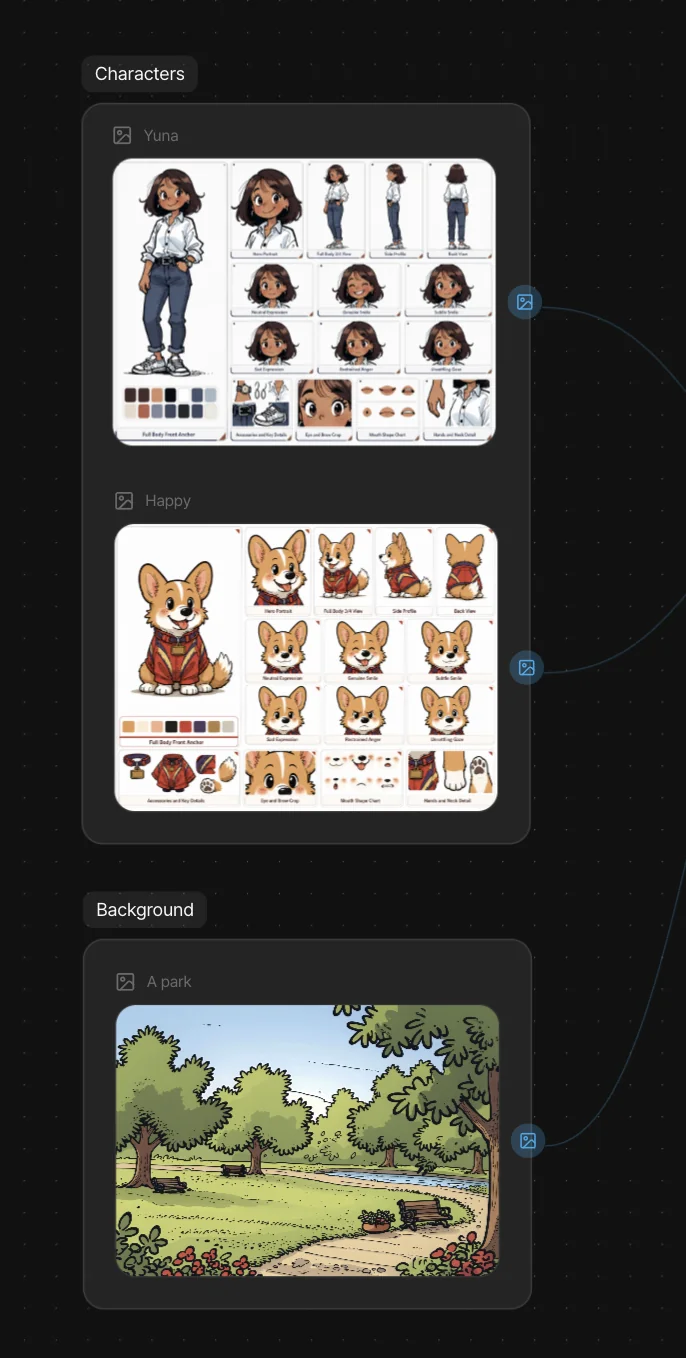
Create images and motion from extracted stills rather than converting the full video at once. Keep the original composition as a guide while exploring anime-style characters and backgrounds. Explore related workflows: image to video and AI character creator. Connect text, reference images and generation nodes in Toonkit Canvas, and continue your creative workflow through conversation in AI tools connected to Toonkit MCP.
Prepare reference frames from the scene
Export moments where characters and backgrounds are clear. Frames with little blur or obstruction make the composition you want to preserve easier to communicate. Explore related workflows: image to video and AI character creator.
Image neededExample of extracting a frame from live-action footage
Choose the anime style you want
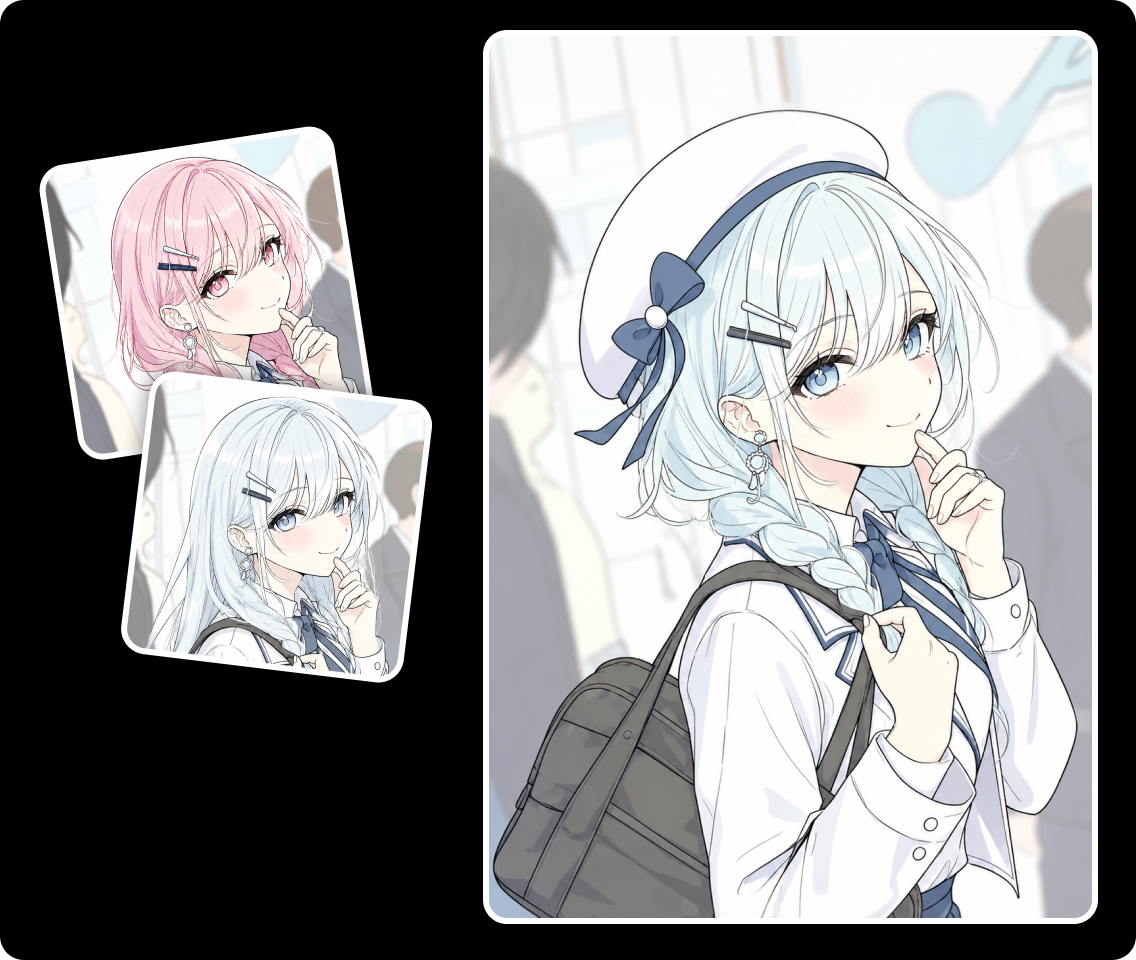
Decide line weight, colors and lighting, then explore image style conversion. Check that the character and background styles match.
Add motion to the anime-style image
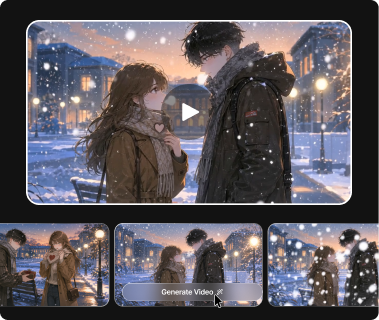
Generate video from the chosen image. Specify character and camera motion again; do not assume the original video's movement will transfer automatically or exactly. Explore related workflows: image to video and AI character creator.
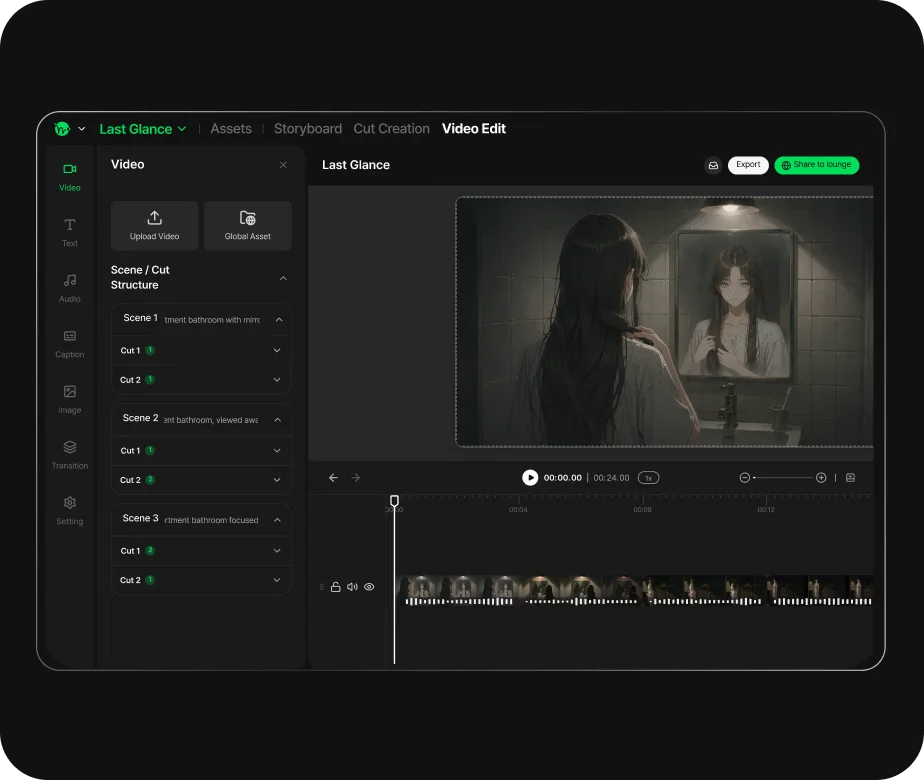
Connect shots and smooth out differences
Check faces, colors and backgrounds at scene changes. Revise individual shots and finish a new animated work distinct from the original footage. Explore related workflows: AI storyboard and text to video.
How to turn live-action footage into AI anime-style video — 3 steps
STEP 1
Extract stills from live-action footage
Use your usual video editor to export the scenes as images. Start with one short scene to check the character and composition. Explore related workflows: AI storyboard and text to video.
Image neededInput frame extracted from live-action video
STEP 2
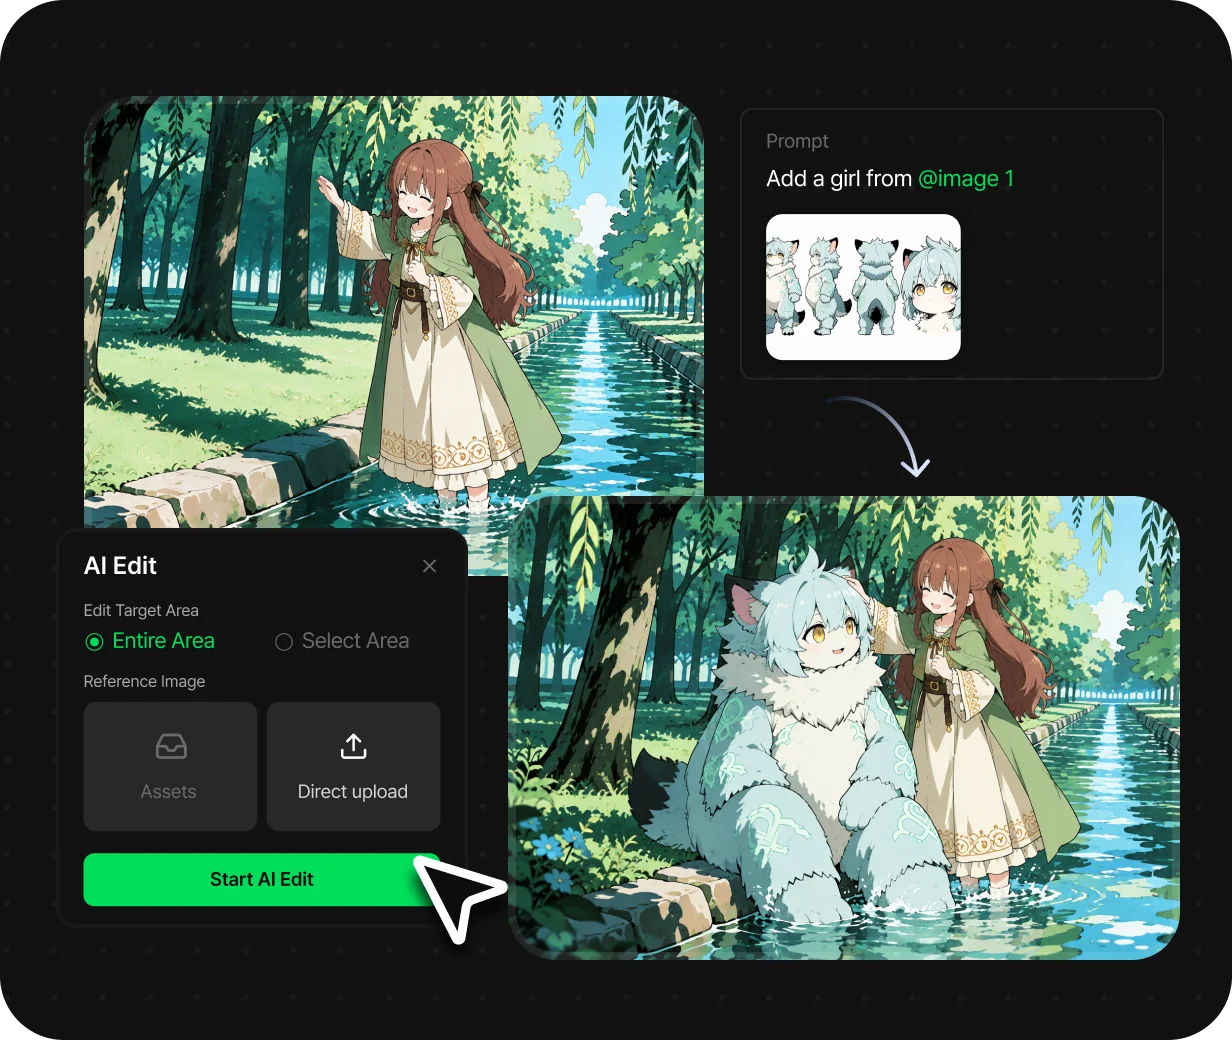
Create and review an anime-style image
Use image-based style conversion to adjust lines, colors and character appearance. Compare with the source to check that key elements remain. Explore related workflows: image to video and AI character creator.
STEP 3
Generate and edit the video
Create motion from the anime-style image and edit the chosen shots. If reusing the original audio, adjust its timing to the regenerated video. Explore related workflows: image to video and AI character creator.
Why use Toonkit for creating anime-style scenes from live-action references?
This workflow uses frames as references rather than automatically converting an entire video. Check the look in still images, generate motion, then select and edit the results shot by shot. Explore related workflows: image to video and AI character creator.
Start with extracted images
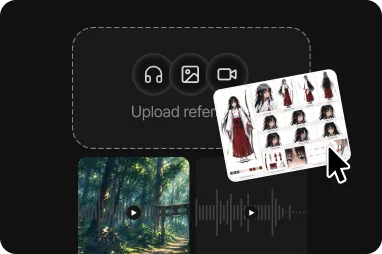
Choose frames with clear faces and composition and organize them as references. Testing one scene first helps define the features to preserve after conversion. Explore related workflows: AI storyboard and text to video.
Choose the visual style first
Prepare style references and explore anime colors and line work. Check the still-image result and select a design before generating video. Explore related workflows: image to video and AI character creator.
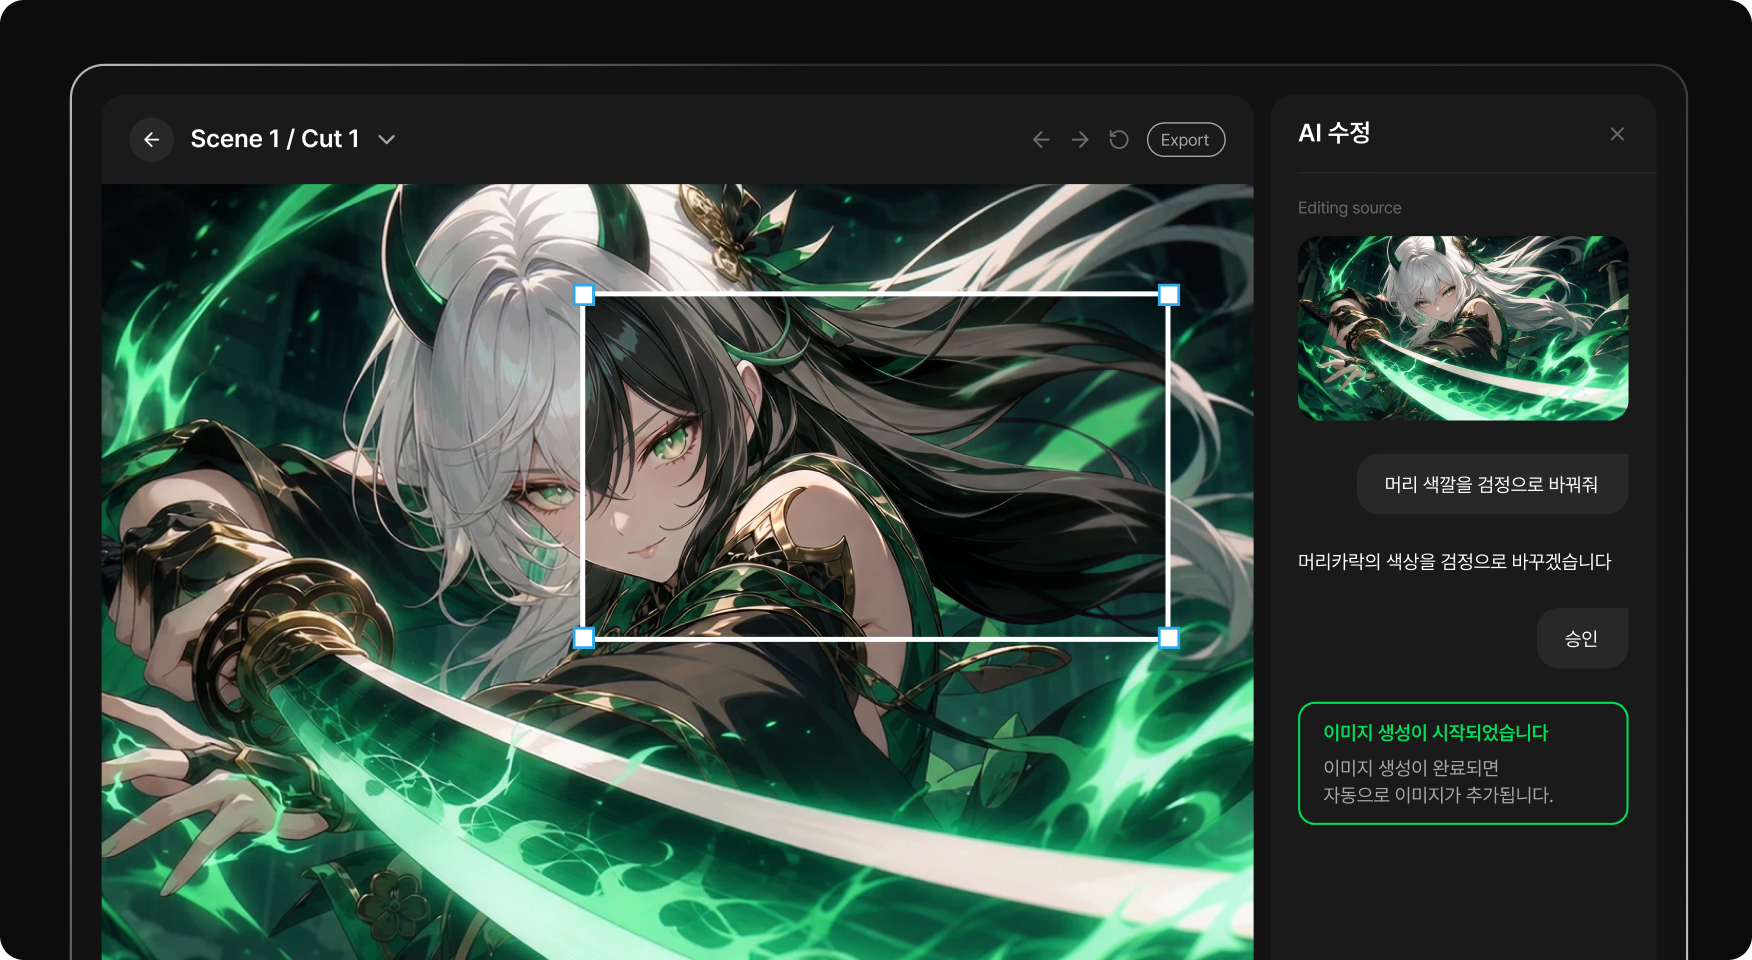
Review only the scenes that need changes
If a generated face or background needs work, narrow the target and revise it. Review shot by shot while comparing with scenes already approved. Explore related workflows: AI storyboard and text to video.
Direct new motion and camera work
Specify character motion and camera direction using the anime-style image. Compare results as a new interpretation rather than expecting an exact reproduction of the original movement. Explore related workflows: image to video and AI character creator.
Can I convert the whole video just by uploading it?
This page explains extracting stills from video and creating anime-style images and motion from them. It is not a one-step conversion of an entire video file. Explore related workflows: image to video and AI character creator.
Will the motion match the original footage?
The video is newly generated from an image, so motion will not match exactly. Specify the composition to preserve and the action to recreate separately, then check the results. Explore related workflows: image to video and AI character creator.
Is audio carried over automatically?
Still images contain no audio. Prepare the original audio separately if you want to reuse it, then match duration and timing during editing. Explore related workflows: image to video and AI character creator.
What footage should I start with?
A short scene with clear characters or backgrounds and limited movement is easier to compare. Consider dividing fast action or major scene changes into several shots. Explore related workflows: AI storyboard and text to video.
Can I use the same method with photos?
Yes. Prepare a photo instead of extracting a video frame, then adjust the image and generate video. See image to video for more.